Working in a project team: divide tasks and roles

Getting started as a project team can often be chaotic and unclear. To quickly establish some structure, first divide roles. Roles can be various, adapted to the kind of team you are. For instance for a student project team, working together on a design assignment, start with at least a chairman, a secretary and a … Continue reading Working in a project team: divide tasks and roles
Using the HiTechnic Colorsensor with the EVShield

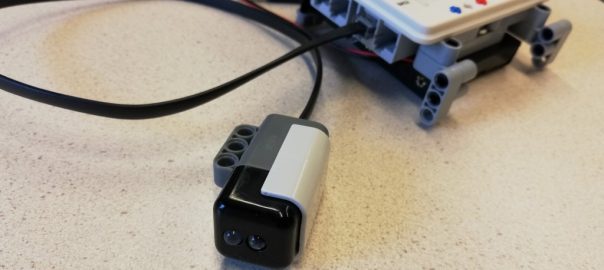
I have written a class for the HiTechnic Colorsensor, which makes it possible to use this sensor with the EVShield. The example sketch requires the class EVs_HTColorSensor which you can download here. Extract the two files from the zip-file into the EVShield library folder, eg. Documents\Arduino\libraries\EVShield. Now you can use the sensor, as in this … Continue reading Using the HiTechnic Colorsensor with the EVShield

Design guidelines for Web Development

This is a a collection of links and thoughts about web design which tries to give some guidelines. It is in no way meant to be complete. First, consider web page layout Which part of the web page is visible? (scroll?) What viewport size(s)? Try aiming at least: Small (under 600px), Medium (600px – 900px) … Continue reading Design guidelines for Web Development

Lego: use Spike chassis to build Explorer robot

To quickly change the Spike into an Explorer robot, you can strip legs, claws and tail, leaving the chassis as a basis to build the Explorer robot.Then add wheels, a bumper with touch sensor and an ultrasonic sensor mounted on a motor. You can also build the Explorer from scratch, then you can follow the … Continue reading Lego: use Spike chassis to build Explorer robot

Lego: Build Spike with Arduino brain

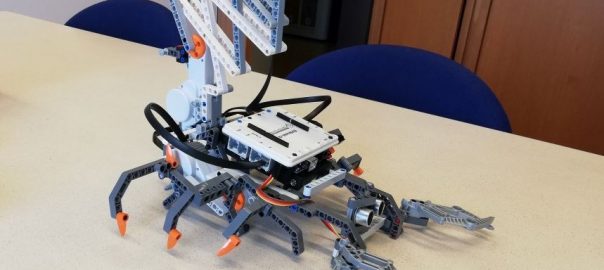
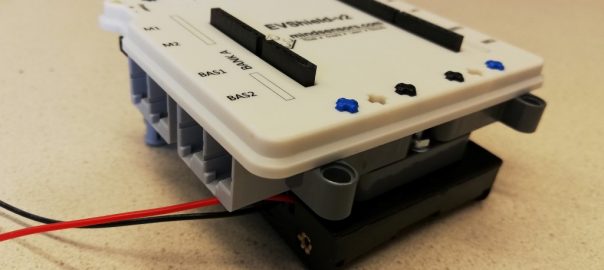
This guide explains how to build the Lego Mindstorms model “Spike”, powered by an Arduino and an EVShield. The original version of the Spike is powered by a Lego NXT. Requirements EVShield, Arduino Uno, Battery holder (+6 AA batteries) Lego Mindstorms kit (can be either NXT or EV3) Introduction To make a sturdy, compact solution … Continue reading Lego: Build Spike with Arduino brain

Lego: build Spike motor chassis

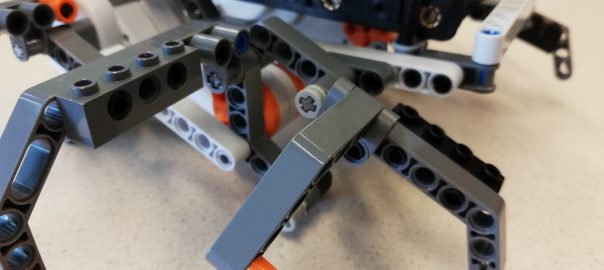
This guide explains how to build a motor chassis, which can for instance be used for the Lego Mindstorms model “Spike” powered by an EVshield with Arduino Uno. Requirements Lego pieces to connect the parts as displayed: Introduction To make a sturdy, compact solution which allows access to batteries, ports and pins of both the … Continue reading Lego: build Spike motor chassis

Touch screen examples: keypad, paint, image viewer and calculator

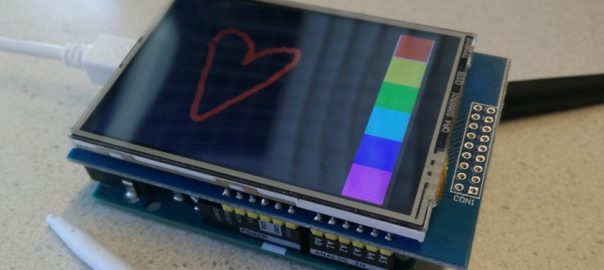
Some example sketches for a 2.8 TFT Shield touch screen: A numeric keypad, a basic paint program, an  image viewer and a calculator. The shield comes with an SDcard slot. The image viewer reads images from an sdcard You mount the shield onto an Arduino Uno (or Leonardo) like this: These examples have been tested with … Continue reading Touch screen examples: keypad, paint, image viewer and calculator

Getting started with the ESP32 Wifi module

The ESP32 Wifi module can replace an Arduino, as it has similar properties. It’s main advantage is that it is faster, has more memory and has WiFi and Bluetooth on board. Just like the Arduino Nano it can be mounted on a breadboard. This allows building very compact prototype circuits: Make module ready for use … Continue reading Getting started with the ESP32 Wifi module

Connect an ESP8266 module to an Arduino Nano and control it with Blynk

We are going to build a circuit that is connected to an app build with Blynk. For this we connect an Arduino to an ESP8266 module and connect it through Wifi (step 1). This example uses an Arduino Nano, of course you may use an other type of Arduino, eg. the Uno. In the second … Continue reading Connect an ESP8266 module to an Arduino Nano and control it with Blynk