This guide explains how to mount an EVshield with Arduino Uno and a battery pack. In this way you can use it as the ‘brain’ of a Lego Mindstorms model.
Warning: do not insert batteries in the battery holder until you are ready! (have build a finished model) If connecting the USB cable, first remove battery-power (remove one battery from the holder)
Requirements
- EVShield
- Arduino Uno
- Battery holder
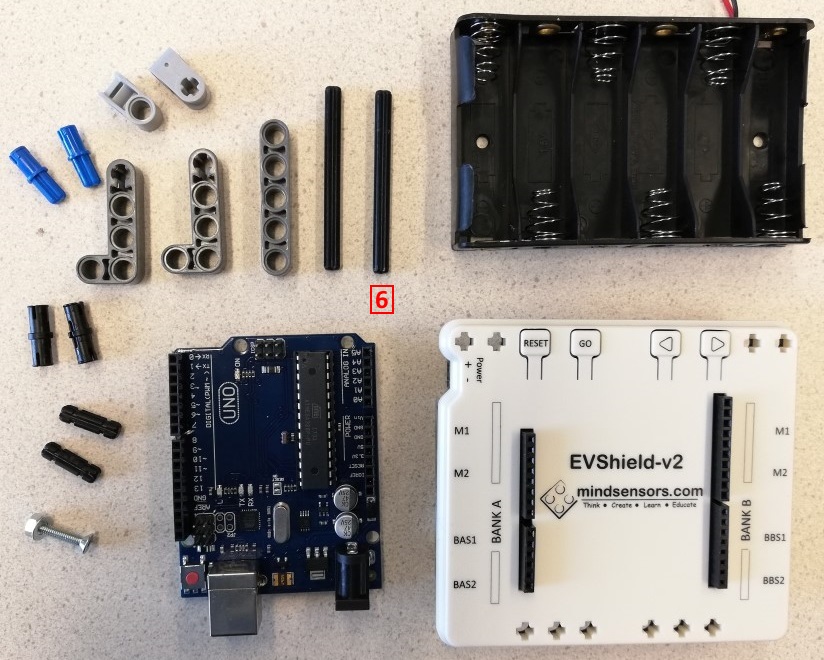
- Lego pieces to connect the parts as displayed:
- m3 bolt and nut (length: 1.5 cm) *
- Screwdriver with 2 mm tip *
* available from teacher’s toolbox
Introduction
To make a sturdy, compact solution which allows access to batteries, ports and pins of both the shield and the Uno, follow the steps below.
This assembly can be the base to futher build a Lego model upon.
Assembly steps
 Get all components and pieces.
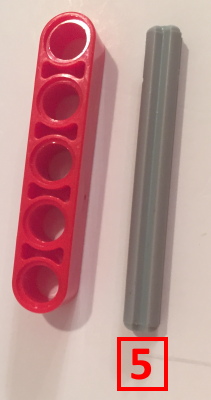
Some of the Lego pieces can be exchanged by other similar pieces. The color of the Lego pieces does not matter, some of the pieces are available in other colors (eg. black, grey or blue). The length of for instance axles is mentioned next to them (in the example: 5), this is measured in ‘holes’ from a beam. So this grey axle is 5 holes long:
Start assembly:
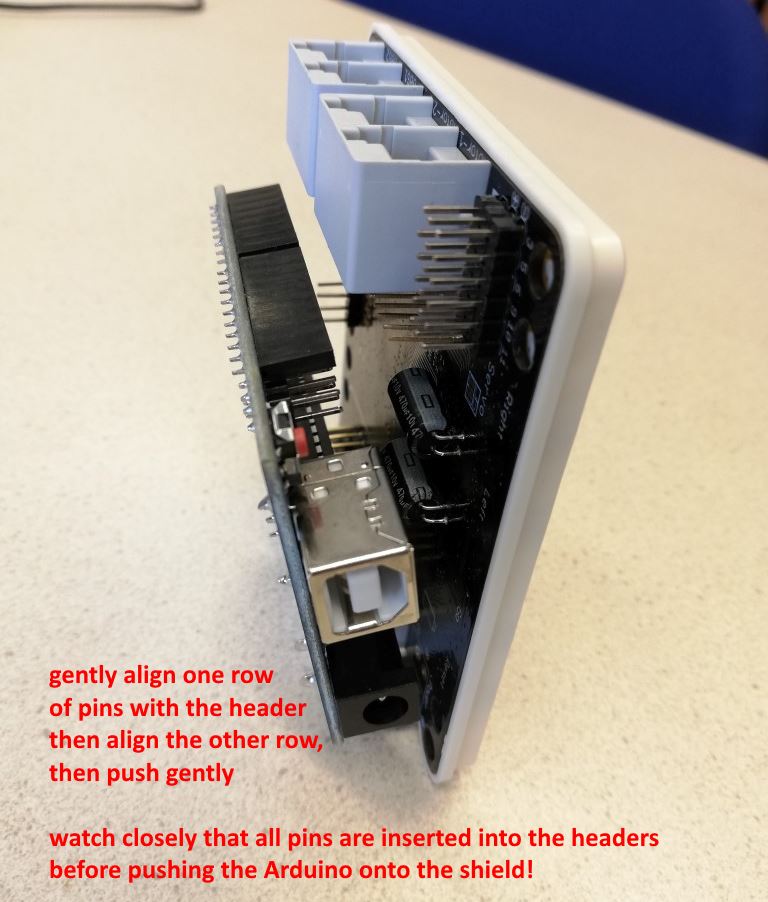
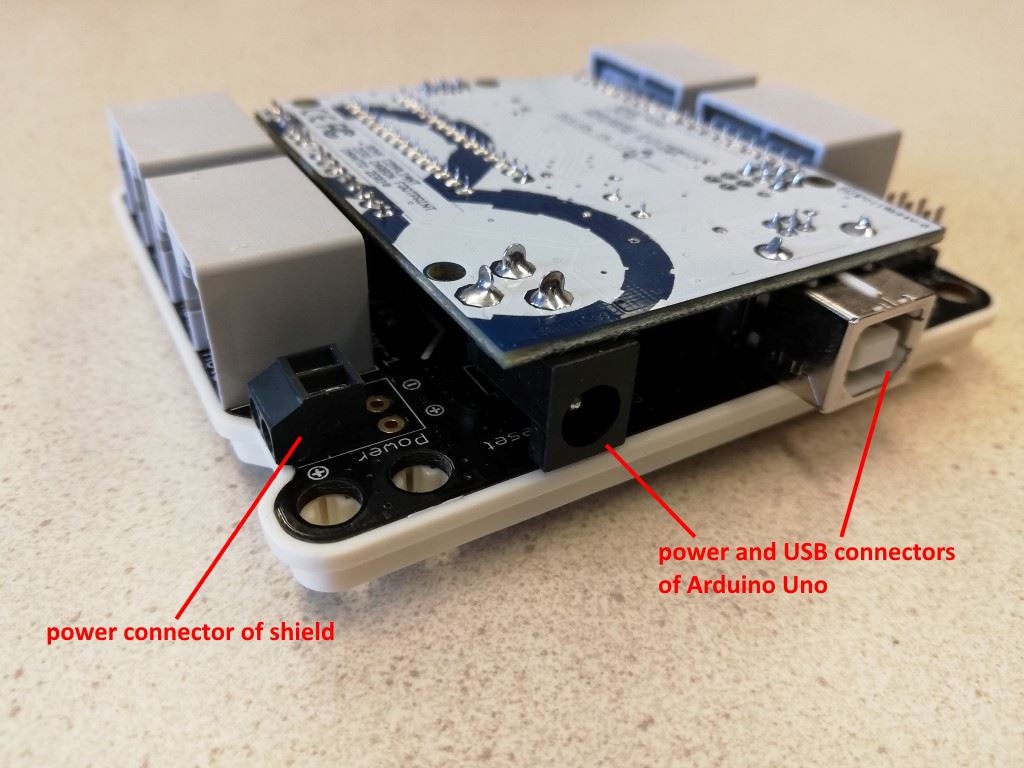
Mount the Arduino Uno onto the EVshield. Do this with great care and watch all pins closely, as they should all go into the corresponding header. Align the power-connectors of the Uno to the side of the shield that has the power connectors.
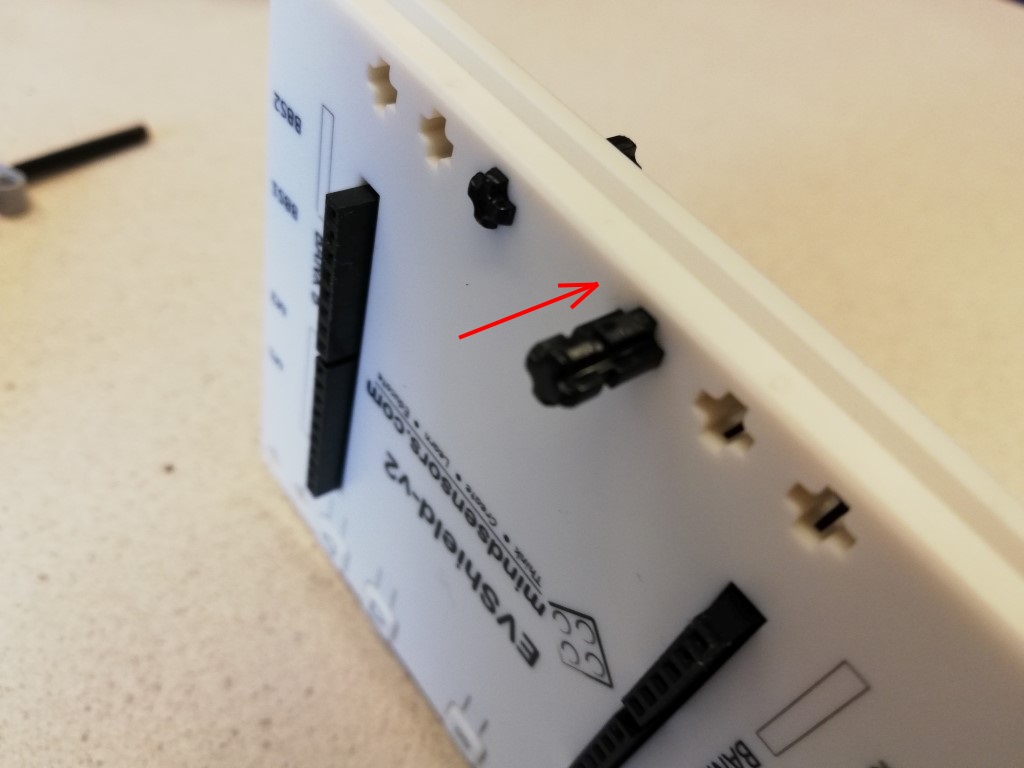
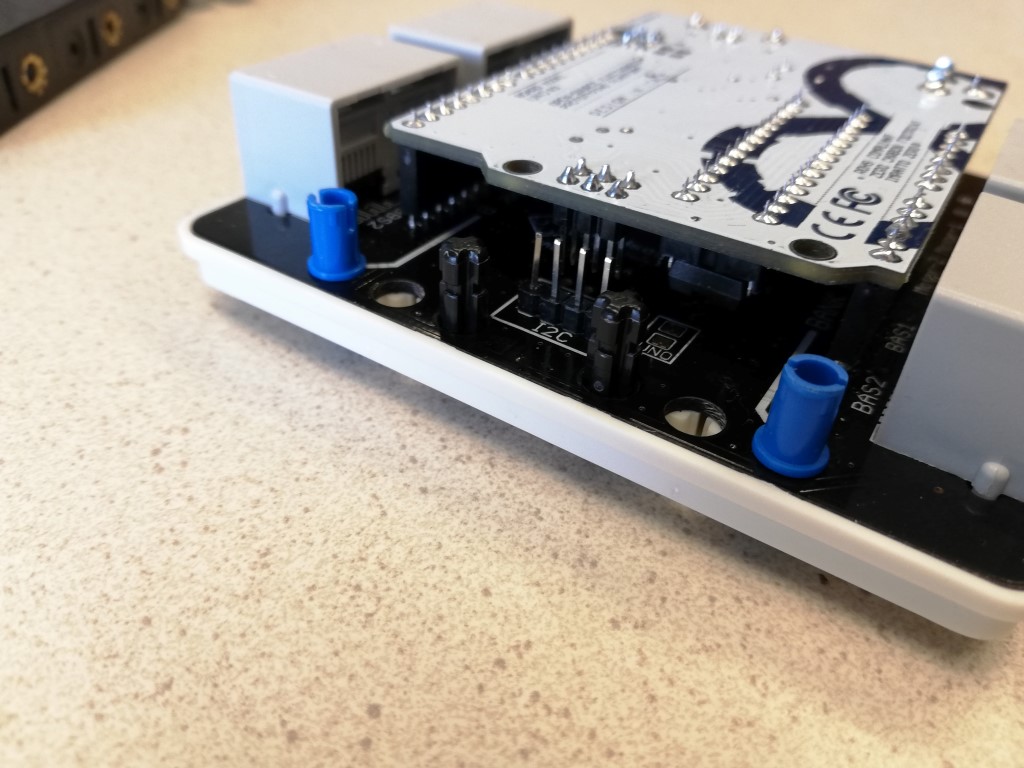
Add the black and blue pins to the side (opposite to the side where the power connectors are). Put the black pins in from the top (white plastic cap) and push them all the way through. The blue pins must be mounted from the other side.
Mount the two beams (the ones with the 90 degree angle) on the pins:

Connect the straight beam to the battery holder using the m3 bolt and nut. Use the hole at the end of the battery holder that is close to the power wires. Also insert the two pins into the beam:

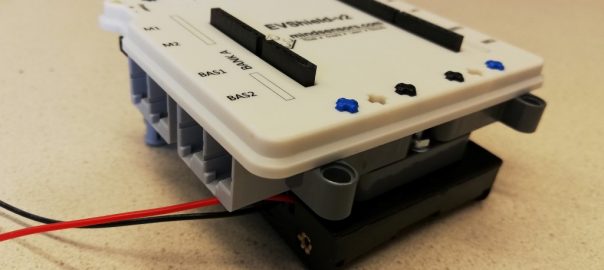
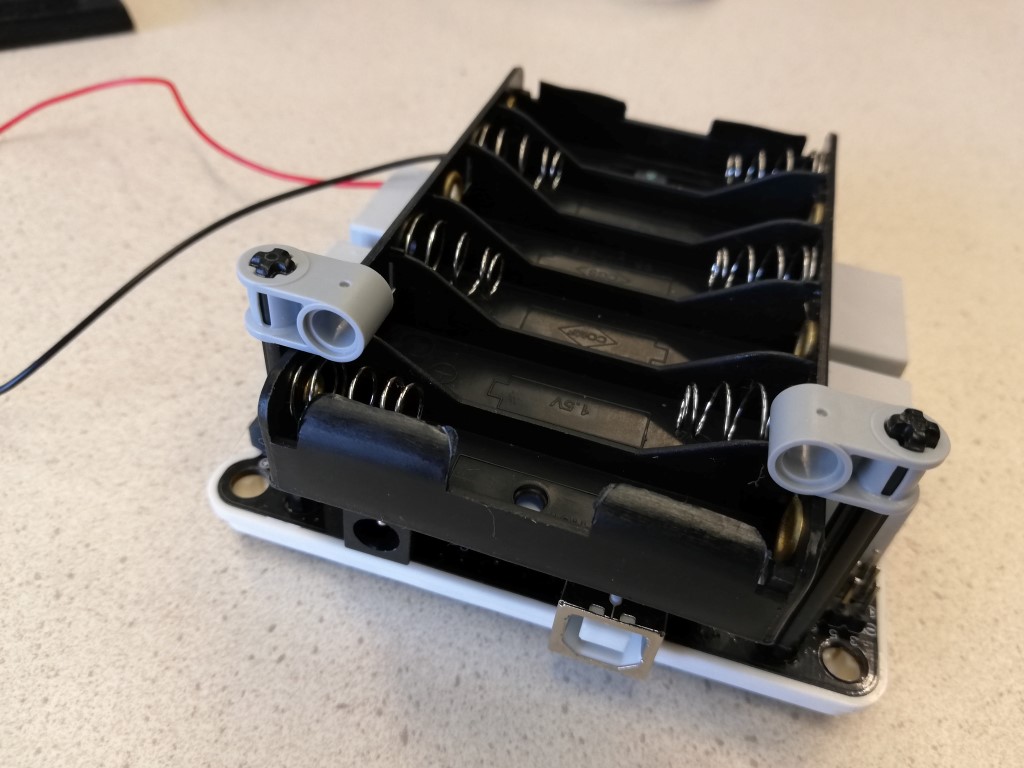
Mount the battery holder on the shield:

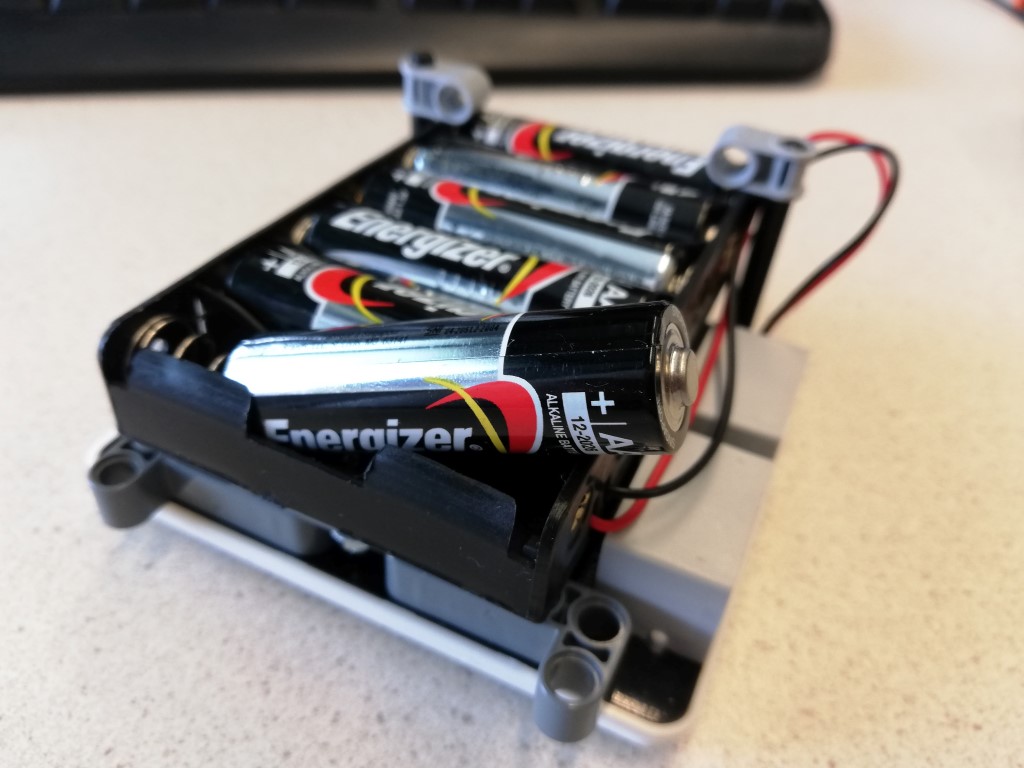
At the other side, slide the two axles through the holes (from the top side):

Then mount the two grey pieces onto the axles to secure the battery holder:
If you have a battery holder with a connector, you can just plug that into the Arduino power connector.
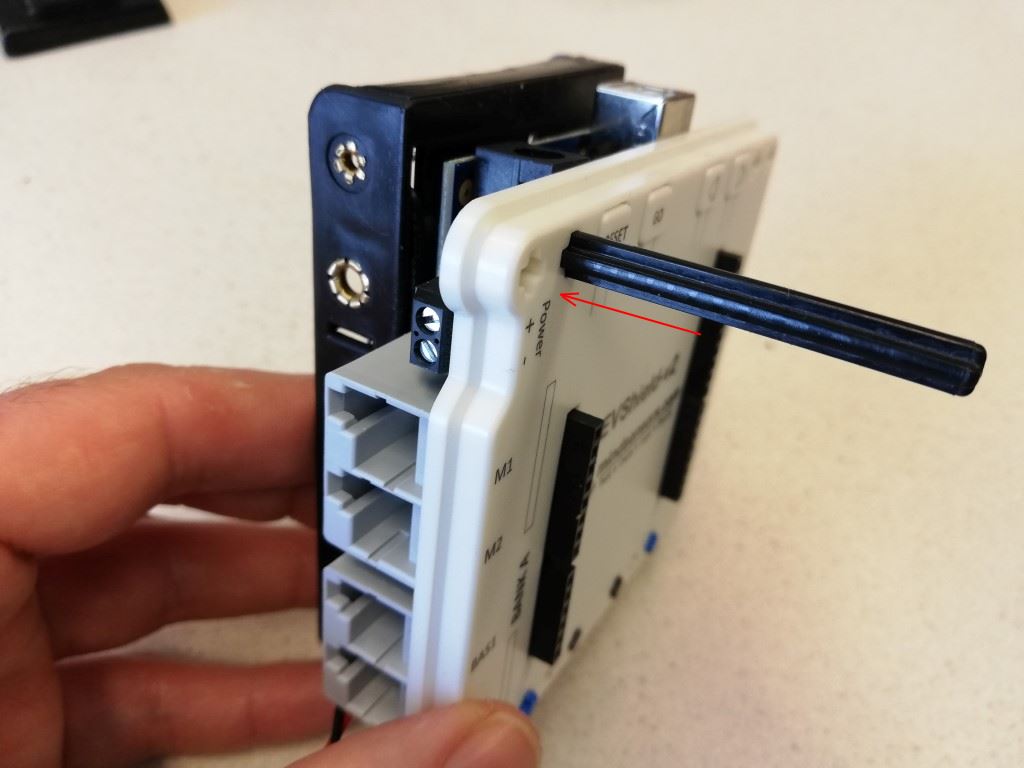
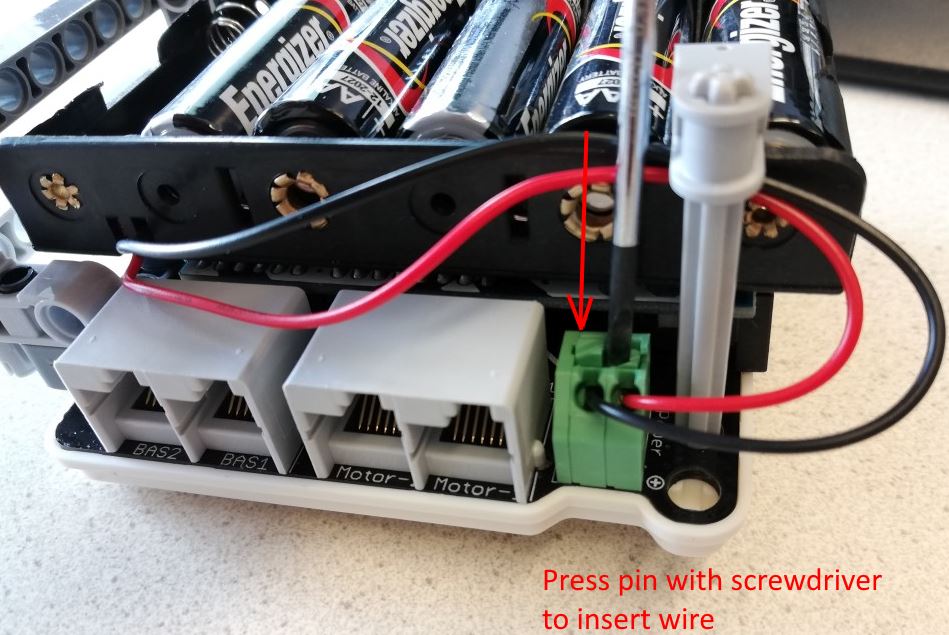
If not, connect the power wires to the connector on the EVShield:
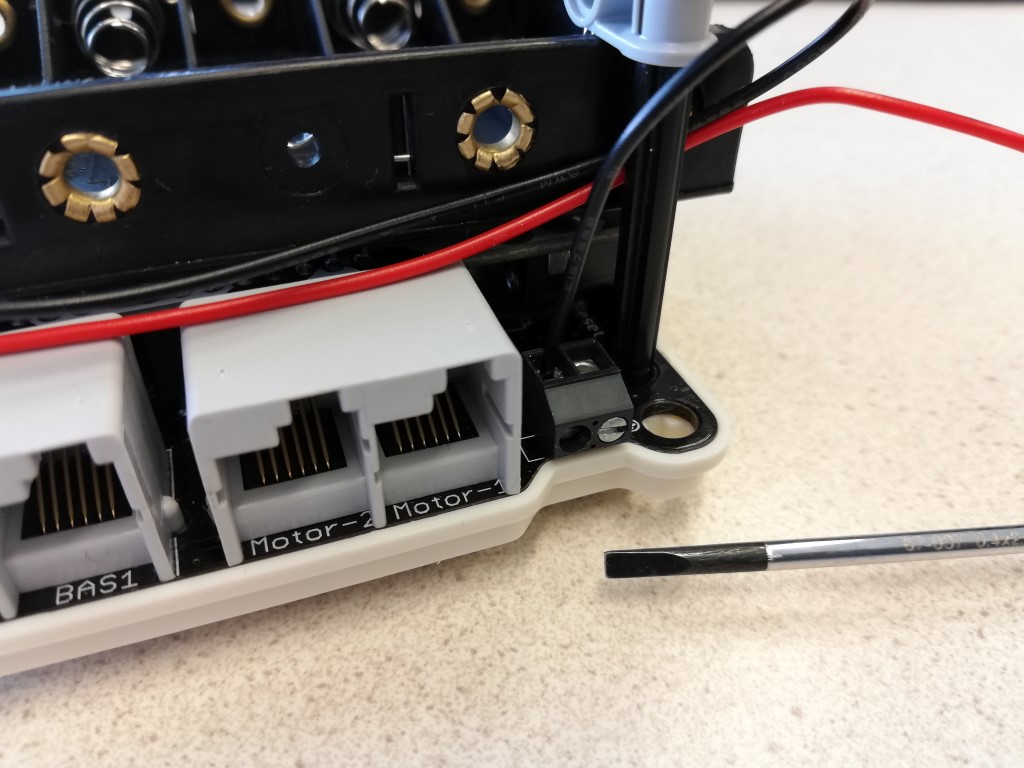
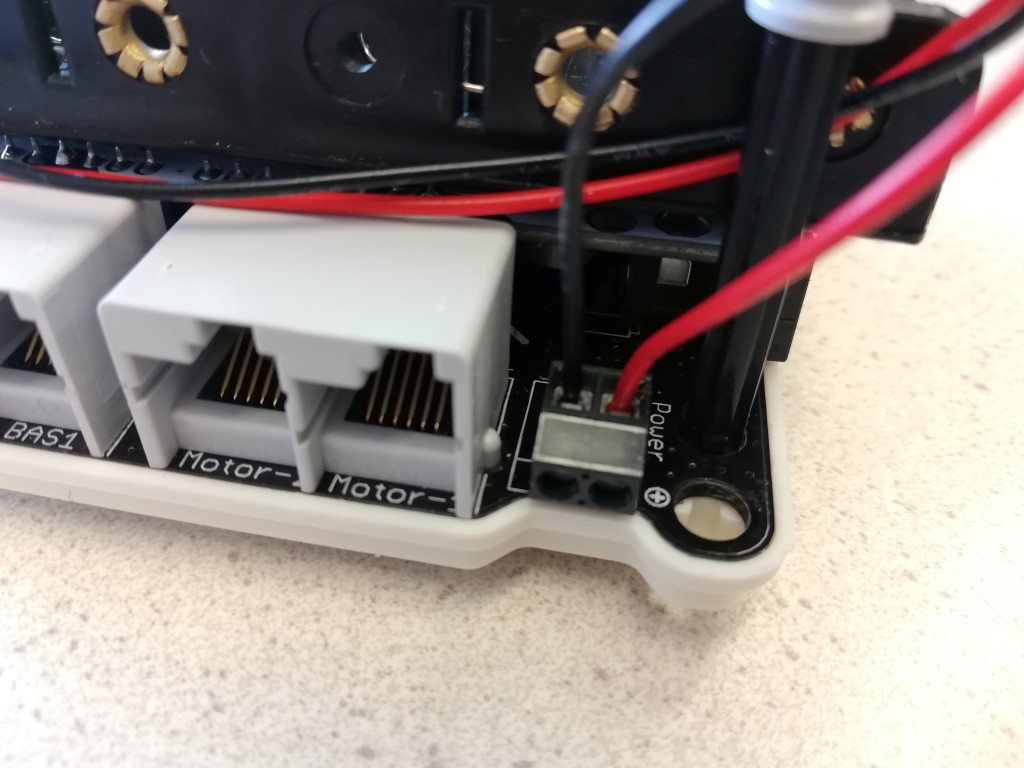
First connect the black GND cable to the left connector. Then the red cable to the connector on the right, it has a + sign next to it. You need a screwdriver for this. There are two kind of connectors, the black ones with a screw, and green ones without screws. For the green one you just need to push the pin downward an insert the wire, then release the pin, as shown in the third image:
You are now ready to program the Arduino and test your robot. However, if you want to use it with batteries later, read on:
After you have programmed the Arduino you can remove the USB cable and use (test) the robot.
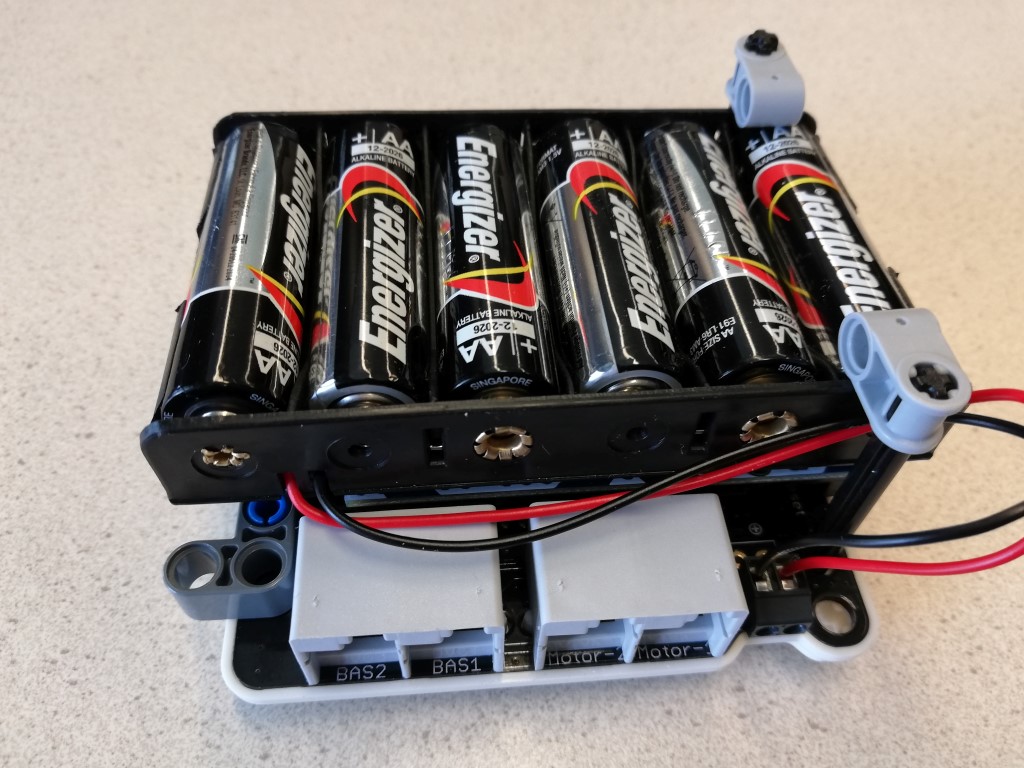
Insert batteries:
Remember: always remove (at least) one battery after use, or when connecting the USB cable!