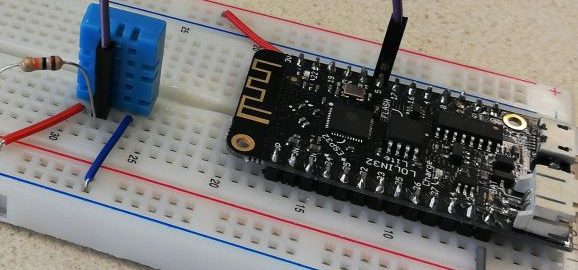
This tutorial demonstrates how to build a simple sensor and publish its values online (on a web server) using an ESP32 module. We will build an Arduino sketch which will read the sensor values, connect to WiFi, connect to a website and publish the values on the website. The published values can then be used … Continue reading Tutorial: Create a connected sensor →
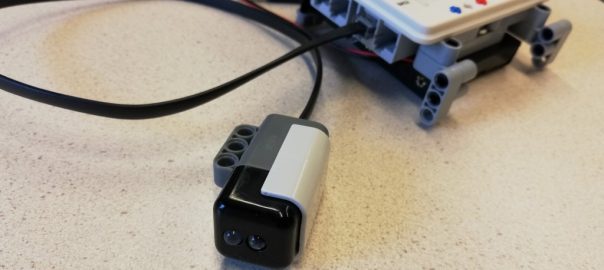
I have written a class for the HiTechnic Colorsensor, which makes it possible to use this sensor with the EVShield. The example sketch requires the class EVs_HTColorSensor which you can download here. Extract the two files from the zip-file into the EVShield library folder, eg. Documents\Arduino\libraries\EVShield. Now you can use the sensor, as in this … Continue reading Using the HiTechnic Colorsensor with the EVShield →
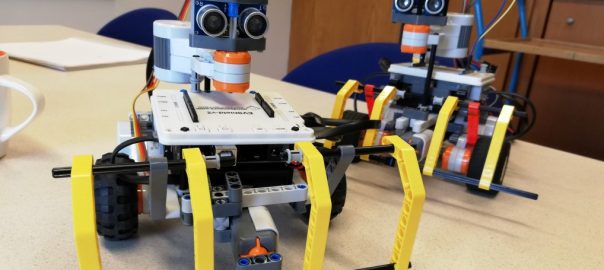
To quickly change the Spike into an Explorer robot, you can strip legs, claws and tail, leaving the chassis as a basis to build the Explorer robot.Then add wheels, a bumper with touch sensor and an ultrasonic sensor mounted on a motor. You can also build the Explorer from scratch, then you can follow the … Continue reading Lego: use Spike chassis to build Explorer robot →
This guide explains how to build a motor chassis, which can for instance be used for the Lego Mindstorms model “Spike” powered by an EVshield with Arduino Uno. Requirements Lego pieces to connect the parts as displayed: Introduction To make a sturdy, compact solution which allows access to batteries, ports and pins of both the … Continue reading Lego: build Spike motor chassis →
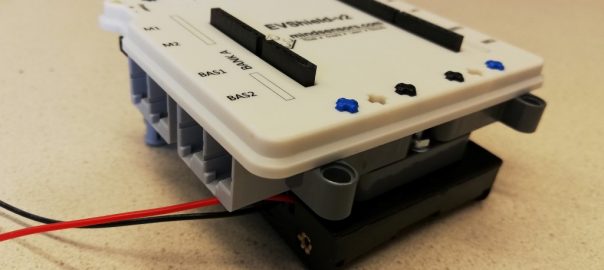
This guide explains how to mount an EVshield with Arduino Uno and a battery pack. In this way you can use it as the ‘brain’ of a Lego Mindstorms model. Warning: do not insert batteries in the battery holder until you are ready! (have build a finished model) If connecting the USB cable, first remove … Continue reading Lego: mount EVshield with battery pack →
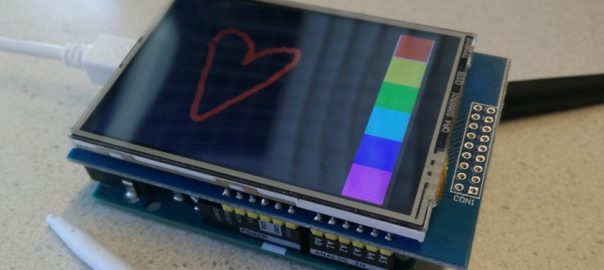
Some example sketches for a 2.8 TFT Shield touch screen: A numeric keypad, a basic paint program, an image viewer and a calculator. The shield comes with an SDcard slot. The image viewer reads images from an sdcard You mount the shield onto an Arduino Uno (or Leonardo) like this: These examples have been tested with … Continue reading Touch screen examples: keypad, paint, image viewer and calculator →
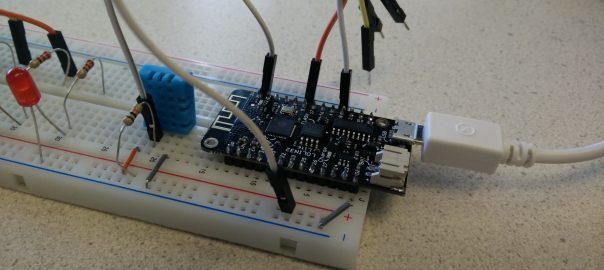
The ESP32 Wifi module can replace an Arduino, as it has similar properties. It’s main advantage is that it is faster, has more memory and has WiFi and Bluetooth on board. Just like the Arduino Nano it can be mounted on a breadboard. This allows building very compact prototype circuits: Make module ready for use … Continue reading Getting started with the ESP32 Wifi module →
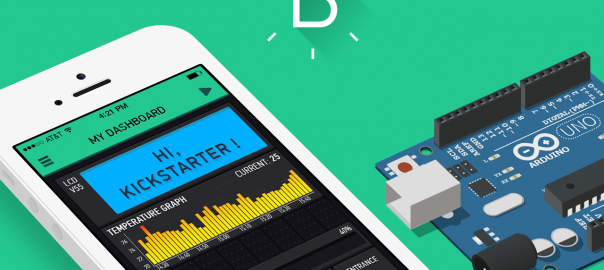
Blynk is an app with which you can control any piece of electronics you have build, eg. a circuit build with an Arduino. To get started with Blynk, you can follow the getting started guide: www.blynk.cc/getting-started then continue at step 5 of docs.blynk.cc (under getting started) to add a first Widget. The first example (BlynkBlink) builds … Continue reading Getting started with Blynk →
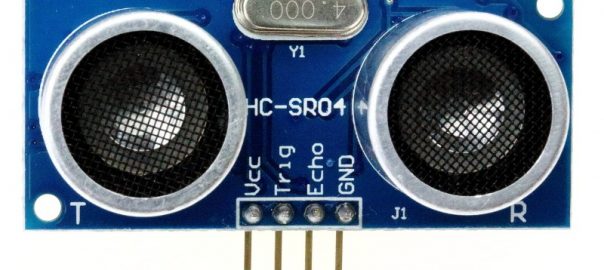
By utilizing the Arduino-bit and the Proto-bit, all kinds of electronic circuits and components can be connected to a Littlebits circuit. In this example, we connect an Ultrasonic sensor to the Arduino-bit with the Proto-bit. The distance measured by the Ultrasonic sensor will be displayed on the Number-bit. This example is based on the Bat … Continue reading Build a distance-sensor with LittleBits →
Go to Canvas for the latest edition of this course. This course is part of module 4, “Smart Products”. This course is an introduction to designing apps and programming. It teaches both Java and Arduino (C language), and is geared towards learning how to build ‘smart’ prototypes. More info: Interested in learning programming? Search the … Continue reading Application Development →