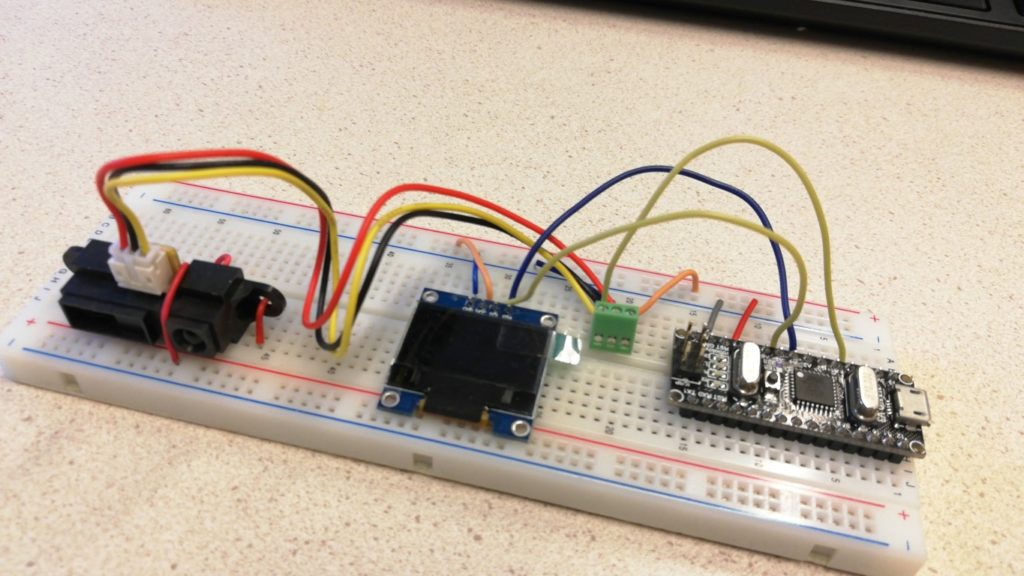
This short tutorial introduces the Optical (infrared) distance sensor (Sharp GP2Y0A21YK0F). It is assumed you have installed the Arduino IDE and have some basic understanding of using electronics and wiring a breadboard. If you want to learn more or if anything is unclear, check out this extensive tutorial. Although in this example we use a display, you can also do without it.
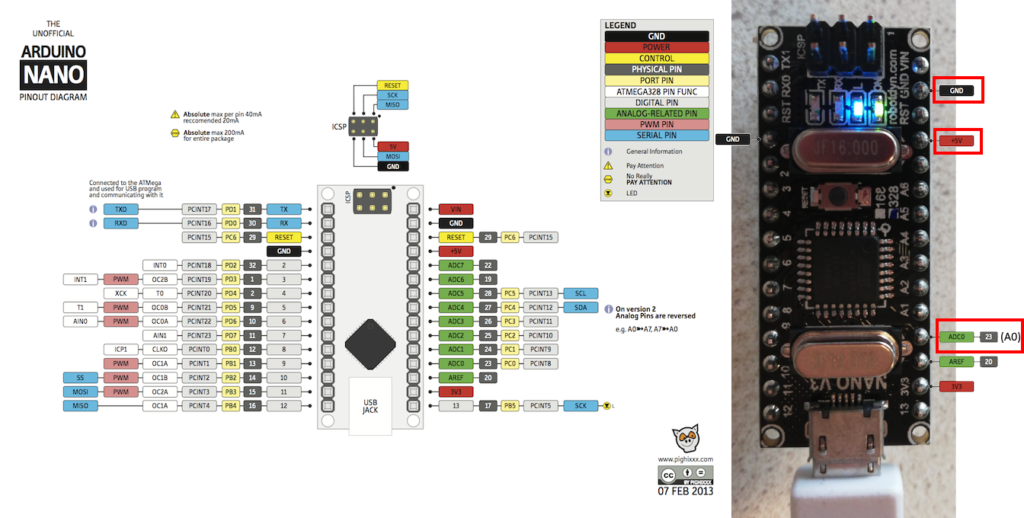
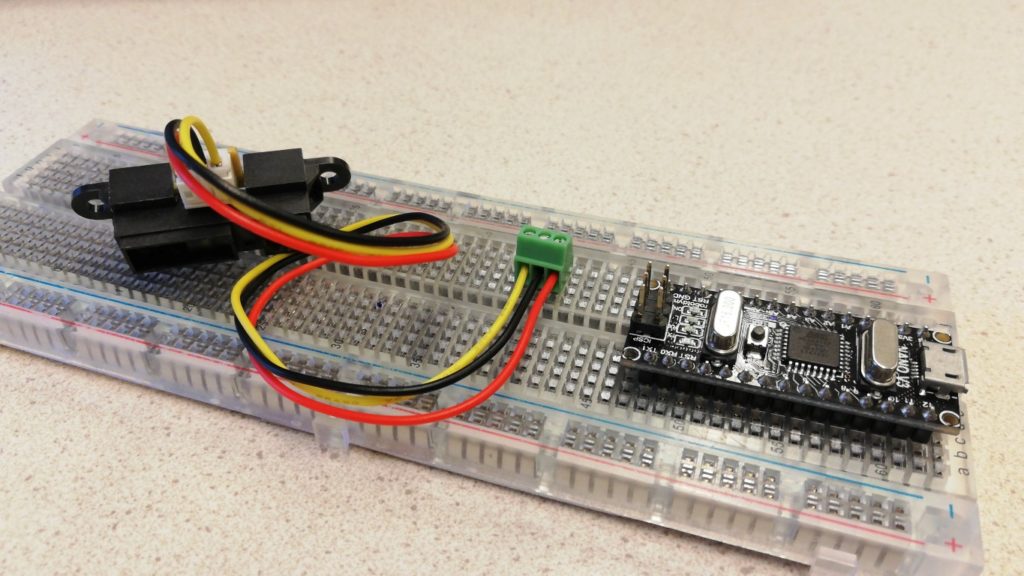
To use this sensor, you can connect it to power: GND (black wire) and VCC (red wire, this must be 5V). Connect the yellow signal wire to pin A0 (analog input 0) of the Arduino:
(click images to enlarge)
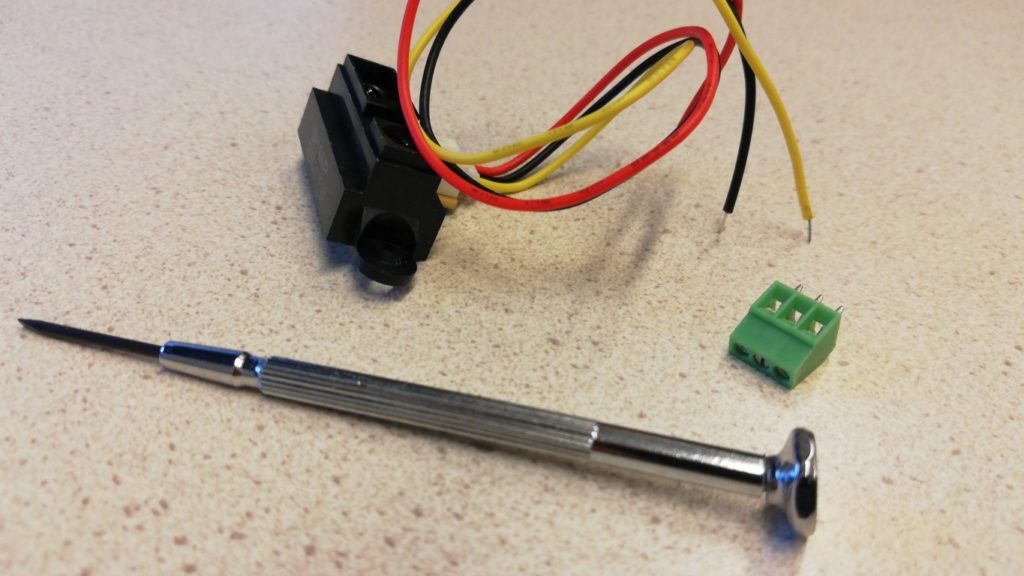
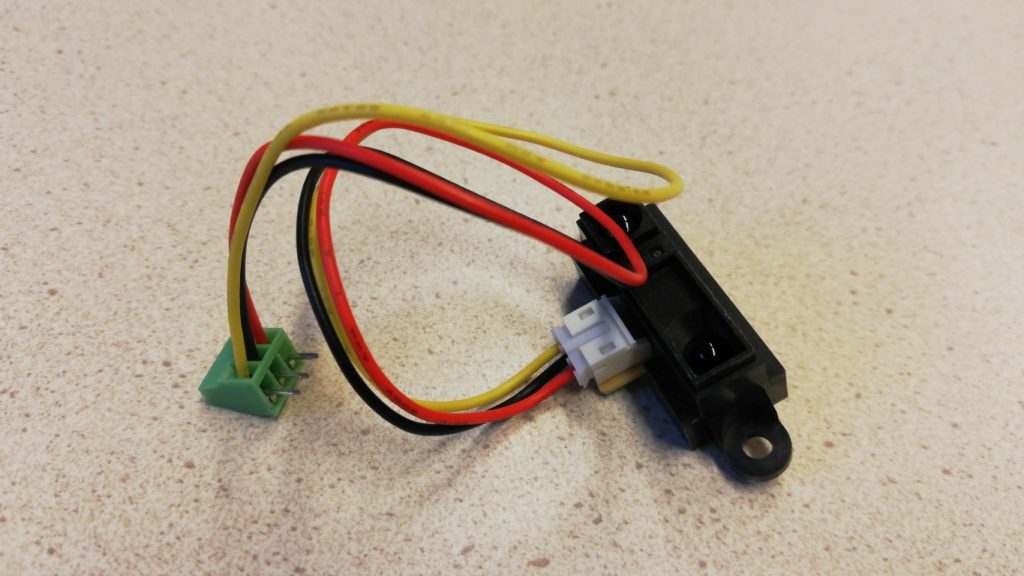
To make it easier to connect the sensor to a breadboard, first connect a screw terminal to the wires:
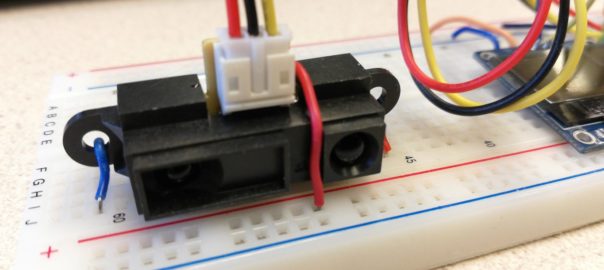
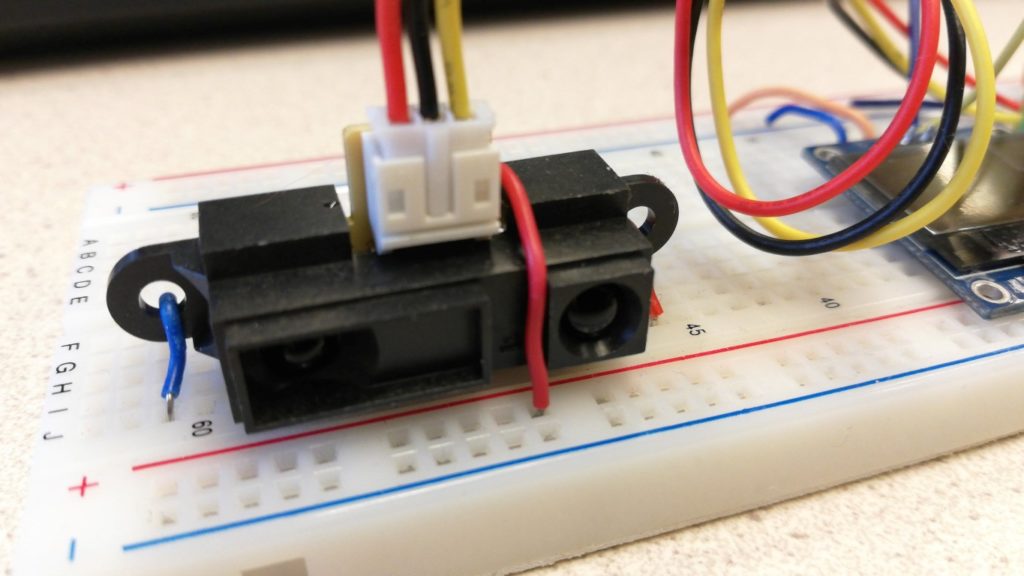
Now you can mount the sensor directly onto a breadboard:
The sensor is strapped to the breadboard with 3 ‘dummy’ (not connected) wires:
Download example sketch
To test this sensor, you can use this example sketch: ir_sensor_with_display.ino. If you do not use a display, you can use this one: ir_sensor.ino. Open the sketch in the Arduino IDE.
Manual installation of library:
The sketch uses the SharpIR library, which is not in the standard library. You must install it manually before you use this sketch. Download the ZIP-file from the website (click Code, Download ZIP), extract it to the folder Documents\Arduino\libraries and rename that folder to “SharpIR”.
Check the sketch
Before you upload the example sketch to the Arduino, verify the line with #define IRPin is set to A0, and #define model is set to 1080 (if you have the GP2Y0A21YK0F model; otherwise check the site):
// Define sensor model GP2Y0A21YK0F and input pin:
#define IRPin A0
#define model 1080
Next, hook up the Arduino to your computer with the USB cable. Configure the Arduino IDE to use the correct setting for the type of Arduino you use: under the Tools menu, check the board settings:
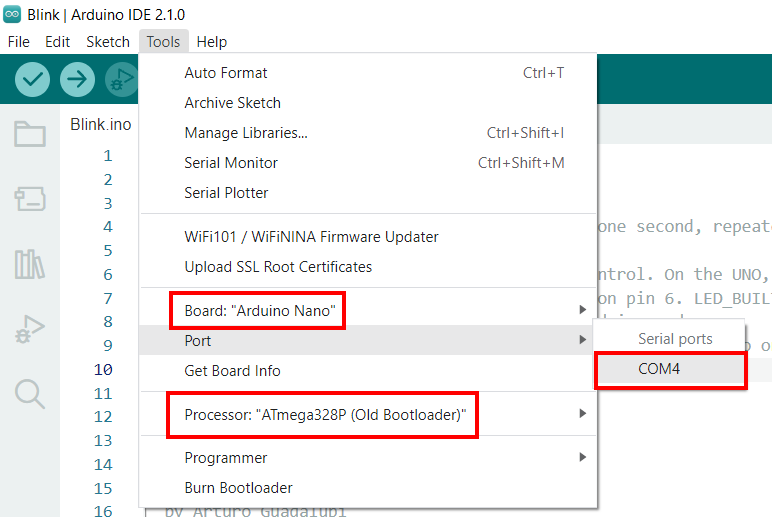
The Port can be any active Port (eg. COM1-12). After you have connected the USB cable and the Arduino has power, there should be one option you can select here. Also make sure you have selected the ‘Old Bootloader’ version at “Processor”.
Upload the sketch
Press the Upload button ![]() to upload the sketch to the Arduino and run it. The display should show the distance as read by the sensor. If you do not use a display, you can see the distance in the serial monitor, which you can start via the
to upload the sketch to the Arduino and run it. The display should show the distance as read by the sensor. If you do not use a display, you can see the distance in the serial monitor, which you can start via the ![]() icon in the top right corner.
icon in the top right corner.
Now find the line of code which looks like:
unsigned int distance = mySensor.distance(); // read distance from sensorThis is the line which reads the distance value from the sensor and assigns it to the variable distance. It uses the method distance(), which will do 25 readings in a short time and takes the median of those readings and returns that value. This will improve the accuracy of the readings. See also the documentation in the library.