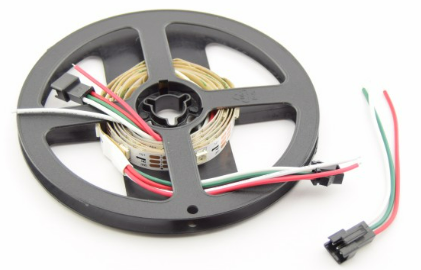
This is a short tutorial on getting a WS2812 based led strip to work using the FastLED library. Here, a WS2812B strip is used (see image below), but the FastLED library can be used for many LEDs and LEDstrips.
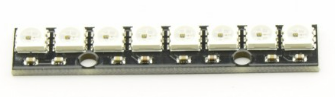
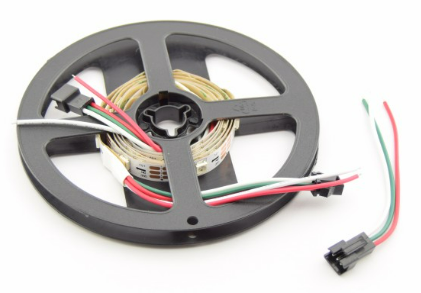
Above, the WS2812B the LEDs are soldered onto a small board, so technically it is not a strip. But it works the same as a ‘real’ strip, like the one below (sold here).
Getting started
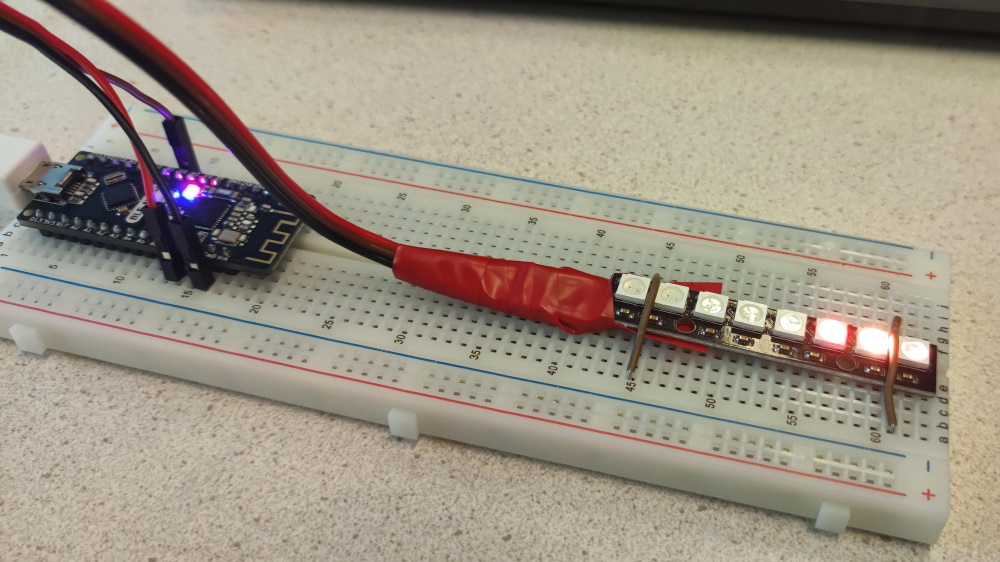
Connect the strip to the Arduino, data-in (din) pin to pin 5 of the Arduino, VCC to 5V and GND to GND.
Install the FastLED library (Tools > Manage Libraries).
Open the Firstlight example (File > Examples > FastLED).
Change/check:
- The DATA_PIN (at line 21): change that to the pin of the Arduino you connected the data-in (din) pin of the strip to (in this example we used 5).
- In the setup() function, make sure the proper call to addLeds() which corresponds to your LED strip type is commented out. In our case it is:
FastLED.addLeds<WS2812, DATA_PIN, RGB>(leds, NUM_LEDS);
Make sure to put comments in front of the one that is not needed://FastLED.addLeds<WS2811, DATA_PIN, RGB>(leds, NUM_LEDS);
(In some other examples, you must change the line containing #define CHIPSET WS2812 to the appropriate type)
Upload the sketch. If all goes well, your LEDs will start running the pattern as described in the header of the sketch (move a white dot along the strip of LEDs).
Now feel free to try out another example in the same manner.
Troubleshooting
Strip does not work? Fried a chip? The controller chips of the WS2812 series data pins are connected in serial, which means that if you make a connection error or apply a wrong voltage, the first chip on the strip most likely receives damage or is fried, rendering the entire strip broken… or not? To solve this, you may connect to the second LED on the strip, to bypass the broken one! Or cut off the first, and reconnect (solder) to the next one in line. Of course, this does not work with LEDs which are mounted on a board.