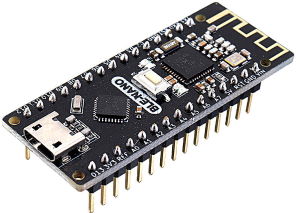
The BLE-Nano as sold here is a combination of a traditional Nano with a Bluetooth BLE module, based on the CC2540 BLE bluetooth chip. The Bluetooth module is directly connected to the TX, RX pins of the Arduino (pins 0 and 1).
There is a troubleshooting section further down on this page!
This is the pinout of the board:
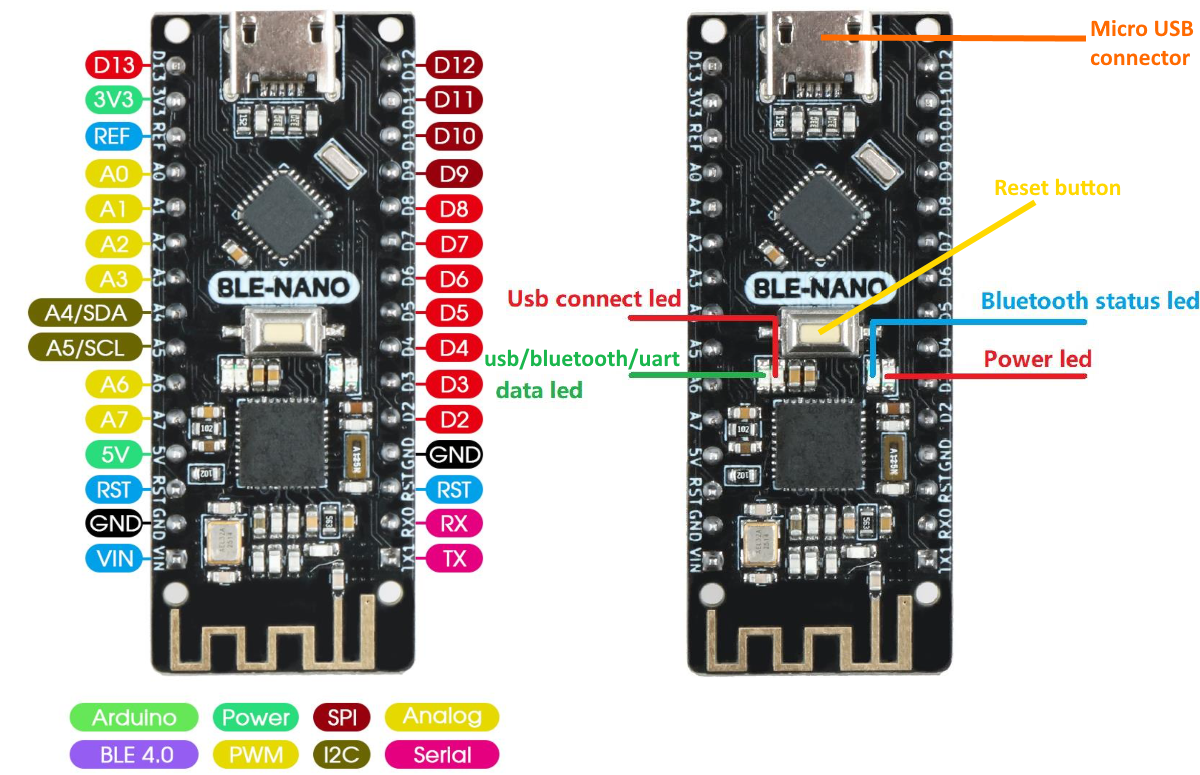
Check out the location of the 4 status leds on the board and the reset button.
Reset the module to its default settings
When you start working with Bluetooth with this device, it is wise to reset the module to its default settings. You can do so by sending the module an AT-command via the Serial Monitor. A list of all AT-commands can be found in the operations manual.
Start the Arduino IDE. Create a new empty sketch (File > New). Save it as “empty”.
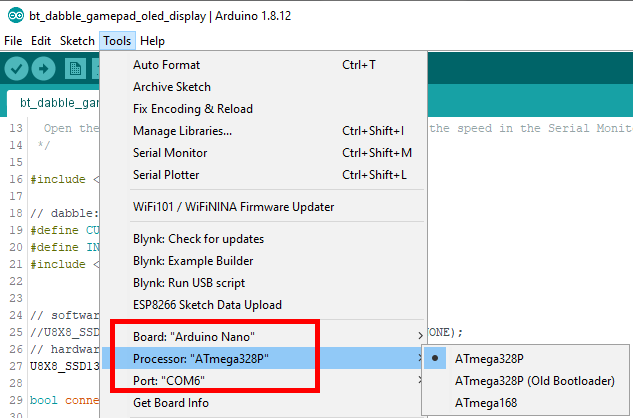
Connect the BLE-Nano to a USB-port of your computer. Set the proper Board, Processor and Port (your Port probably has a different number):
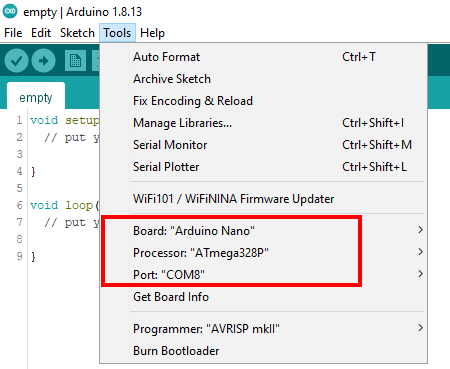
Make sure you use the Processor “ATmega328P” and not the one with “(old bootloader)”.
Now upload the empty sketch.
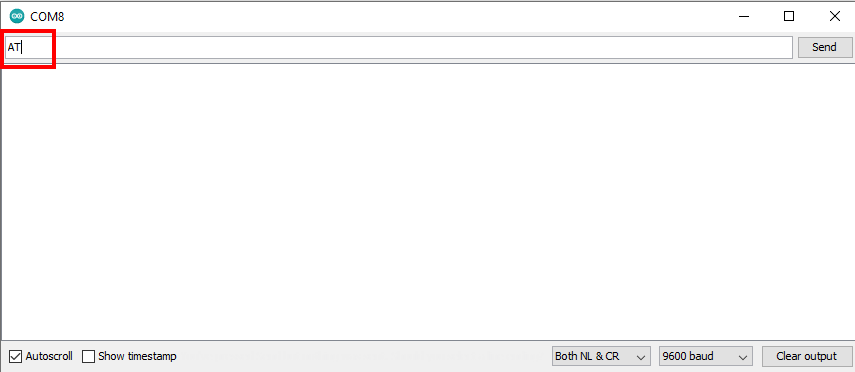
Start the Serial Monitor, check the speed: it must be 9600 baud. “Line ending” setting must be “Both NL & CR”. Learn more about the use of the serial monitor here.
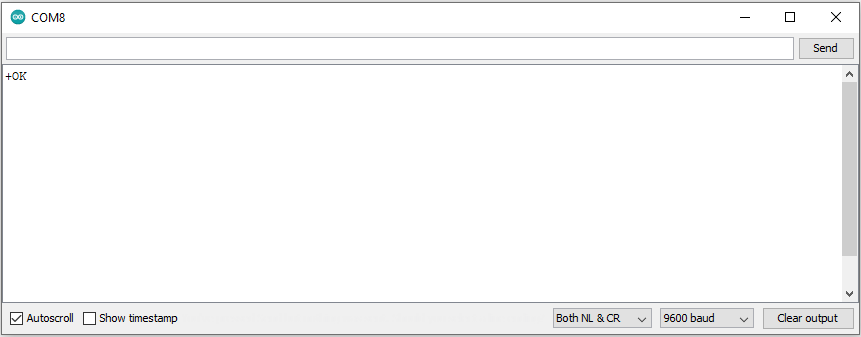
You can now type AT-Commands in the text field on top. First, send: AT (press Enter):
If you receive an “+OK”, sending commands works:
Now send this AT command:
AT+SETTING=DEFAULTThis should result in a +SUCCESS to acknowledge it has been done. To make the settings turn into effect, press the Reset-button on the device and close the Serial Monitor. (You may start it again if you intend to send further AT commands)
Change the Bluetooth name of the BLE-Nano
If you are working with a lot of people around you also using the BLE-Nano (eg. in a lecture room), it might be hard to find your BLE-Nano in the list of devices while connecting to it. It is possible to set a different name for your BLE-Nano with the AT-command below.
Make sure to first upload an empty sketch, as explained in previous paragraph!
Change the name to NEWNAME:
AT+NAME=NEWNAME
After you get a +SUCCESS response, remove the USB cable to restart the BLE-Nano and close the Serial Monitor.
A first try with Bluetooth
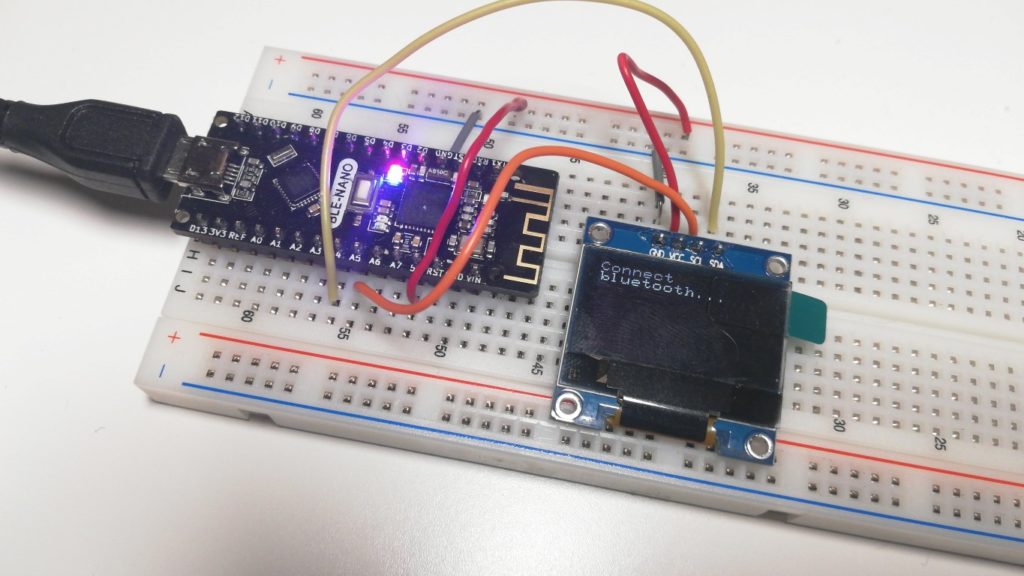
First, add a display to the Arduino, eg. by following this tutorial “Using an OLED Display with Arduino”:
Install Dabble on your Smartphone
We will use the Dabble App to communicate with the BLE-Nano. Dabble is available for Android and iOS.
Be aware that for communication between the Dabble app and the BLE-Nano, you cannot use any Serial communication like Serial.print()! This is because the Bluetooth module of the BLE-Nano is connected to the TX/RX pins of the Arduino. Any serial communication would interfere with the communication of Dabble.
Dabble example 1: use Gamepad module on Phone to control Arduino
Download this sketch bt_dabble_gamepad_oled_display.ino and open it in the Arduino IDE. This sketch uses the libraries “Dabble” and “U8g2” so check if these are already installed (Tools > Manage Libraries). If not, install them. (Learn more about Arduino libraries)
Connect the Arduino to your computer with a micro USB cable. In the Arduino IDE set the board details (your Port is probably different!):
Next, upload ![]() the sketch.
the sketch.
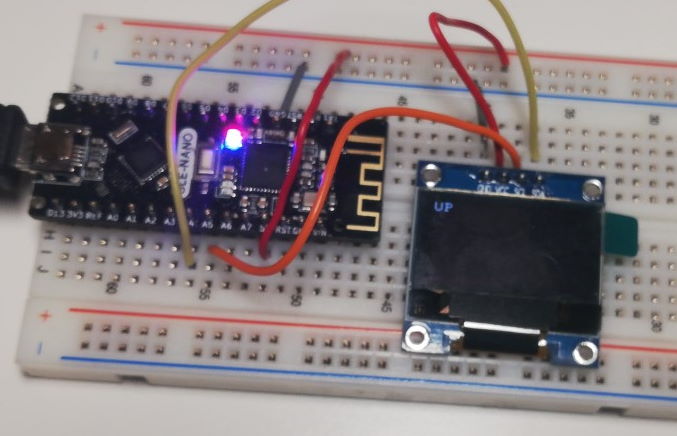
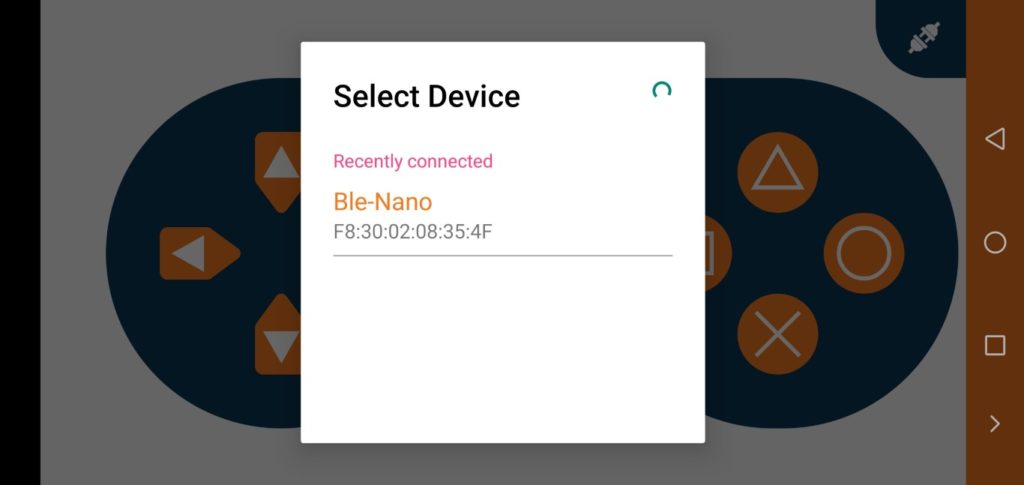
After the upload is successful, on your phone turn on Bluetooth. Start the Dabble app and connect  to the Arduino (default Bluetooth name: “Ble-Nano”). Select the Gamepad tile. You should now see the button pressed on the display connected to the Arduino:

Dabble example 2: use Terminal to communicate with Arduino and read sensor data
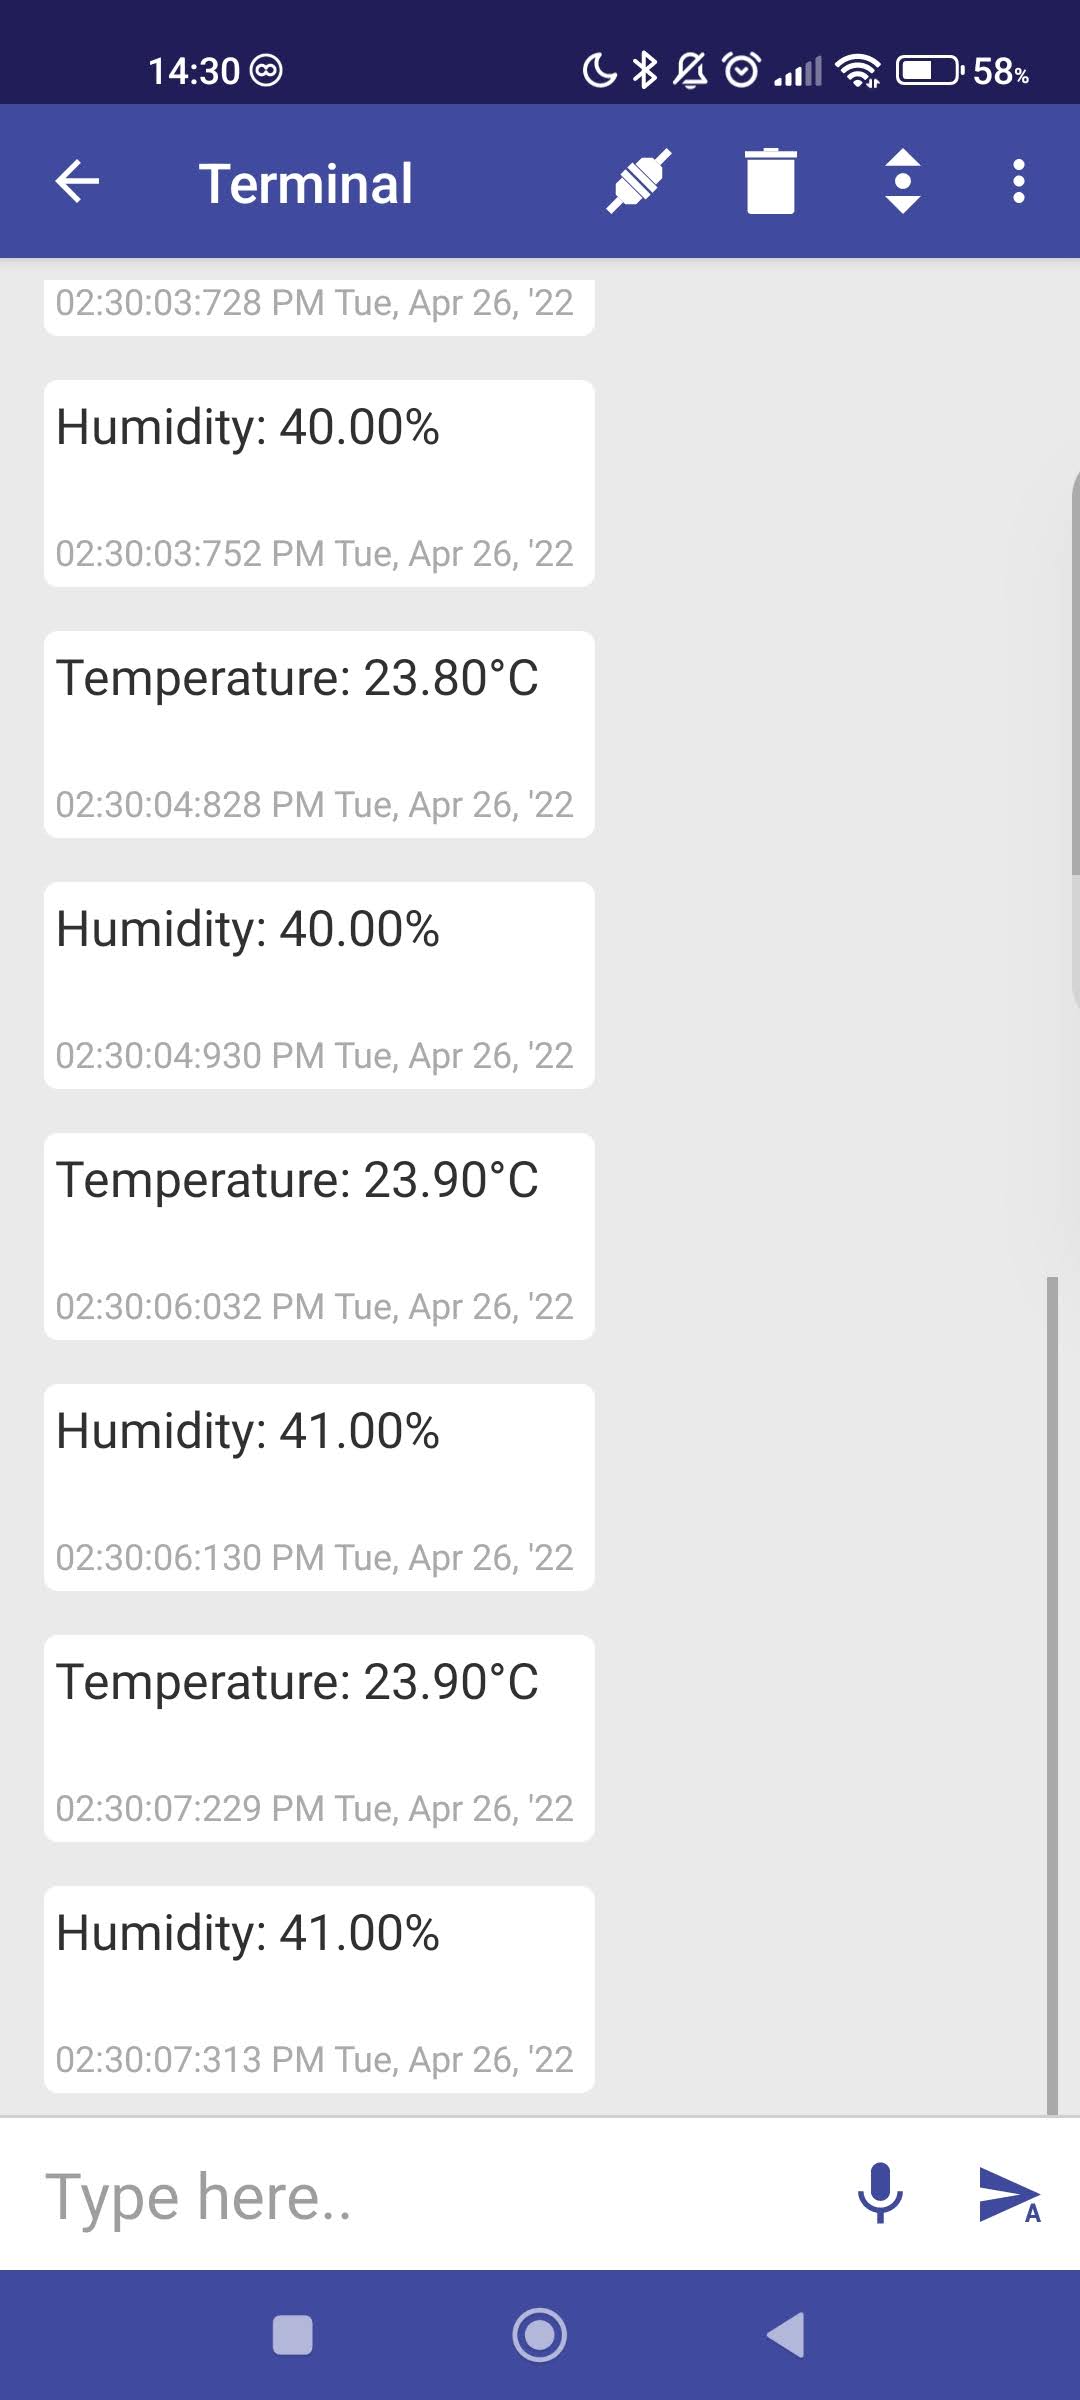
Build a basic sensor setup, eg. the DHT11 temperature sensor with the BLE-Nano (step 1 & 2 of that guide). We can output the sensor readings to the Terminal module in the Dabble App:
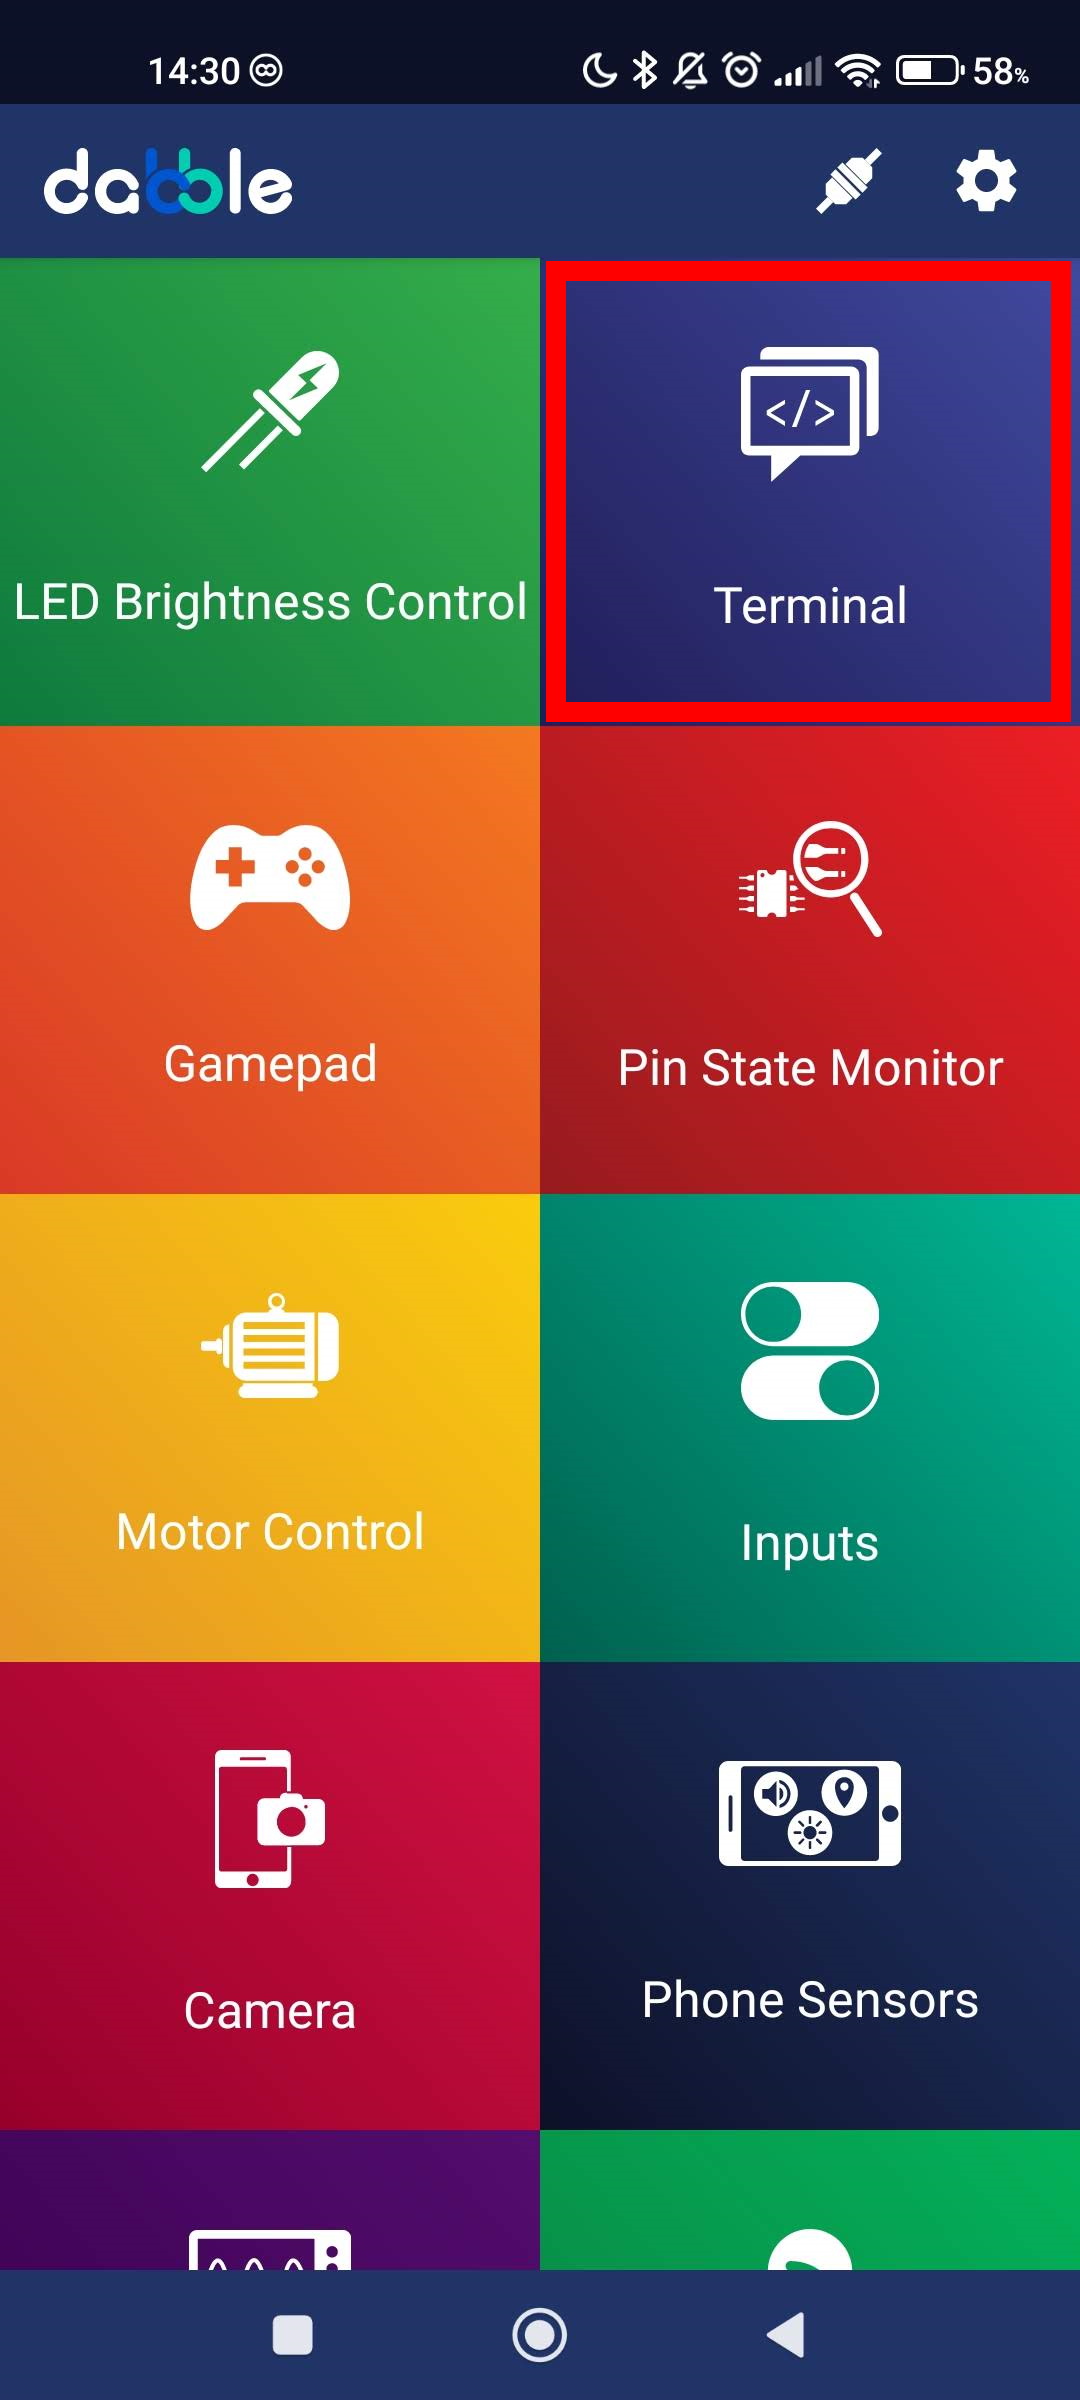
Upload this example sketch: bt_dabble_terminal_temp_sensor.ino and start the Dabble App on your phone. Connect to the BLE-Nano and then select the Terminal tile:
If you would like to read typed commands from the Terminal in the Arduino sketch, you must add extra code to the loop to read the input from the Terminal:
Dabble.processInput(); // general processing of input from app
if (Terminal.available()) {
   // show that we are connected:
   display.clearLine(0);
   display.drawString(0, 0, "T:");

   // show input from Terminal:
   input = Terminal.readString();
   input.trim();
   if (input.length() > 0) {
      input.toCharArray(buf, 10);
      display.drawString(2, 0, buf);
   }
}
The code above assumes the variable input of type String has been declared as a global variable in the top of the sketch.
And then after that, you might want to check that input, for example:
// if the input from the Terminal starts with an 't':
if (input.charAt(0) == 't') {
    // show the temperature on the Terminal
    // ... add code here ...
    // clear input:
    input="";
}
Bluetooth communication between two Nano BLE devices
This is an advanced topic. Make sure you have experience in Arduino programming and learn the basics of Bluetooth first. For an overview of AT-commands for the Nano BLE, read this reference. It contains a list of all AT-commands available for the Nano BLE.
In the Bluetooth communication protocol, the master initiates the connection. A master can connect to up to 7 slaves. Once connected both master and slave can interchange information without restriction (both ways).
The Bluetooth module of the Nano BLE communicates via the Serial connection of the Arduino. This has some advantages, and some disadvantages. Advantage is that no pins are occupied for the Bluetooth module. Disadvantage is that communication may sometimes interfere with regular communication (eg. while uploading or communicating via the Serial Monitor).
Troubleshooting
Make sure you read these notes and understand them before you continue:
- Make sure the Serial Monitor uses the right speed: usually 9600 baud. “Line ending” setting must be “Both NL & CR”. If 9600 does not work, try 115200. Also make sure the proper COM port has been set.
- Some AT-commands will restart the Arduino, which causes the Serial Monitor to not respond to further AT-commands. In that case, restart the Serial Monitor. If that also does not work, close the Serial Monitor, disconnect the USB-cable, then connect it again and start the Serial Monitor.
- If a sketch is running which processes Serial data (eg. using
Serial.read()), you cannot send AT-Commands via the Serial Monitor. So, upload an empty sketch before sending AT-Commands. - You might want to set the baud-rate to 9600 in the empty sketch, to make sure the Arduino is communicating at that speed. Add this line to the setup():
Serial.begin(9600); - If a Bluetooth connection is active, for instance with your phone, the device cannot receive AT-commands and also not upload new sketches. Disconnect first (eg. by powering off one of the devices).
- If a Bluetooth connection is established, the Bluetooth status LED is on. If there is no connection, it blinks.
Get device address of slave:
Since the Nano BLE by default is a slave, we do not have to configure anything. But we must get the device address to be able to connect to it. How to send AT-commands has been explained in detail at the top of this Blog post, at “Reset the module to its default settings”.
Now send: AT+MAC to query the device address and write down the device address (eg. copy, paste into Notepad).

Setup master:
Connect the master to a USB-port of your computer.
Connect the slave to a power source (eg. a usb-charger), but not to the computer (to avoid mix-up with the master).
Start the Serial Monitor, to issue AT-Commands (this has been explained in detail at the top of this Blog post, at “Reset the module to its default settings”).
First, send: AT
If you receive an “+OK”, sending commands works.
If it does not work, upload an empty sketch to the Arduino, as the sketch might prevent communication.
Then try again to send AT.
Next, query the role: AT+ROLE it should be 1 (slave) by default.
If it is a 1 (slave), set it to master using: AT+ROLE=0
Then query the role again: AT+ROLE it should be 0 (RoleMode=0, master) now.
Do a scan: AT+SCAN
It should return a list of device addresses of Bluetooth devices nearby (this can take a while). The slave should be among them.
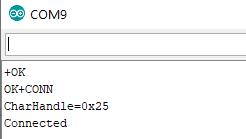
Now connect to the Slave: AT+CON=F8300208354F (replace address with the address of your slave!). You will see a message “Connected” and the Bluetooth status led on both Arduino’s is on.
You can also use AT-commands in the Arduino sketch. Eg. in the sketch for the master, to initiate a connection to the slave when the master starts (the slave must be already on!):
void setup() {
    // Open serial communication
    Serial.begin(9600);
    delay(2000); // wait 2 sec
    Serial.println("AT+CON=F8300208354F"); // connect to slave with given address
}
As a helper, you can use this simple example sketch bt_oled_display.ino to display incoming data on the display, eg. on the master, to receive data from a slave with a sensor or reader:
As an example, you could build a RFID reader (as a slave), with the example sketch rfidscan_display.ino, and make it send the scanned id (UID) of a card or tag and send it via Bluetooth to the connected device (master):
More information
- Keywish nano plus, Github site with documentation and test app from the manufacturer.
- A similar Nano BLE: DFRobot Bluno Nano