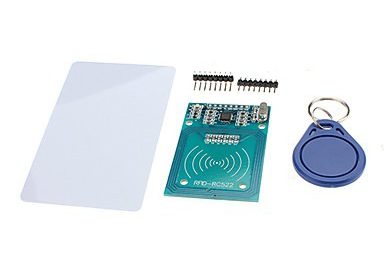
The RC522 RFID module is a cheap module which comes with a card and a dongle.
You can buy it at our local electronics shop the STORES for a few euro’s (search for ‘rfid’ in the price list). Or buy it here. Only thing you have to do before you can use it is solder the header.
If you are unfamiliar with using and programming an Arduino, consider taking this Getting Started tutorial first.
Next, add it to a breadboard and build the circuit (pin layout below the image):
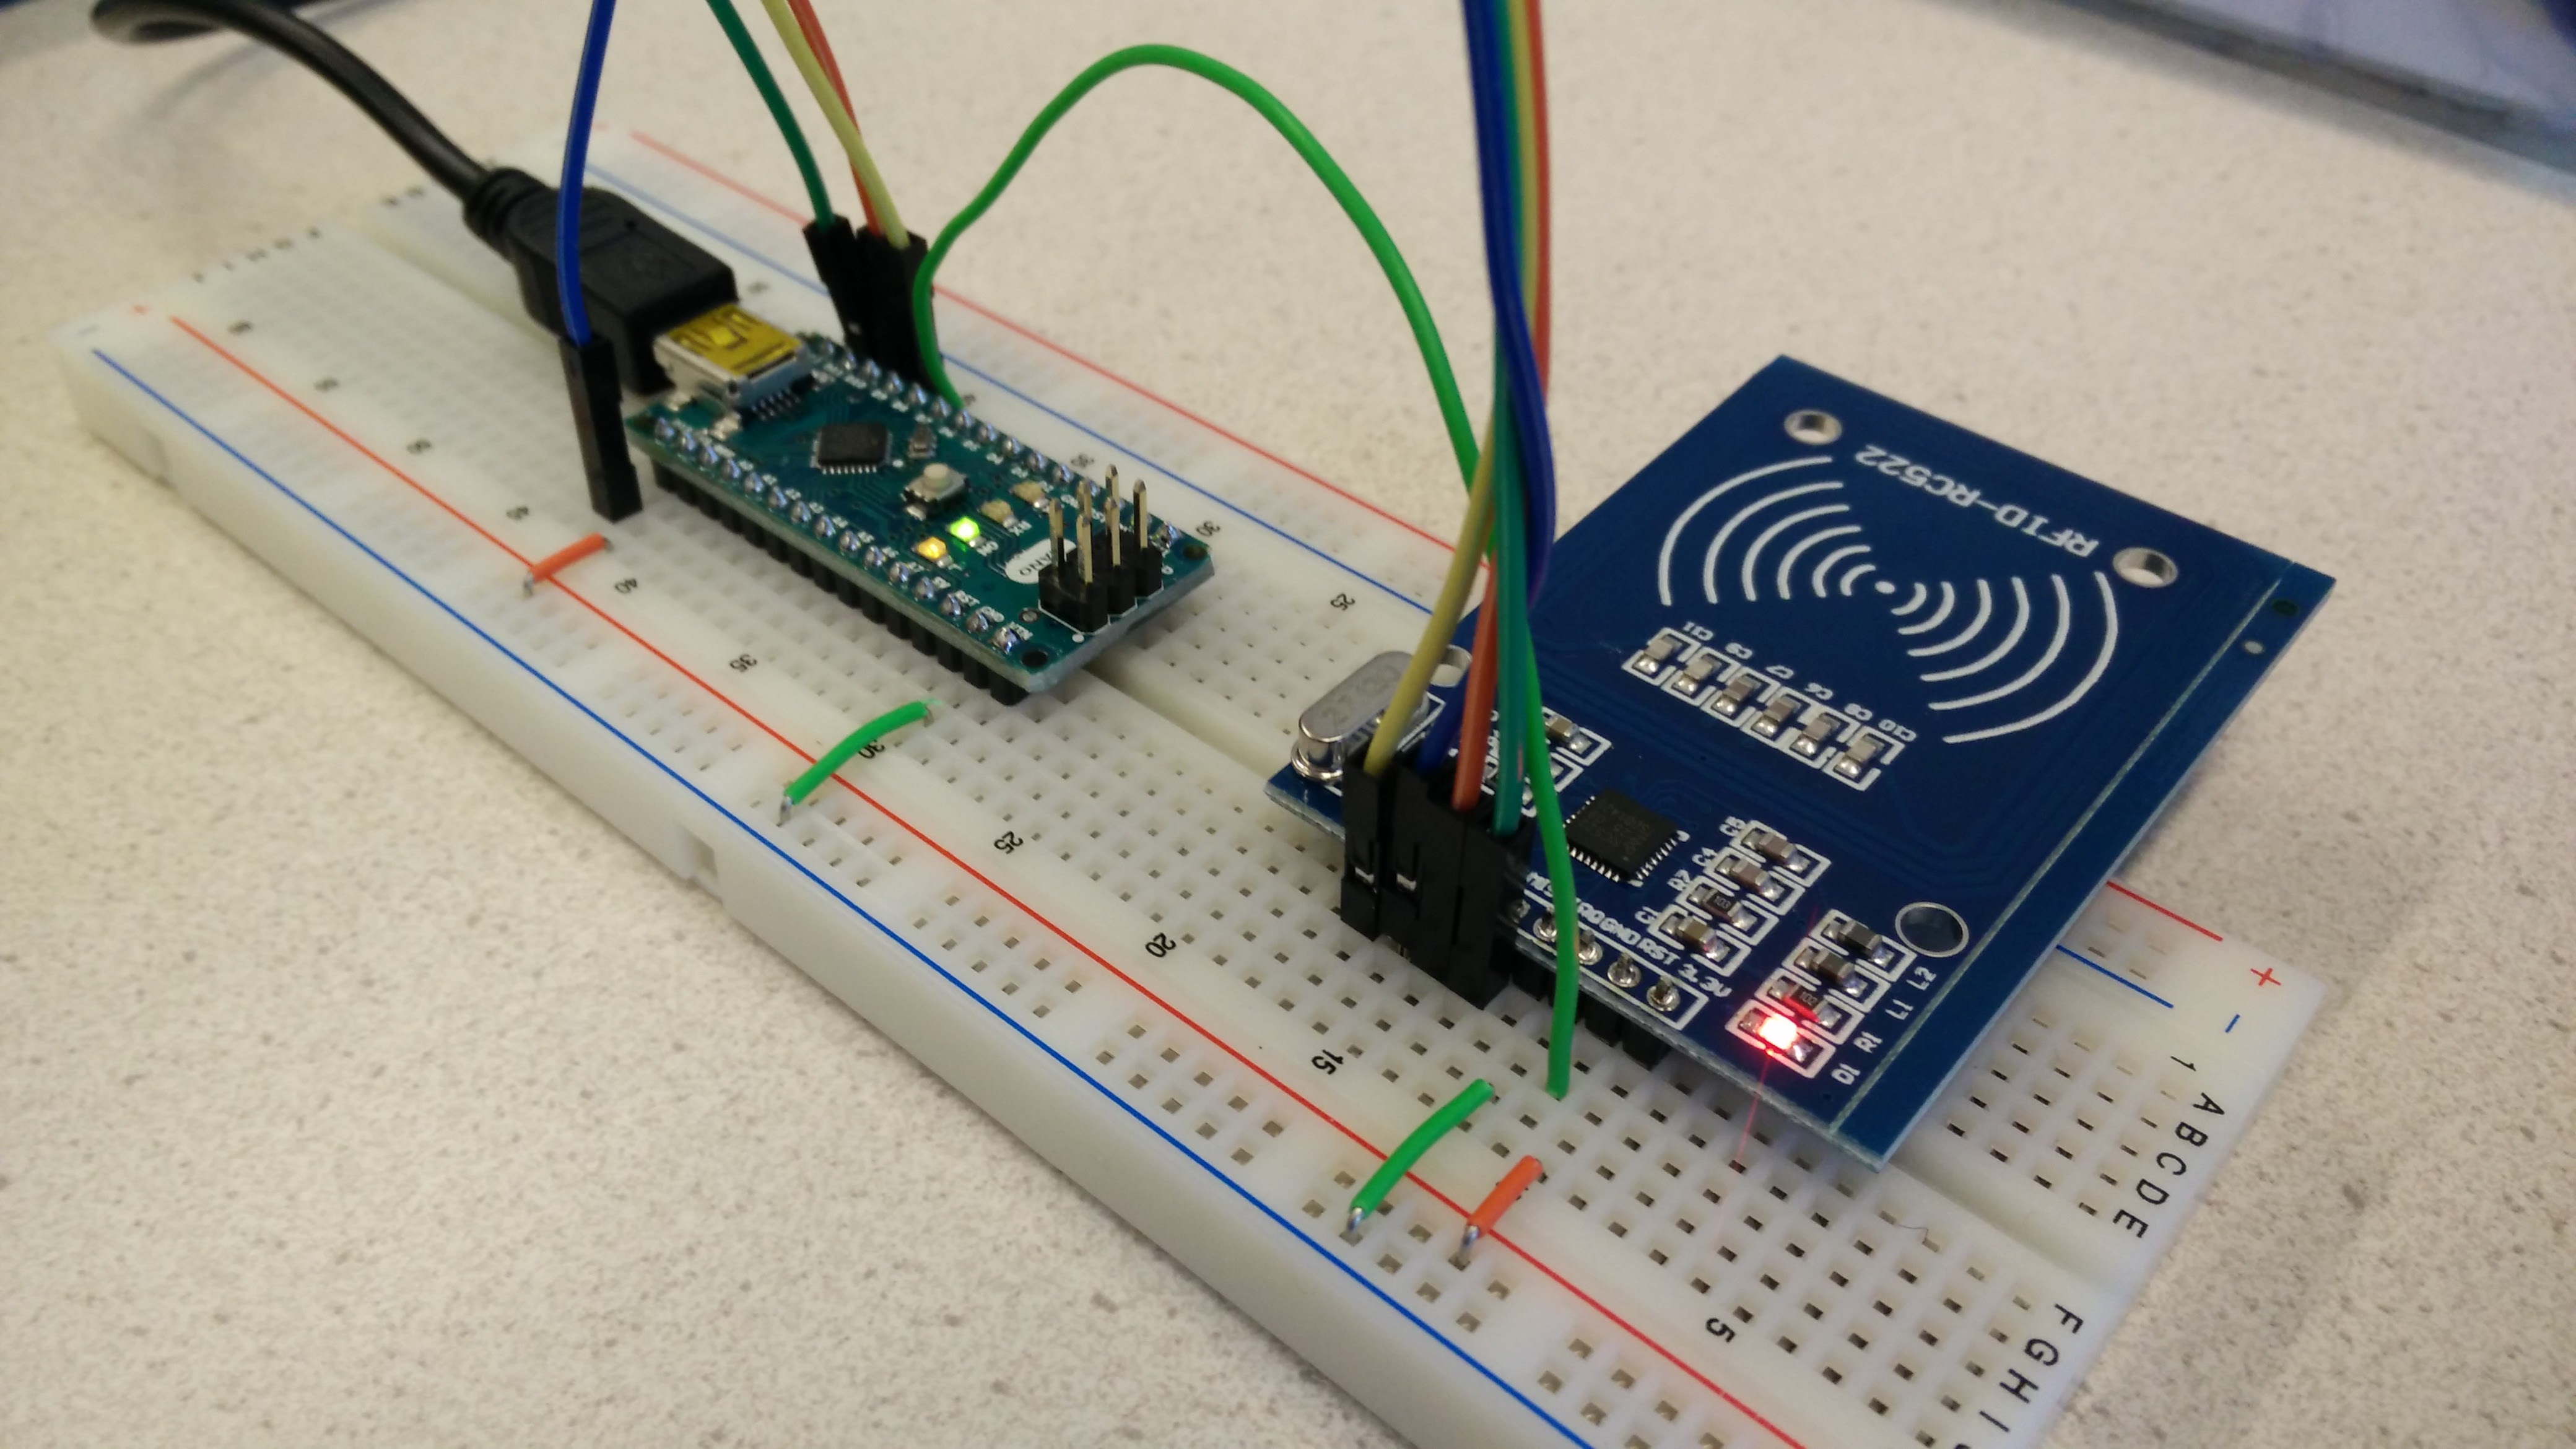
Pin layout:
Signal Pin Pin
Arduino Uno/Nano MFRC522 board
-----------------------------------------
Reset 9 RST
SPI SS 10 SDA
SPI MOSI 11 MOSI
SPI MISO 12 MISO
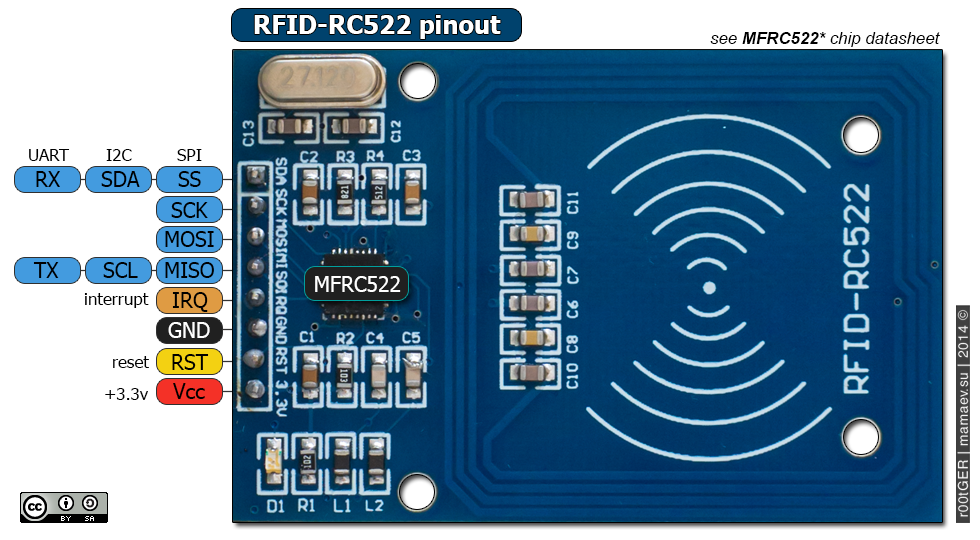
SPI SCK 13 SCKFor details on the wiring refer to the pinout of the Arduino type you use (I used a Nano here) and the pinout of the RFID module. A table with pin numbers is also in the Arduino Sketch (read on).
Now we can program the Arduino and start viewing RFID data in the console. Follow the steps in this tutorial for this. I summarize the steps:
- Install the Arduino MFRC522 Library (Tools > Manage Libraries, search for “MFRC522”).
- Open the “DumpInfo” example sketch via File > Examples > MFRC522.
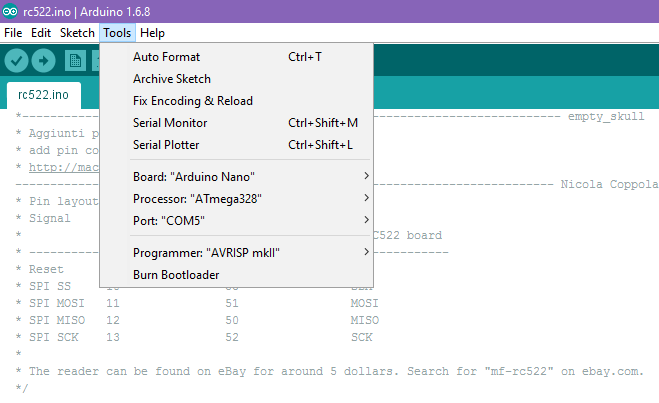
- Upload the sketch (check the proper setup under Tools in the menu of the Arduino IDE, see the image below for my settings).
- Start the Serial Monitor via Tools > Serial Monitor and test the application.
If you want to read the data from the RFID reader in a Java application, continue reading this article: “Add RFID identification to a Java application”.
Examples
rfidscan_display.ino– Show scanned id of tag or card (UID) on serial output (print it).rfidscan_display_authorize.ino– Authorize: check if a scanned UID is authorized (use it as a security device/scanner).