This tutorial describes how to Use App Inventor to build an App which can read the online values of a connected sensor. For this, it uses a WebViewer Component and a Clock to refresh values.
This is part 2 of a series, the first part is to create a connected sensor. For that, do one of these tutorials:
- Build a connected temperature sensor with a Raspberry Pi Pico W – uses MicroPython, do only the first 2 parts, then skip to the last paragraph “Send value to a website, via Wifi”
- Create a connected sensor – ESP32 version, uses Arduino IDE
This tutorial can also be done without a connected sensor, but it will lack live data in that case.
This tutorial demonstrates how to build a simple App using App Inventor which displays live data from a connected sensor. The connected sensor publishes its data on a web server. This App will read the data using a WebViewer component and a timer (a Clock component).
If necessary, do the beginner App Inventor tutorial first.
Install the MIT AI2 Companion App on your phone
To be able to test your app, you can use the MIT AI2 Companion App. There are other ways, but this one is the easiest.
Create the App with App Inventor
Goto ai2.appinventor.mit.edu, log-in, and start a new Project. Type a name for your project. Change the background of the screen to white:

If you scroll down in the list of Properties, you can change the Title (now Screen1), to for instance “Weather station”.
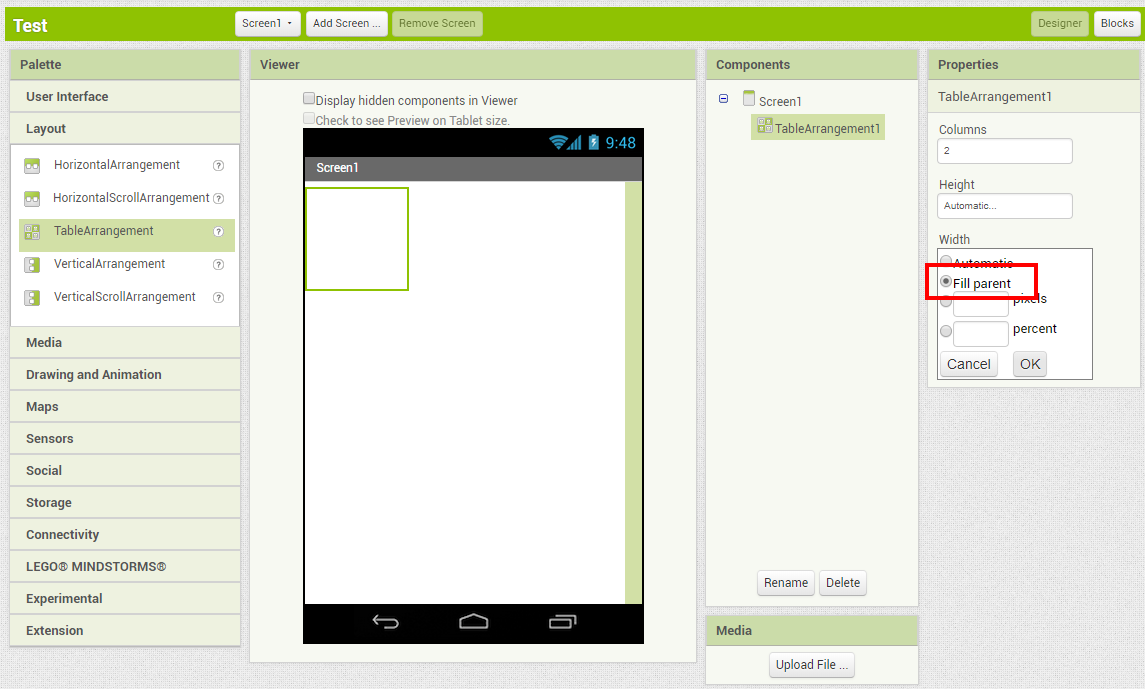
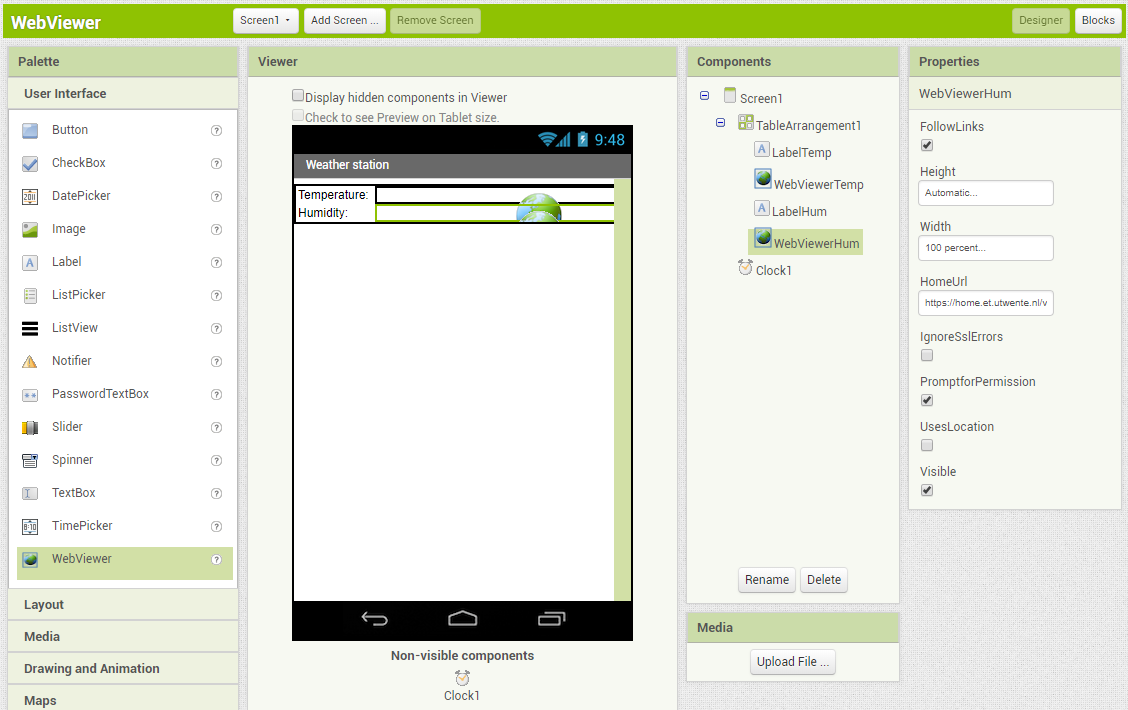
Next, in the Palette, open “Layout” and add a “TableArrangement” (drag it onto the Viewer). Set its width to “Fill Parent”:
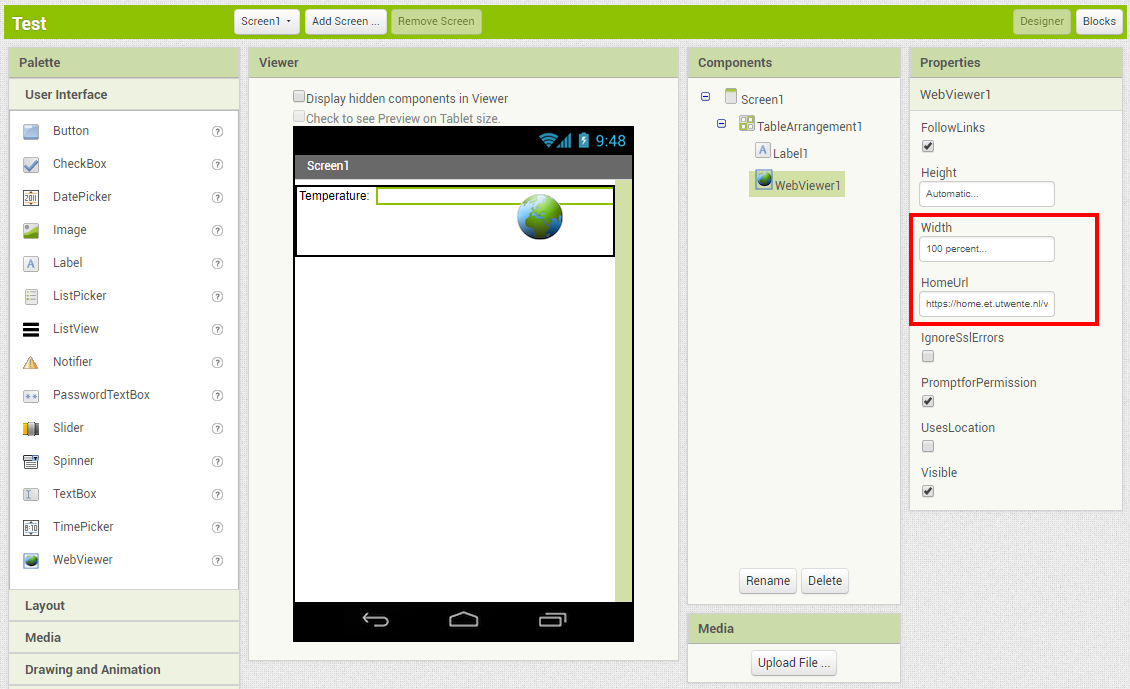
In the Palette, open “User Interface” and drag a “Label” and a “WebViewer” onto the Viewer (make sure they both end up inside the TableArrangement). Change the Text of the Label to “Temperature”, set the width of the WebViewer to 100% and enter the URL in the field ‘HomeUrl’. This can be "https://home.et.utwente.nl/val/temp" if you are testing, or the URL which you used for the connected sensor (see that tutorial):
You can change the names of the components to more meaningful names in the Components window by using the Rename button.
Next, add another “Label” and “WebViewer” (inside the TableArrangement) for the humidity, and set their properties.
The second WebViewer gets “https://home.et.utwente.nl/val/humidity” as the ‘HomeUrl’.
Save the Project via Projects > Save Project in the main menu.
Test the App
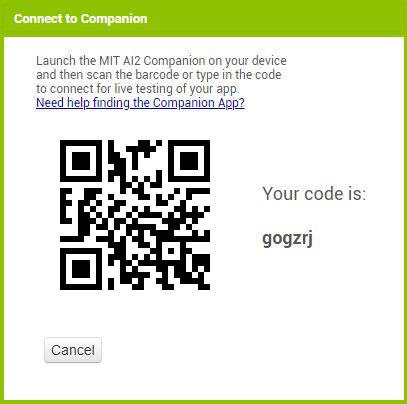
In the main menu, select Connect > AI Companion. Start the MIT AI2 Companion App on your phone and scan the QR-code. This will launch the App on your phone. Check if it works as desired.
It is also possible to test the app with an emulator.
Refresh the values
To refresh the values regularly, we will add a timer to the App. From the Palette, choose “Clock” (its under “Sensor”) and drag it into the viewer. It will not become a visible part of the Userinterface (that why its listed under ‘Non-visible components’). Select the Clock and set its property ‘TimerInterval’ to 10000. This will make the clock ‘tick’ once every 10 seconds (the value is in milliseconds). For testing this is a good value. Later on, you might want to increase that to for instance 300000 (5 minutes).
Now we will program our Clock. App Inventor uses Blocks for programming. Switch to the Blocks interface by clicking the ‘Blocks’ button in the green heading (in the top-right corner):

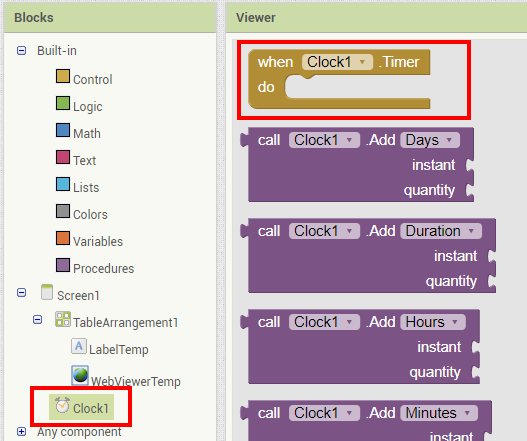
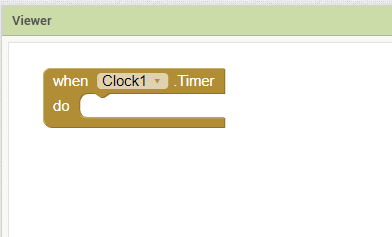
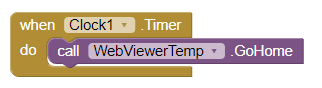
Under ‘Blocks’ select ‘Clock1’ and drag the “when … do” block into the Viewer:
Next, under ‘Blocks’ select ‘WebViewerTemp’ (you might have given it a different name) and drag the “call WebViewerTemp .GoHome” block onto the Viewer. Place it inside the “when … do” block:
Next, select ‘WebViewerHum’ and drag the “call WebViewerHum .GoHome” block inside the “when Clock1 do” block also.
That’s it, we have now programmed both WebViewers to refresh themselves every 10 seconds. You can now test this: if you have the sensor running, breathe onto it, so the temperature and humidity values raise. Check the app if it shows new values. If you do not have a working sensor, you can change the sensor value, by assigning a new ‘fake’ value to it. For instance to set the temperature to 10 degrees, just visit this URL in your browser: “https://home.et.utwente.nl/val/temp/10”.
Read the actual values and respond to that
Just displaying values from the web might not always be what you want. What if you want to read the actual values, and process them?
For instance, do something like: if the temperature is above 25 degrees, display a warning. We cannot do this by simply using a WebViewer.
For this, we will use the Web Component:
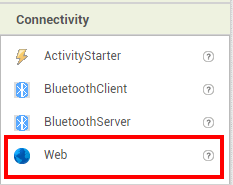
Drag this into the viewer. As the value for its property ‘Url’ set “https://home.et.utwente.nl/val/temp” (or your own version of the variable).
Because we will read the value by using a Web Component, the Web Viewer is no longer needed to display the temperature. So remove that component and replace it by an ordinary Label, name this ‘LabelTempValue’.
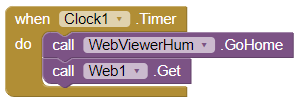
Then, under “Blocks” replace the “call WebViewerTemp.GoHome” with “call Web1.Get”:
This will execute the get-method of the Web1 component and we can respond to that, by adding a procedure which will handle the incoming data from the get-request: click the component Web1 and drag the block “when Web1 .GotText” into the viewer:
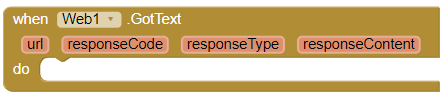
We can fetch the incoming data from the get-request via its parameter responseContent. Hover over the ‘responseContent’ parameter of the block:
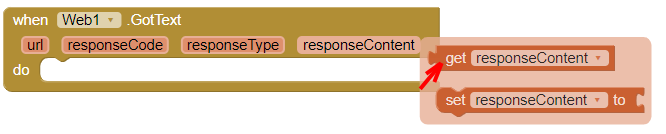
And drag it to an empty spot:

Now, select label LabelTempValue. And choose the block “set LabelTempValue . Text to” and attach the loose ‘responseContent’ parameter to it by dragging it in place:

This might be a good moment to test the App.
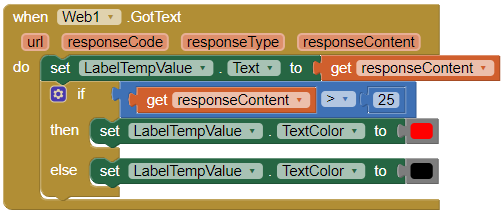
Finally, we can do a check on the temperature. If the temperature is above 25 degrees, we will display its value in red. For this we can use an if-statement:
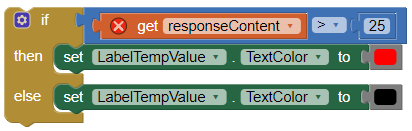
Try to figure out how to create this yourself. Then add it to the “when Web1 .GotText” block:
When testing the App, you might notice that it takes a while before the temperature value is shown. This is because we added a call to Web1.Get to the timer, but that fires only after… 10 seconds. We should also make a call immediately when the screen loads. To do this, click Screen1, then drag “when Screen1 . Initialize … do” into the viewer. And add a call to Web1.Get:

Show time of last update
One more thing that could be useful for this App, is to see the last time the value has refreshed. By now, you should be able to figure this out yourself. You need the actual refresh time of the temperature, which you can get from this URL: “https://home.et.utwente.nl/val/temp?time”.
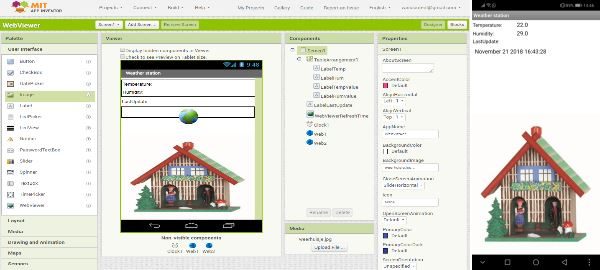
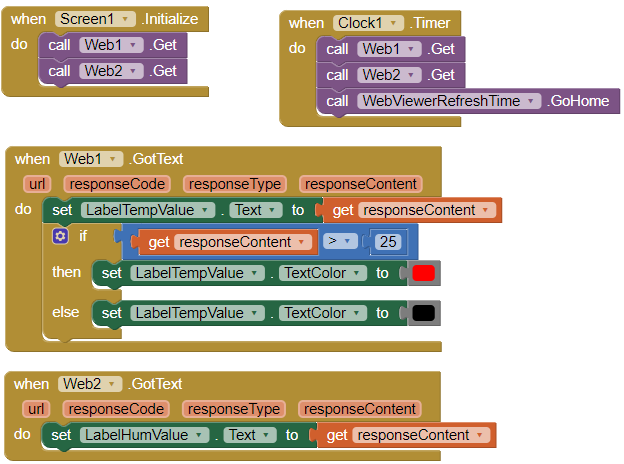
The code blocks for the complete app could look like this:
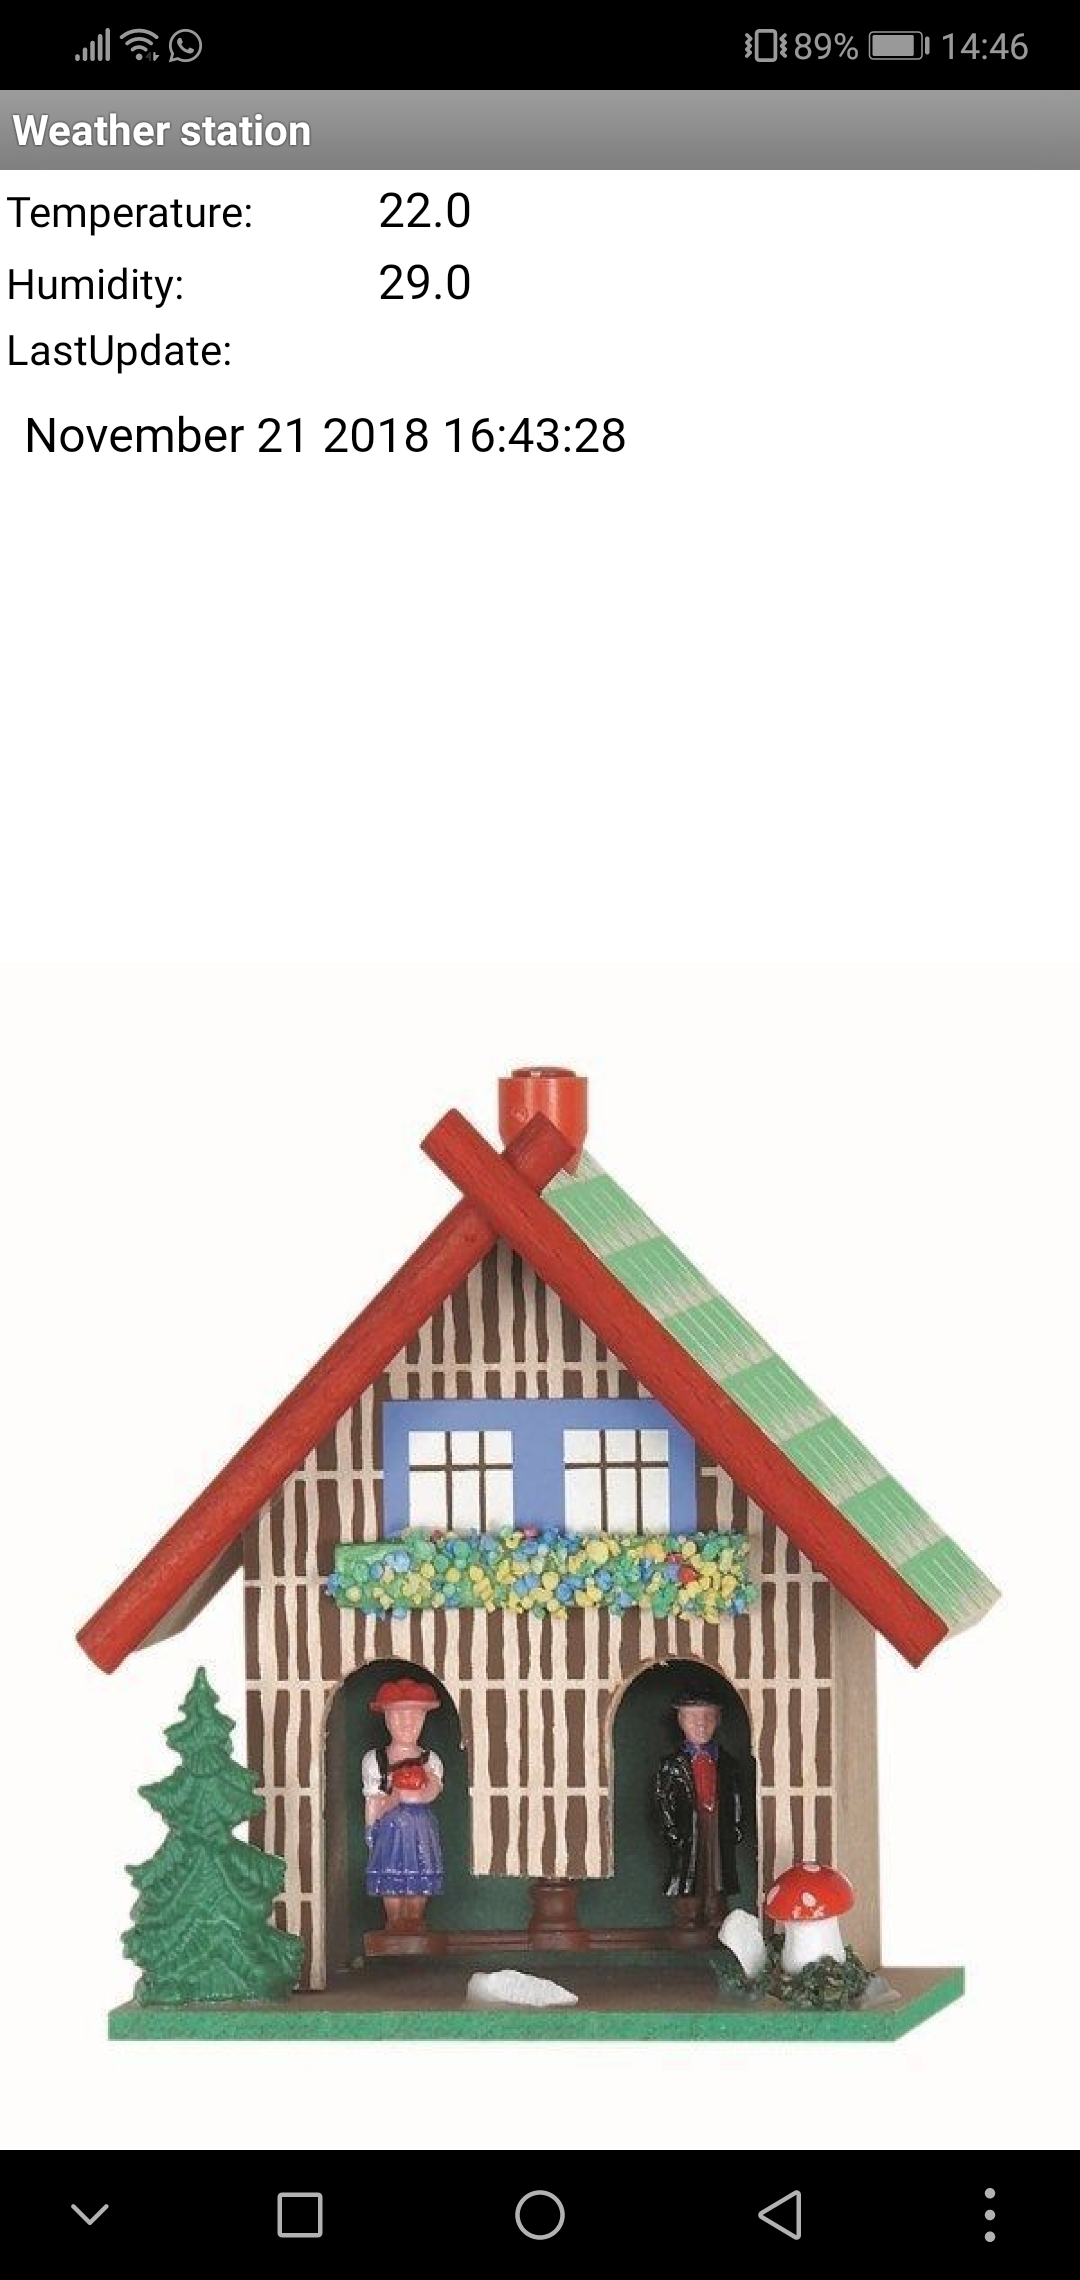
And with a nice image as a BackgroundImage of Screen1 and some styling applied: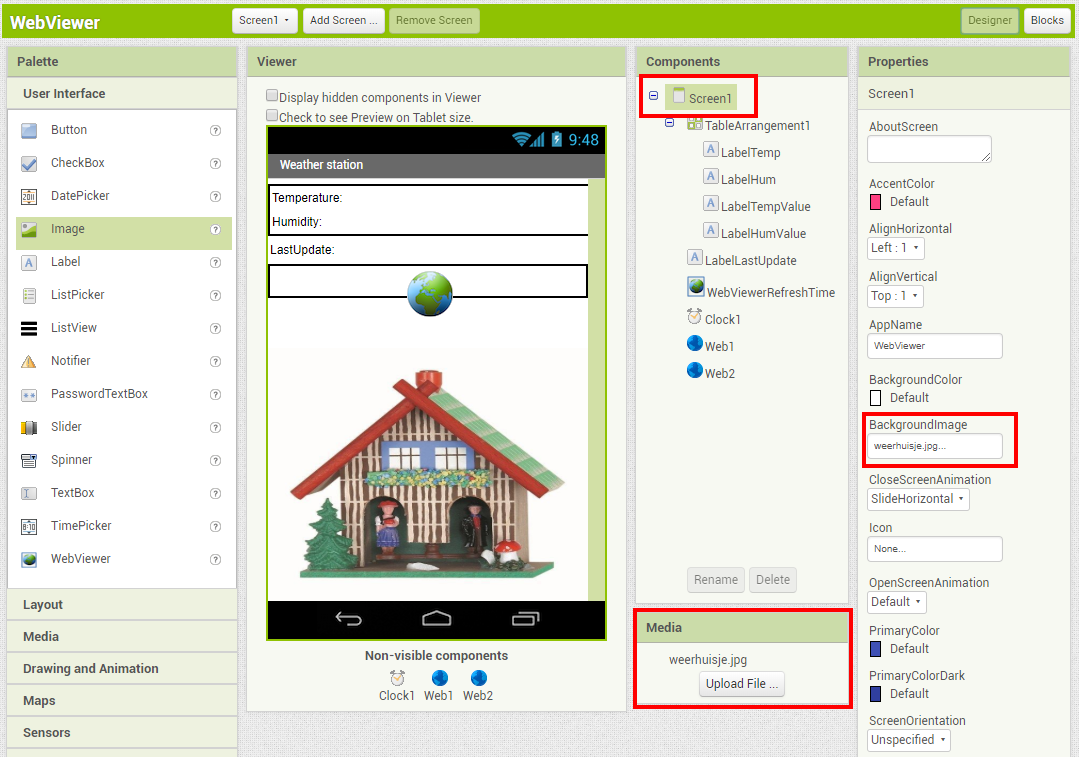
And a screenshot of the final result: