Codesandbox.io is and online coding environment (IDE) which can also be used as a basic HTML/CSS editor. This article briefly introduces the first steps to get started using it for basic web development.
Using Codesandbox for web development has some advantages:
- No software needs to be installed on your computer
- Works in a browser
- If deploying to service: instant website available
- Easily share your code (sandbox) with others
And disadvantages:
- Uploading to your own site takes extra step (you must install an FTP client on your computer as with a regular editor)
- Sandboxes are public (anyone can see your code and files, but cannot modify them), private sandboxes in Pro-plan ($9 a month)
In this article I will show you how to create a basic HTML page with an image and publish that on a website.
Create a new sandbox
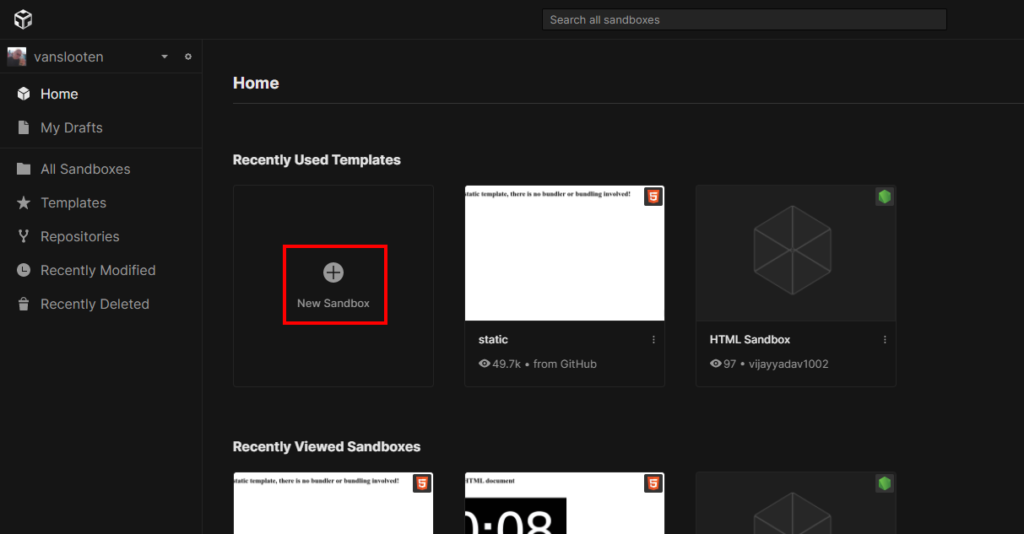
Goto codesandbox.io, register/sign-in and click “New Sandbox”.
Choose template
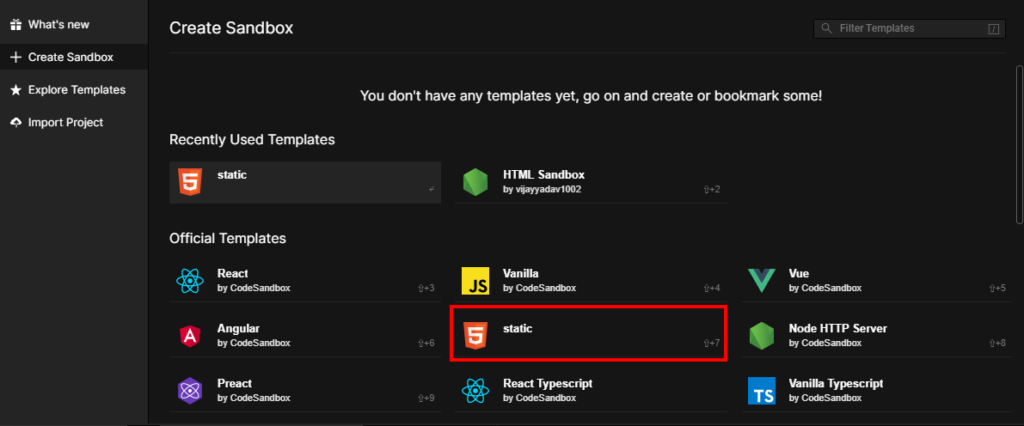
Pick the template “static”:
Start editing
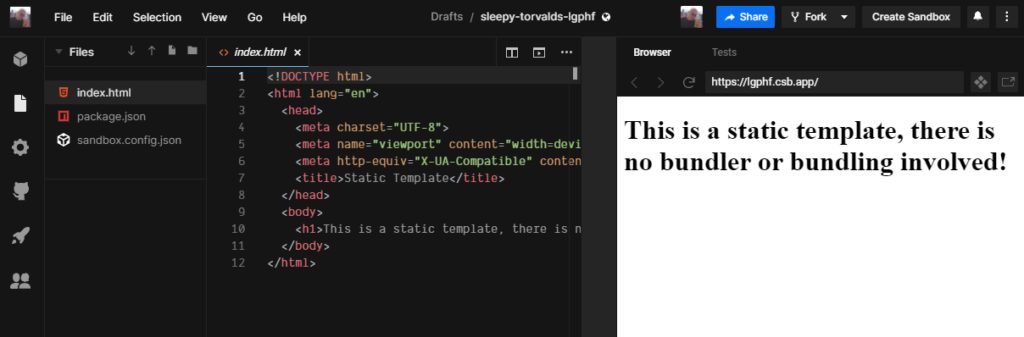
Your editor will appear, and you can start modifying the HTML code:
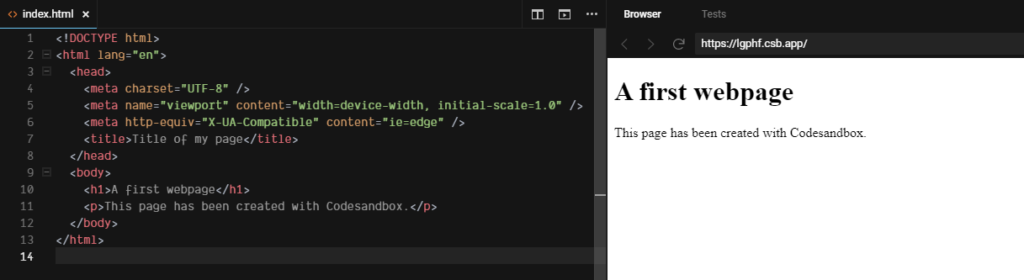
Make some changes to the HTML code, add an HTML element. Then press CTRL+S (or File > Save) to see your changes in the preview:
If you intend to leave the site, first save the Sandbox with a name you can recognize later. In the header, behind drafts, click the name and change it:
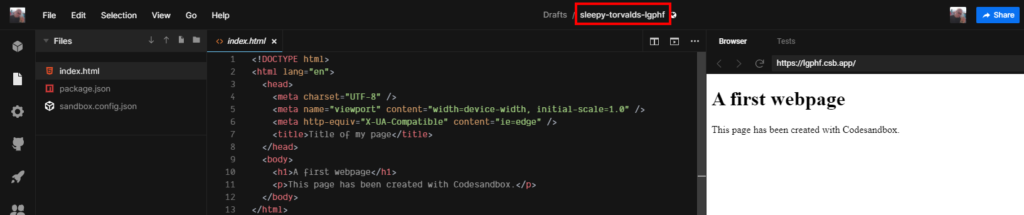
Please note that also the address in your browser changes:

You can use the address, eg. bookmark it, or drag it to your desktop or bookmarks bar to quickly return to your work.
Add an image
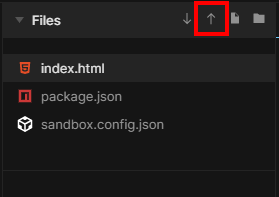
To add an image, you must first upload it to your sandbox. Click the up-arrow in the file explorer:
Select a file and press Open (or Ok). The file will now appear in the main folder. You can also make folders, using the folder-icon. For instance to separate all images into a folder:

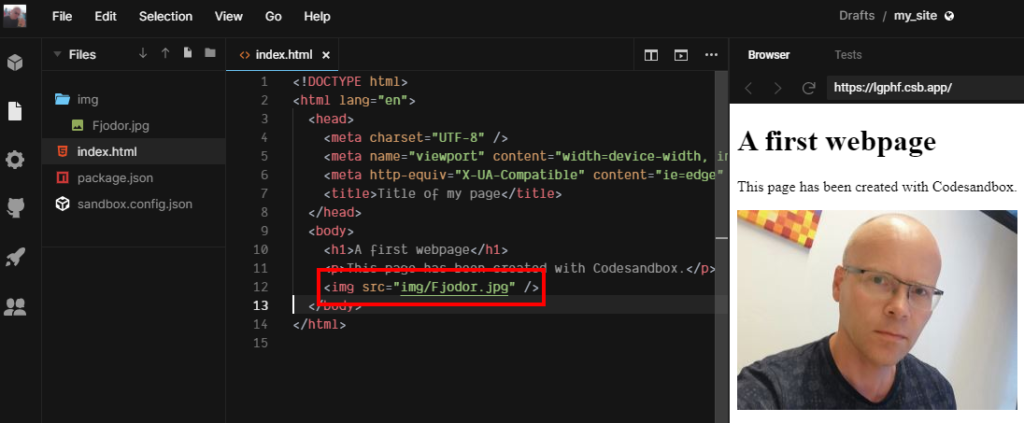
In this example I create a folder img, to which I dragged the just uploaded image Fjodor.jpg.
Now we can use the image in the HTML document by adding the <img> element:
Upload the files to a website
There is no direct way to connect to a website and upload files. however, you can deploy to the service Netlify (you can explore the deployment options via the rocket-icon ![]() on the left). But if you want to upload the files to your own site, you must download the files as a zip-file first.
on the left). But if you want to upload the files to your own site, you must download the files as a zip-file first.
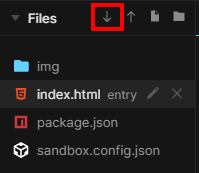
Click the down-arrow:
Next, extract all files from the zip-file, and use an FTP client to upload them to your website. There is a separate tutorial for my students which details how to do this.


