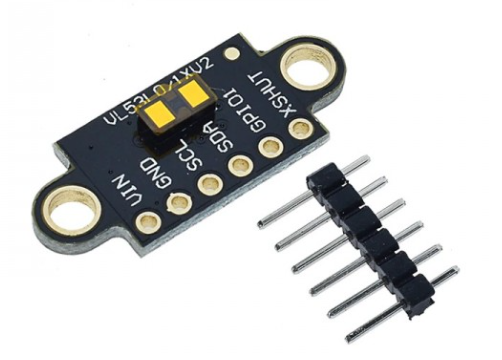
This short tutorial introduces the VL53L1X Time-of-Flight (ToF ) distance sensor and hook it up to an Arduino Nano.
Further directions:
- If you are new to using an Arduino, maybe watch some of the intro video’s first.
- For more tutorials on distance sensors, including various applications, look here.
- You can buy this sensor here.
- Look here if you would like to use the Raspberry Pi Pico with this sensor (code in Python).
- If you are a beginner, do the tutorial with the ultrasonic sensor first, it also guides you how to connect a display.
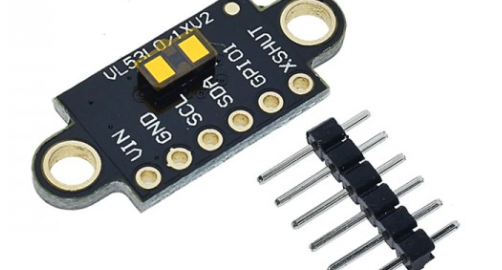
If you bought it like this:

You will first have to solder the header pins.
Connect the sensor
Because the sensor uses I2C its wiring is simple:

Sensor:     Arduino:    Wire color in diagram:
GND         GND         black
VCC         5V          red
SCL         A5 (SCL)    yellow
SDA         A4 (SDA)    blue
It’s operating voltage is 3.3V or 5V, so feel free to connect VCC to either of those.
Test with given example sketch from library
To use the sensor in the Arduino IDE you can install the library “VL53L1X” by Pololu:

After installation, select the example “Continuous” (via File > Examples):

Next, you may Upload this example, and start the Serial Monitor to see its output.
Depending on your application, you could make minor changes to the code to do measurements less frequent and to store the distance value in a variable:

