Learn how to count products on a conveyor belt with a distance sensor. This article explains how to use a distance sensor for counting objects. In this case, we have a conveyor belt with products, which we will count. This article is part of a lecture on use of sensors in Industry 4.0.
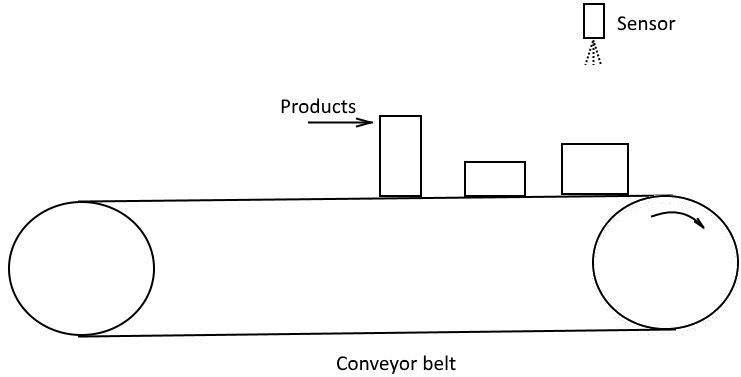
The setup looks like this:

You can use any distance sensor for this. For example the ones below which are detailed in separate tutorials:
- A Sharp optical distance sensor
- A HC-SR04 ultrasonic distance sensor
- An ESP32 module with a distance sensor (either optical or ultrasonic)
Start counting
Counting products can be added quite easily if you have a properly working distance sensor. Every time a product is in sight, and the previous state was “nothing seen” we can increase a counter.
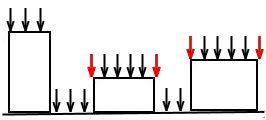
It is possible that readings contain glitches (short mis-reads, arrows in red in image below). So never trust a single reading. To make it more robust, we can count the number of consecutive measurements that have spotted a product.

So we need 3 variables: the product counter, a variable to count the number of consecutive measurements, and some variable which we can use to help determine if something was in sight. We use ‘height’ for this last one, because we will mount the sensor above the belt. If the measured distance is less than the height, we assume an object was ‘seen’. Add these and make sure they get proper values.
First, declare the variables at the top of the sketch (before setup()):
int height = 100; // you will have to calibrate this
int count = 0; // counts products
int product = 0; // keeps track how many consecutive measurements spotted a product
We will use variable product to count how many consecutive measurements have spotted a product. When it changes from 1 to 0, we know there was a product (products gets counted after it disappears out of sight). It works like this:

Now add if-statements to accomplish this:
if (distance>=height) { // nothing seen
    if (product==1) { // change from 1>0: product no longer in sight confirmed
        count++;
        // display count
        // display "-" (no product in sight)
    }
    product--; // one less measurement confirms presence of product
    if (product<0) product=0;
  }
  else { // product in sight
    if (product==2) { // change from 2>3: product presence confirmed
        // display "PRODUCT"
    }
    product++; // one more measurement confirms presence of product
    if (product>3) product=3; // more than 3 confirmations is not necessary
}
At the comments, add code to display messages. Eg. at “// display count” show the value of variable count on the display:
itoa(count, buf, 10); // put value into string buffer 'buf'
display.draw2x2String(0,5,"    "); // clear line
display.draw2x2String(0,5,buf);
Now do a test (on the conveyor belt) to check if it works as expected.
Try increasing the belt speed. If things do not work as expected, consider altering the timing of the loop to increase or decrease the amount of measurements taken. The call to delay() at the end of the loop() can be used to change this. For example, the code below will do a measurement every 100ms (10 times a second). This does not consider the time it takes to do the measurement and to do the processing (this might take another 50ms or so).
void loop() {
  // read distance:
  unsigned int distance = ...

  // do some processing & display results ...

  delay(100); // wait 100ms
}
Complete solution
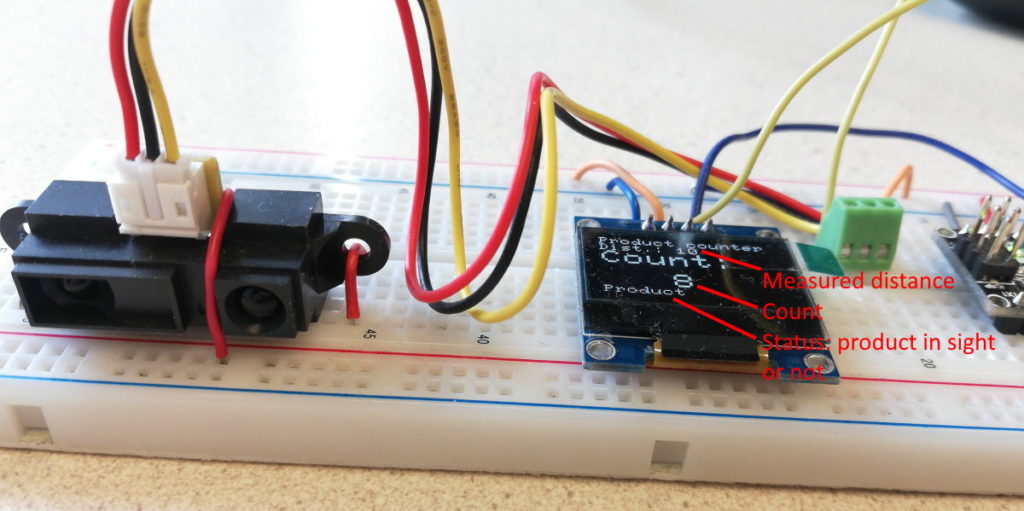
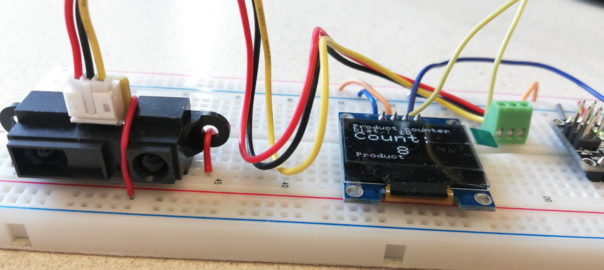
This is how it might look on the display:

You can find complete code for each of the sensor-setups mentioned at the beginning of this article:
- Sharp optical distance sensor (with Arduino Nano): ir_sensor_counter_with_display.ino
- HC-SR04 ultrasonic distance sensor (with Arduino Nano): ultrasonic_sensor_counter_with_display.ino
- ESP32 module with ultrasonic distance sensor: ultrasonic_sensor_counter_with_display_esp32.ino
Our goal was to learn how to count products on a conveyor belt with a distance sensor. I hope you succeeded in this.
