This tutorial extends the tutorial of a temperature sensor with a display, and adds data logging to that. This can be realized by logging to an SD card (part 1), by logging to a website (via Wifi) (part 2) or by logging to the memory of the Raspberry Pi (part 3).
Part 1: Data logging to a microSD Card
First, create a temperature sensor with a display. This part of the tutorial adds logging the temperature and humidity to a CSV file on a microSD card to that.
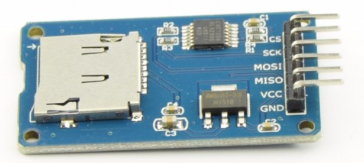
Insert an sdcard in a microSD Card Adapter Module:
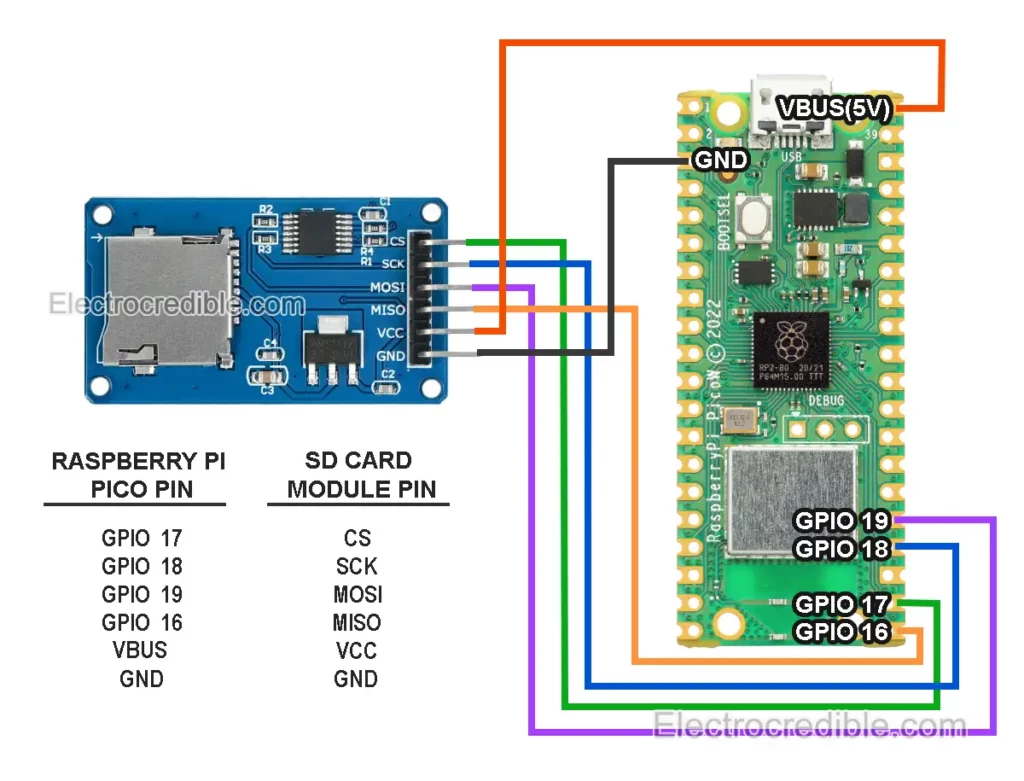
Connect the module:
| Module pin | Raspberry Pi Pico pin |
| CS (chip select) | GPIO 17 |
| SCK (serial clock) | GPIO 18 |
| MOSI (master out slave in) | GPIO 19 |
| MISO (master in slave out) | GPIO 16 |
| VCC | VBUS (5V) |
| GND (ground) | GND |
Please note that we moved the signal wire of the temperature sensor and connected that to GP15! (it was on GP16 in the temperature sensor tutorial).
If you did not install MicroPython on the Raspberry Pi Pico yet, do so. Also install the Thonny editor (incl. Python). For details see the tutorial of the temperature sensor.
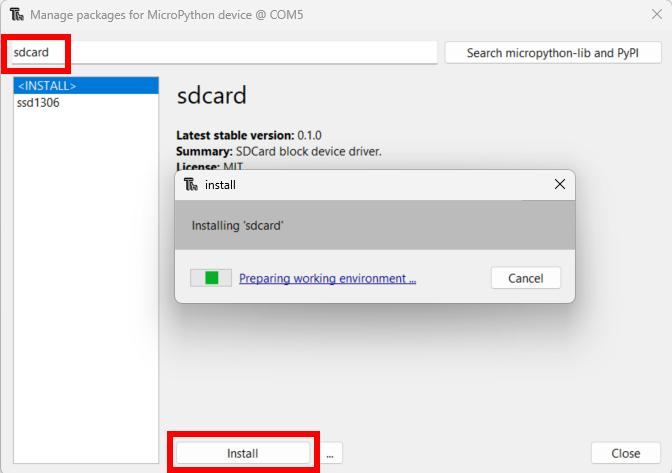
Install the sdcard and ssd1306 libraries (In Thonny, via Tools > Manage Packages):
Next, download and open the example Python file dht11_display_datalogger_sdcard.py in Thonny. Connect the Pico with the USB cable. Run the code.
If all goes well, it should start logging data to the card (check that in the Shell in Thonny).
After a while, unplug the USB cable. Extract the sdcard and plug it in your computer (or use a card reader). Check the file sdtest.csv, open it with a text editor, to view its contents.
More information:
- Interface Raspberry Pi Pico with Micro SD Card Module
- Raspberry Pi Pico — Micro SD Card Interface
- Raspberry Pi Pico & Pico W Pinout Guide
Part 2: Data logging to a website (via Wifi)
Check out the tutorial: “Build a connected temperature sensor with a Raspberry Pi Pico W”. It leads you through steps to connect the Pico to your Phone, and send sensor values to the Phone, via Bluetooth. All the way at the end of that tutorial, at the paragraph “Send value to a website, via Wifi”, it also gives an example script of how to connect to Wifi and send the values to a website, which could store or log the data.
It is also possible to do datalogging to Google Sheets but as you can see in this tutorial that is a bit of a hassle.
For Wifi, our students can utilize the IOTroam wireless service at our university.
Part 3: Data logging to memory of Raspberry Pi
There is a nice tutorial “Raspberry Pi Pico and Logging Sensor Data” (+video here) from Hans-Petter Halvorsen that covers this very well. It ends with creating a chart for the values on your desktop, using matplotlib.
More on data logging
- CSV Data Logger: Read and Write CSV Files with Pi Pico W (time-based temperature readings from onboard sensor of Pico)
- Raspberry Pi Pico W: Getting Started with MQTT (MicroPython). MQTT is a communication protocol used in Home Automation and IoT applications.


