This tutorial will explain how to deploy a basic, html-based site (consisting of static pages) to Github pages. This tutorial assumes you already have some basic knowledge of how to create webpages and coding in HTML, CSS. If not, do this tutorial first.
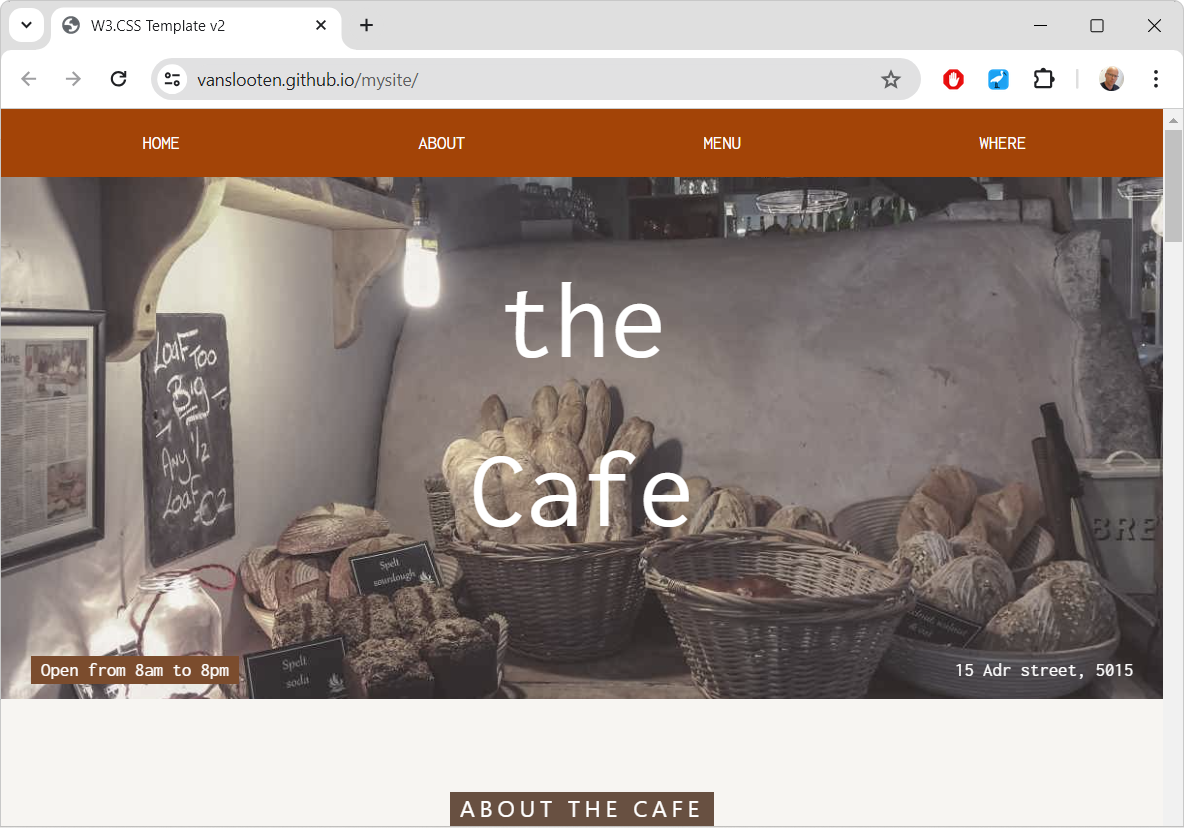
For this tutorial this template based on the W3.CSS framework from w3schools was used. How to make that is explained in this video tutorial.
Register & create a repository
Goto github.com and sign up.
A repository is an online folder that can contain code. On the main page, press New to setup a new repository.

Fill in some details, for example (change to your own likings):
Repository name: mysite
Description: My personal website
Choose ‘Public’
Select ‘Add a README file’
And finalize: Click the ‘Create repository‘ button
Upload the first files (index.html and style.css)
After you have prepared a basic HTML/CSS based website on your own computer, you can upload that to Github.
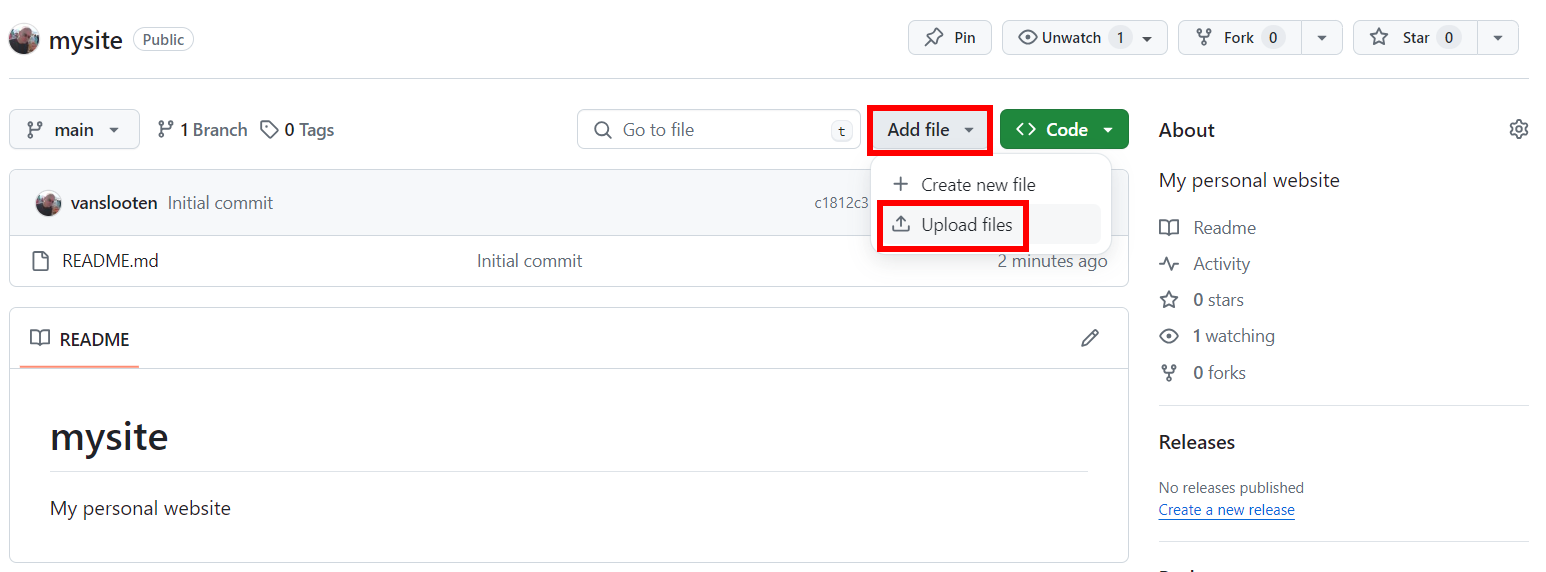
Click the Add file menu in your repository and select the option Upload files:
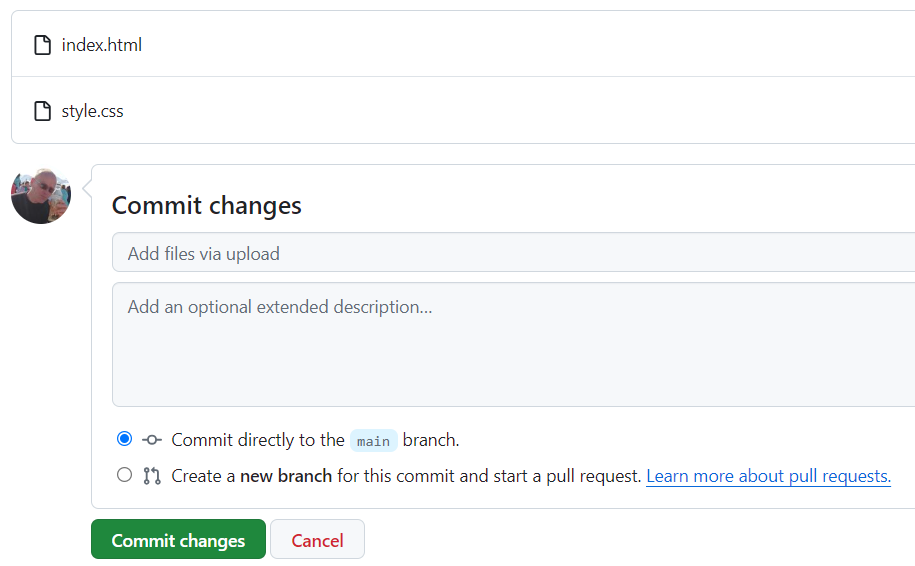
Then select the files of your website from your computer, with the main HTML file named index.html.
Remember to put all your CSS and JavaScript files in the repository as well. Next, click ‘Commit changes’ (twice):
Upload images
We assume you would like to create a folder named “img” for these.
To create a folder in the repository, click Add File > Create new file
In the field for the filename, type the name of the folder, followed by a ‘/’: so “img/”, then type “.gitkeep” as the filename:

Click ‘Commit changes‘ (twice) to make the folder.
Next, go to the new folder and upload the images there via ‘Add file‘ > ‘Upload files‘.
Make sure to select all files in the folder so all images will be uploaded.
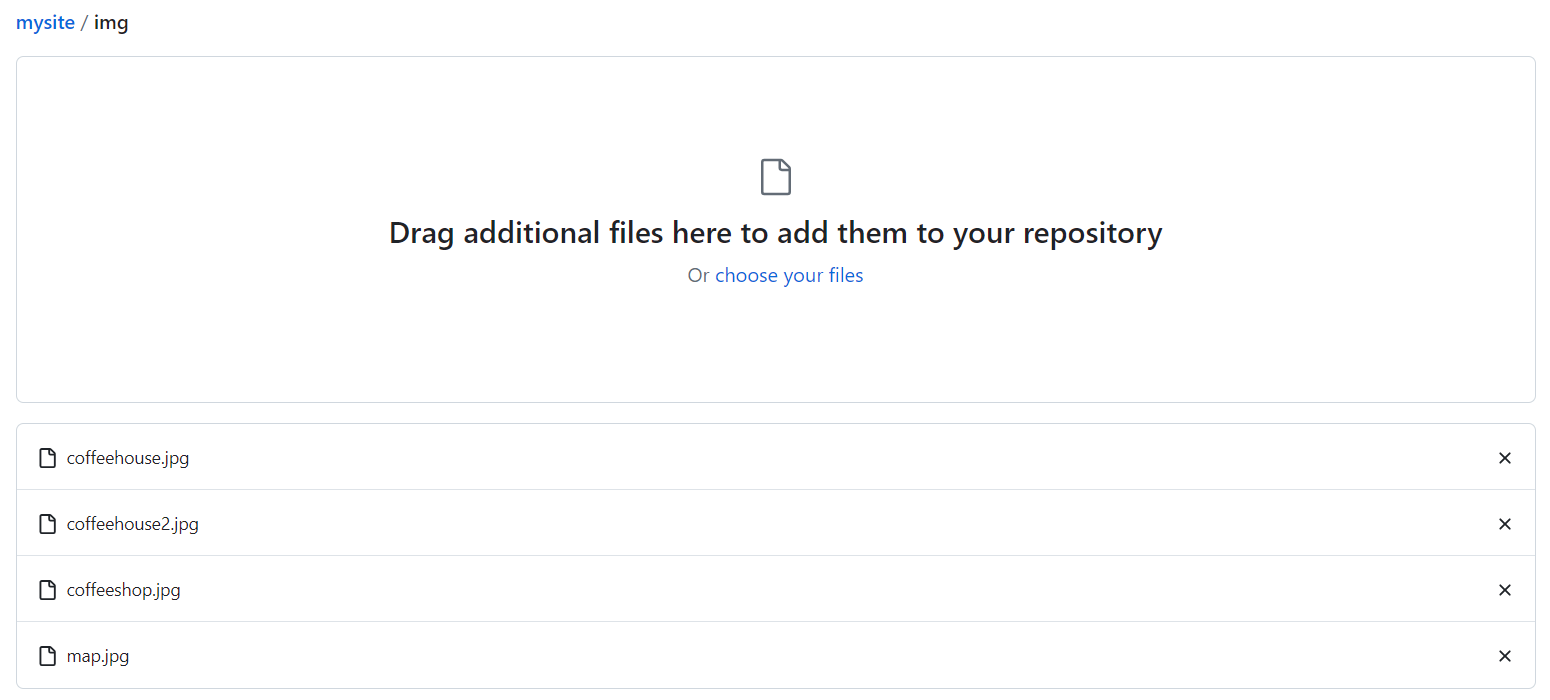
Scroll down and click ‘Commit changes’ to finalize the upload.
Alternatively, you may also drag-and-drop an entire folder (containing images) directly into the Code view.
In Visual Studio Code, you can also upload your project to GitHub using Git (click to view steps)
Here are the steps to upload your project to GitHub using Git:
1. Initialize a Git Repository
Open a terminal in the root directory of your project and run:
git init2. Add Files to the Repository
Add all the project files to the staging area:
git add .3. Commit the Files
Commit the added files with a descriptive message:
git commit -m "Initial commit: <description of your project>"4. Create a New Repository on GitHub
- Go to GitHub and log in.
- Click the New button to create a new repository.
- Enter a repository name (e.g.,
HelloWorldWebsite). - Choose visibility (public or private).
- Click Create repository.
5. Link the Local Repository to GitHub
Copy the repository URL from GitHub (e.g., https://github.com/username/HelloWorldWebsite.git) and run:
git remote add origin https://github.com/username/HelloWorldWebsite.git6. Push the Code to GitHub
Push the local repository to GitHub:
   git branch -M main
   git push -u origin main
7. Verify the Upload
- Go to your GitHub repository page.
- Refresh the page to see your uploaded files.
Your project is now uploaded to GitHub.
Your project is now on Github, but needs to be published to Github Pages still:
Publishing to GitHub Pages
Before your site can go live, you must build and deploy it. Under your repository name, click Settings.
At the left, under the “Code and automation” section of the sidebar, click Pages.
Then, under ‘Build and deployment’ specify the Branch: From the dropdown under ‘None’, select ‘main’:
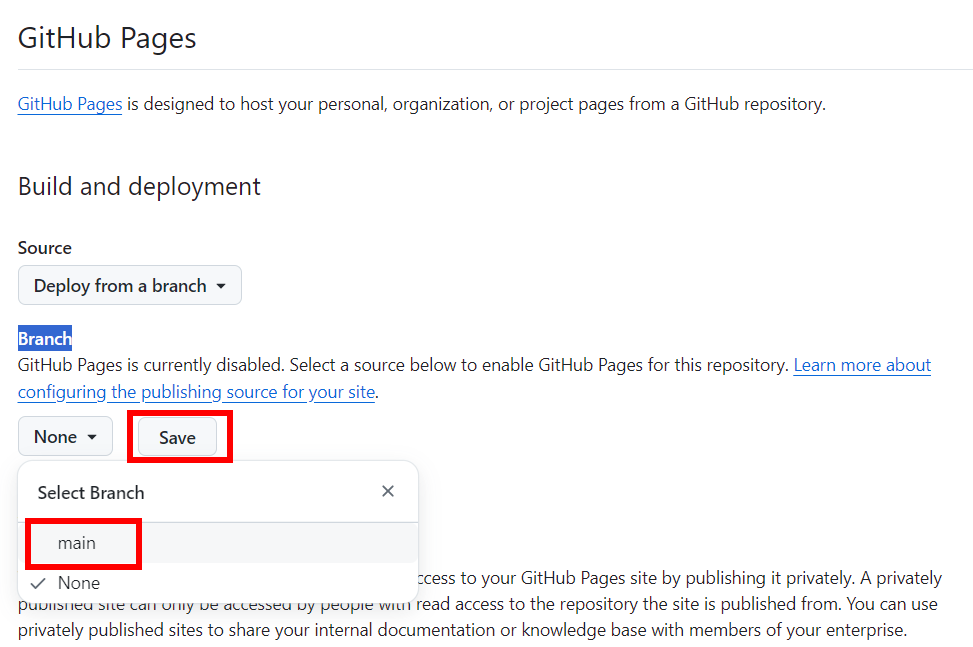
And then press ‘Save’.
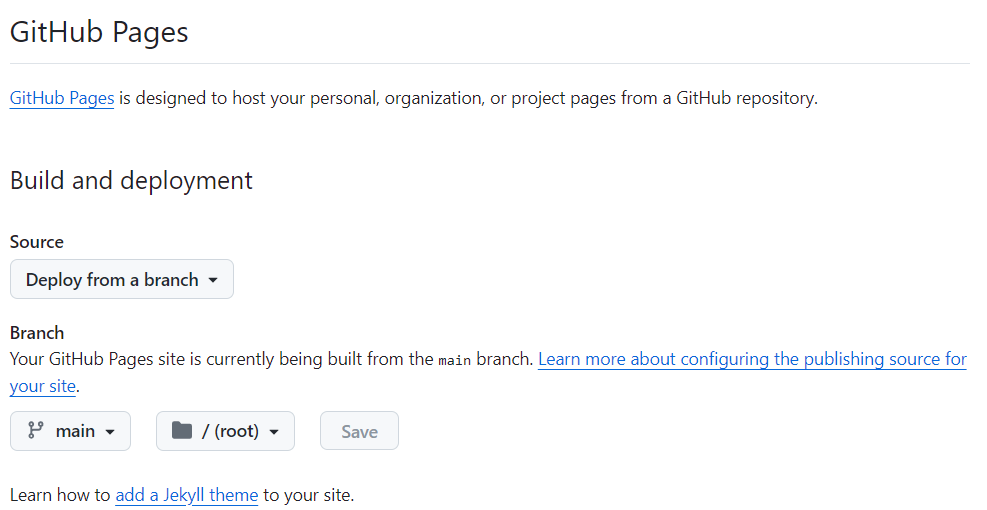
Your site will now be deployed (it will mention “Your GitHub Page site is currently being built…”):
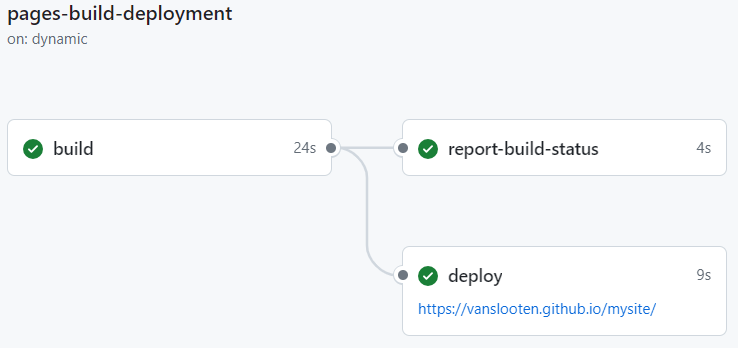
After this, go to ‘Actions’ and click ‘pages build and deployment’, if all went well, this should show the deployment status and your website address.
Click that to visit it and check if it works.
Updating the site
After making changes to your files, you can simply upload new versions of files in the same way you did in the previous steps, or use Git to commit changes.
Drag-and-dropping files (or folders) into the Code view on GitHub should also work.
More info
Resulting website: