Update: 30-03-2026
This is a quick tutorial to get started with AI assisted coding in Visual Studio Code. This tutorial assumes you already have a basic understanding of the working of Visual Studio Code.
Since new releases of Visual Studio Code comes with the GitHub Copilot extension pre-installed, when you launch Visual Studio Code for the first time, it will look like:

If you have not done so yet, open a new folder to start with as your workspace.

If the Copilot extension is not available yet in your version of Visual Studio Code, you can install it via Extensions (in the Side Bar).
If the Copilot chat window is not visible, you can open it via the icon next to the search input in the middle of the title bar.
When you type a first prompt, you will be asked to connect to GitHub:

At which you can sign in or create an account:

After signing in, you can set some preferences, check the ones you are interested in getting AI assistance on:

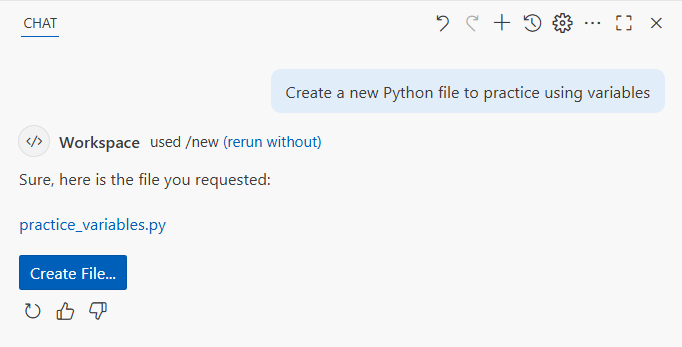
As an example, the prompt used here was “Create a new Python file to practice using variables”. Which could be a good prompt if you are starting to learn coding, eg. from here.
Next, Copilot will continue executing the initial prompt:

After which you can click “Create File…” to add the code to the current workspace:
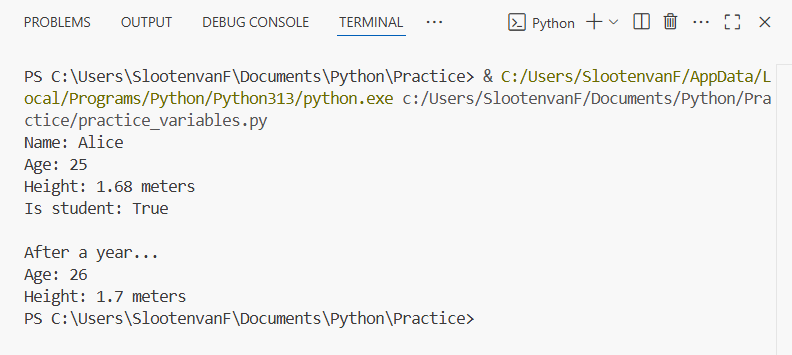
And the generated file is added:

Which you can run ![]() :
:
A second example, with prompt “Now add a second example to practice arrays and tubles”: (notice my typing error, which was on purpose, simulating a student listening to one of my lectures, but didn’t know how to spell tuples 😉
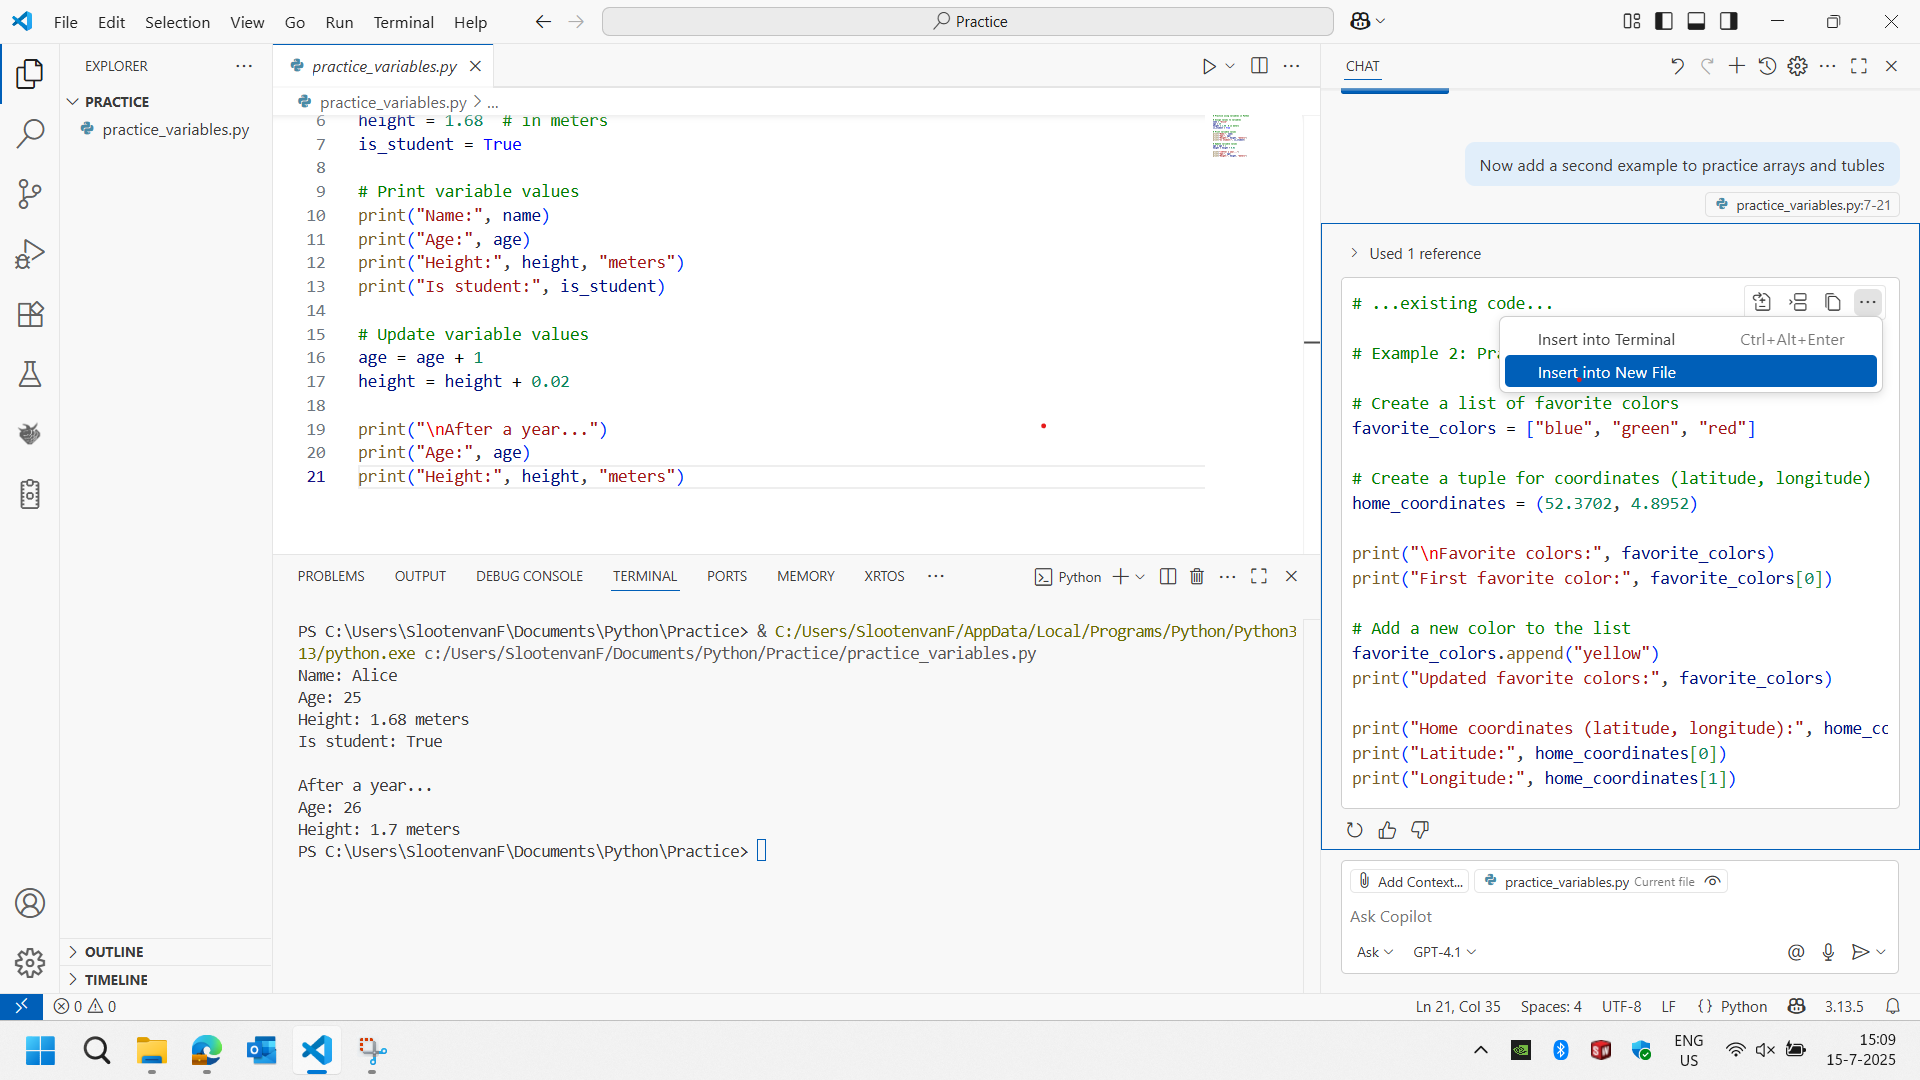
Above, notice the selection of the option to insert it as a new file in the workspace.
As you can see, Copilot can handle, and corrects for, some spelling and/or other errors typically made by novice users.
You can also make adjustments to the code based on instructions or pseudo code you type as comments (lines that start with a ‘#’ are single line comments). Copilot will then make inline code suggestions, which you can accept with the Tab key:
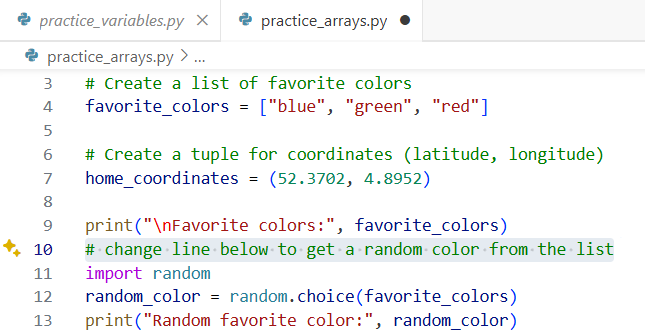
So here, instead of printing the First favorite color, we randomly select a favorite color.
Now give it a try yourself, and see where you end up with.
Switch model
If you have some experience with AI tools, you might want to switch language model. You can do that from the dropdown at the bottom of the chat input:

You can also switch between Ask, Edit, and Agent modes. Agent mode is more advanced, and is optimized for making autonomous edits across multiple files in your project. Learn more about the different modes here. Or watch this video.
Switch AI Assistant
If you prefer another assistant, it is also possible to install that, as many other AI Assistants are available as extensions. Personally I use for instance Gemini through the “Google Cloud Code” extension.
Caution
Getting help with writing code is nice, and can be tempting when you are learning. However, it is important that you keep up with the assistant, in understanding what you are doing, and what exactly is being generated. As soon as you no longer understand the code that is generated, you should stop, and consider alternative ways of learning. Eg. look up statements that you do not fully understand, in a coding reference, tutorial or book. And practice that a bit further. Or ask the assistant to explain that 😉
Eventually, even AI will make mistakes. If you do not see those mistakes, you are in for some trouble(shooting). Learning how to debug might be a skill to go for if that happens:
More:
- Debug code with Visual Studio Code
- Debugging in Thonny
- ChatGPT-4 Code Debug (JavaScript/HTML)
Alternatives for AI assisted coding in Visual Studio Code
Some other great tools/coding environments that offer AI assistance also:


