
Figma tutorial: a first app
Latest update: 28-11-2024
This tutorial introduces the basics of prototyping an app with Figma. It quickly 'touches' all necessary steps without going into too much detail. If you have any suggestions for improvements please let me know!
Start
Login to Figma.com and register if you have not done that. Then click New design file to create your first Figma file:
For this prototype, we will create a simple app mockup, consisting of two screens (frames in Figma).
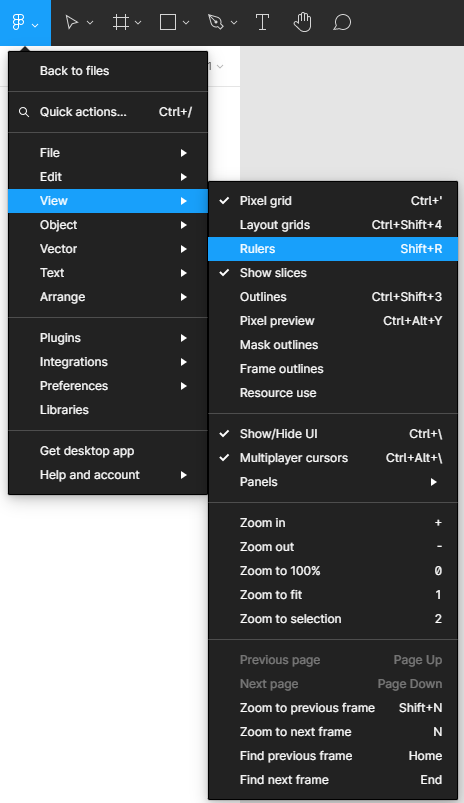
The main menu is accessible via the Figma icon, the most left icon in the menu bar (see below). If you need some guidance when drawing shapes, you can for instance turn on rulers via the menu:
For this tutorial, the "light" theme was used. You can switch themes via Preferences > Theme
1. Create first frame
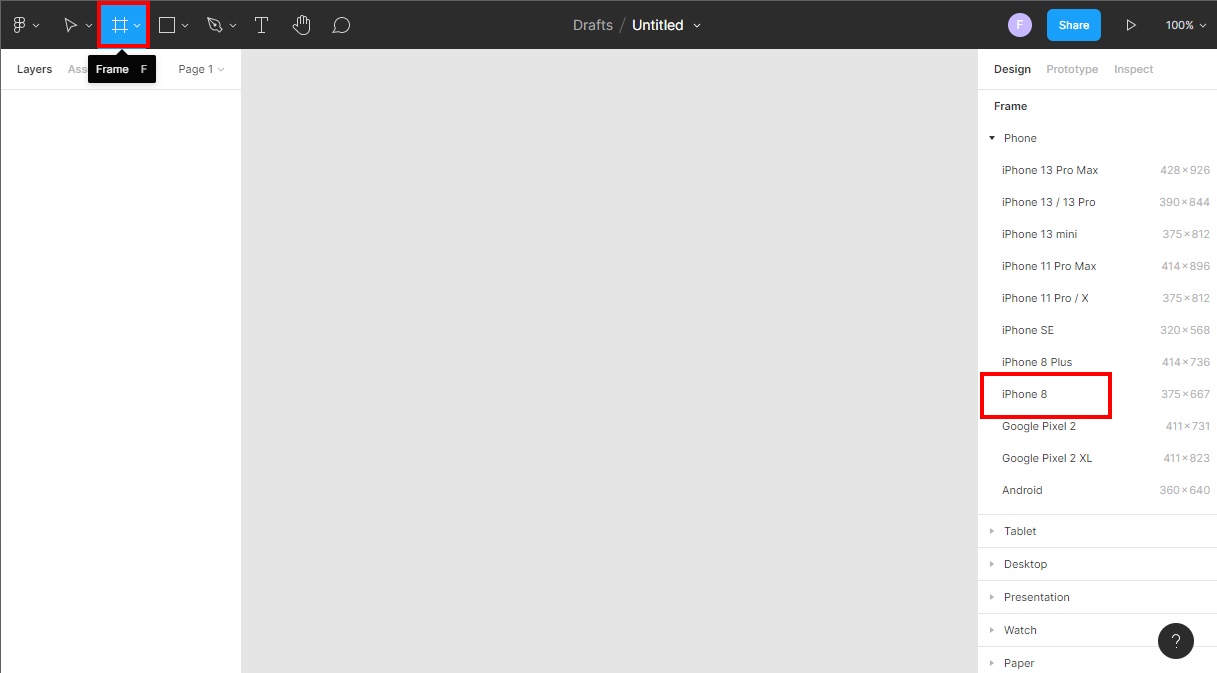
A frame can be used to create a screen of the app. Select the frame tool (click it once). Notice the list of pre-formatted frames in the right sidebar. Pick a frame, eg. the 'iPhone 13 & 14':
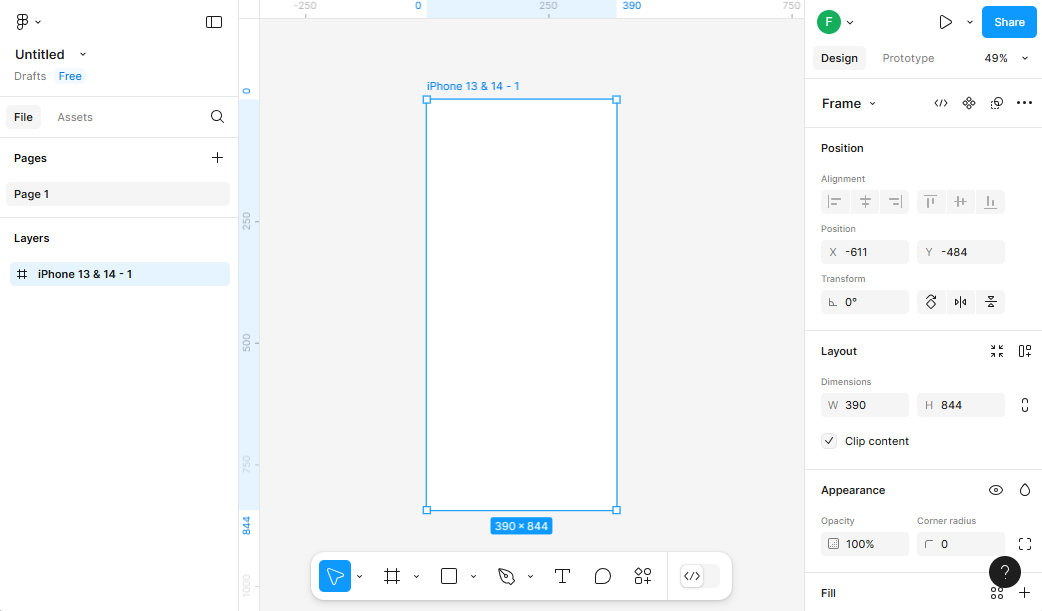
The frame appears:
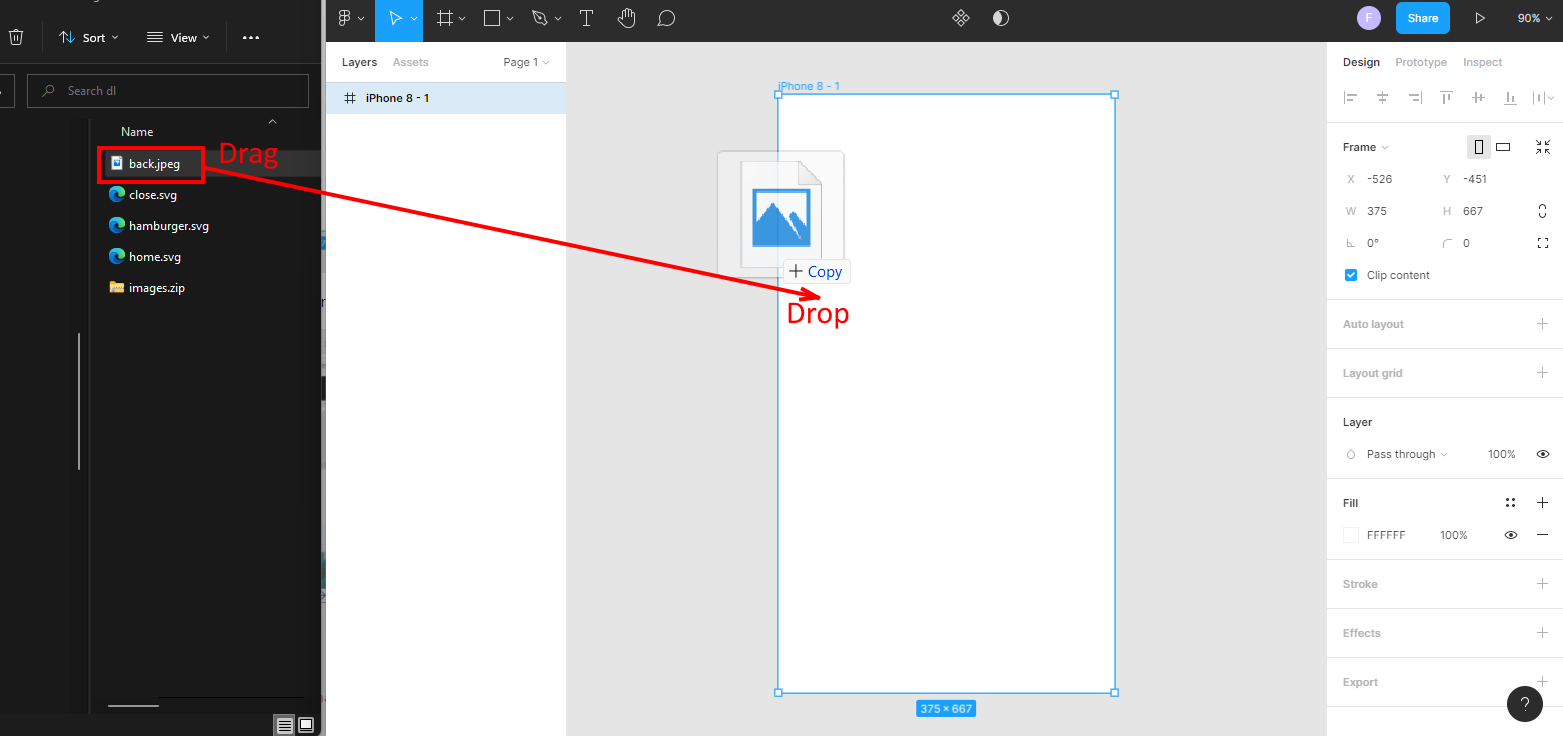
Now download this zip-file with images, extract its content to a folder. Next, drag & drop the background image back.jpeg into Figma:
In the same manner, drag & drop the icon for the hamburger menu hamburger.svg into the top right corner:
Make sure its size is set to 50 x 50.
More/other icons are available at freeicons.io. You may also use an icon font or a plugin like iconify.
![]()
Next, we will add a title to the screen. Select the Text-tool and draw the box that will contain the text (click and hold down the mouse, then drag). When you release the mouse button, first change some of the font settings, for instance set the font size to 48, make it Bold and set the alignment to center. Then you can start typing the title:
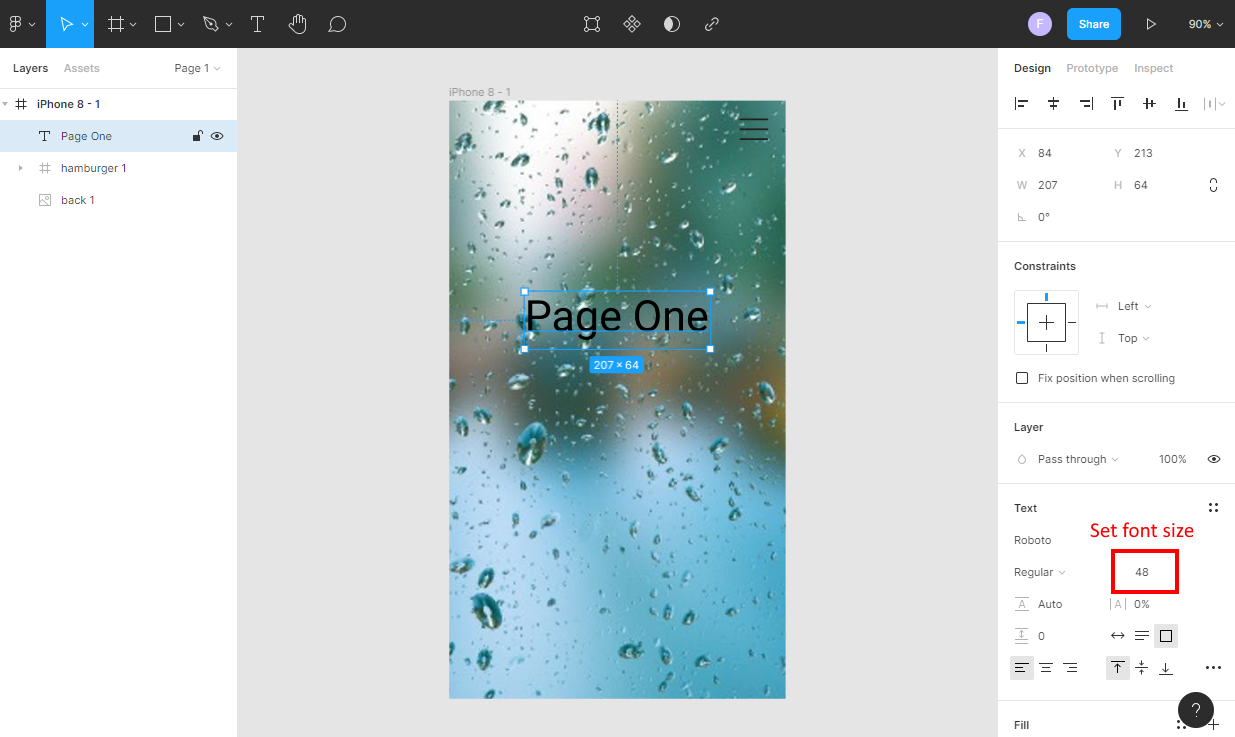
You can also select the text and then update its font settings.
2. Add a component
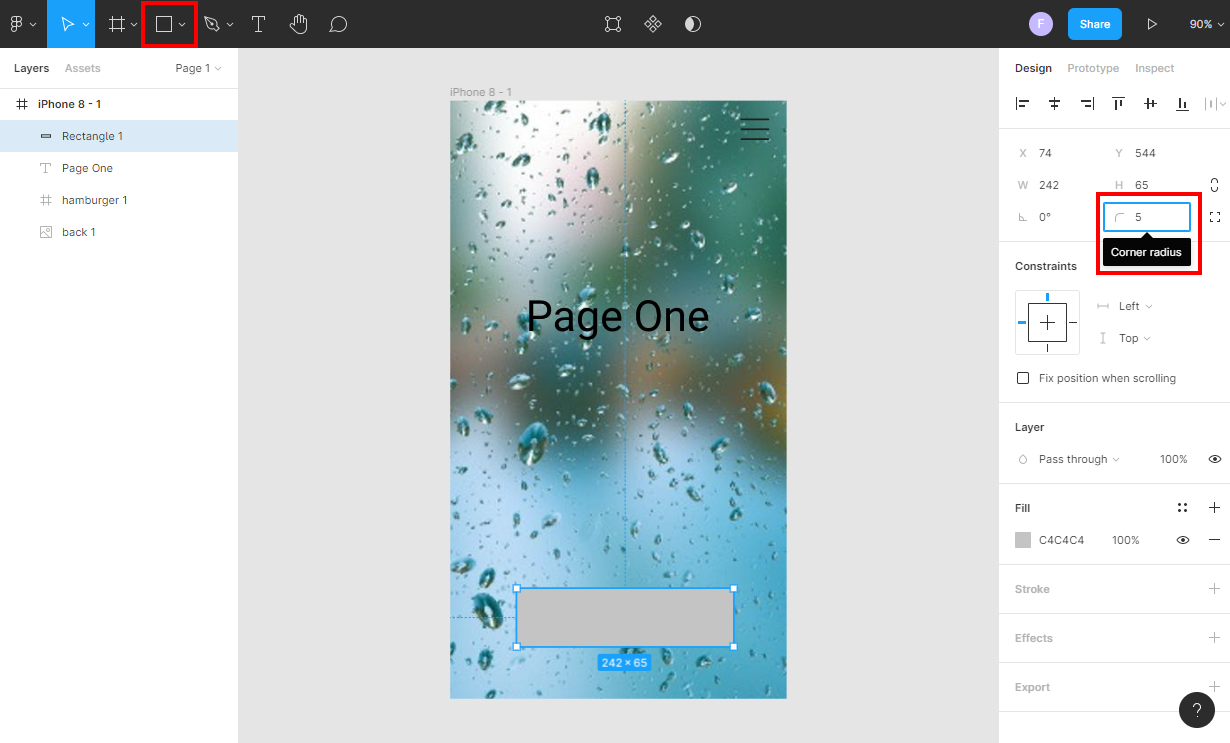
We will use multiple buttons in this app, so we will create a re-usable component for that. First draw a rectangle and adjust its properties so it looks like a button. In this case we changed the corner radius to give it rounded corners:
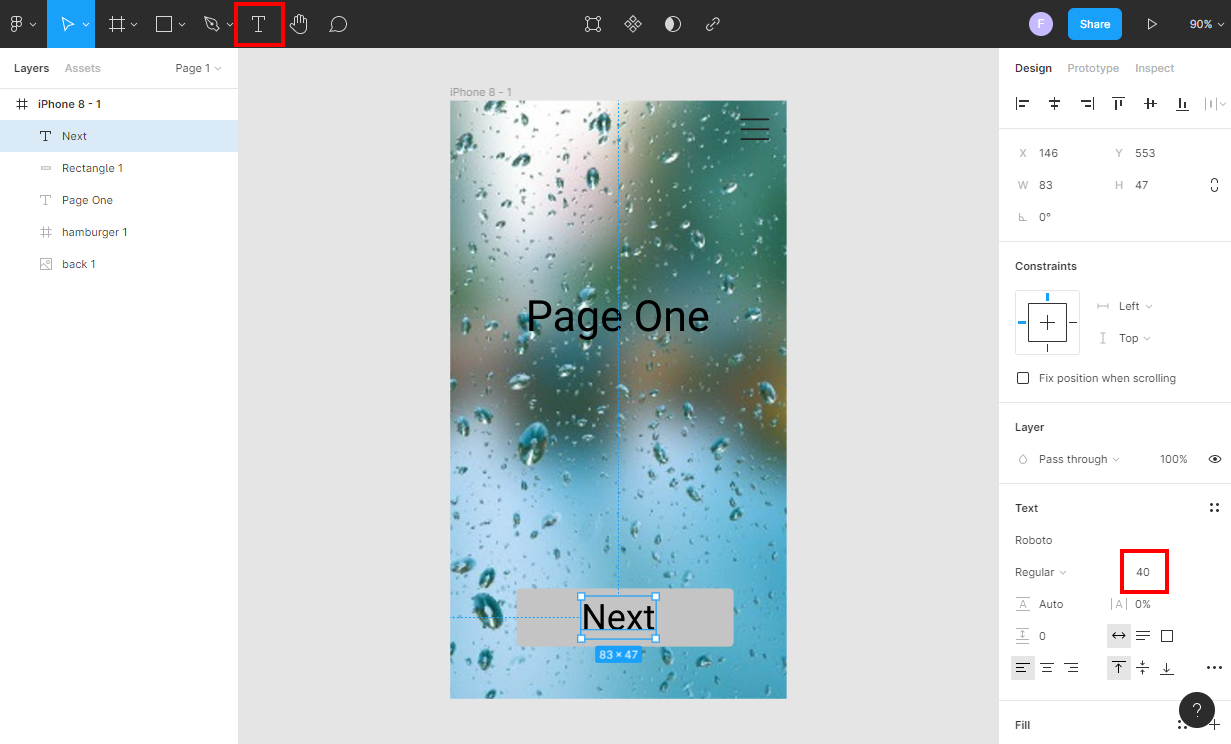
Next, in the rectangle, add the text for the button: (notice the font size has been decreased a little)
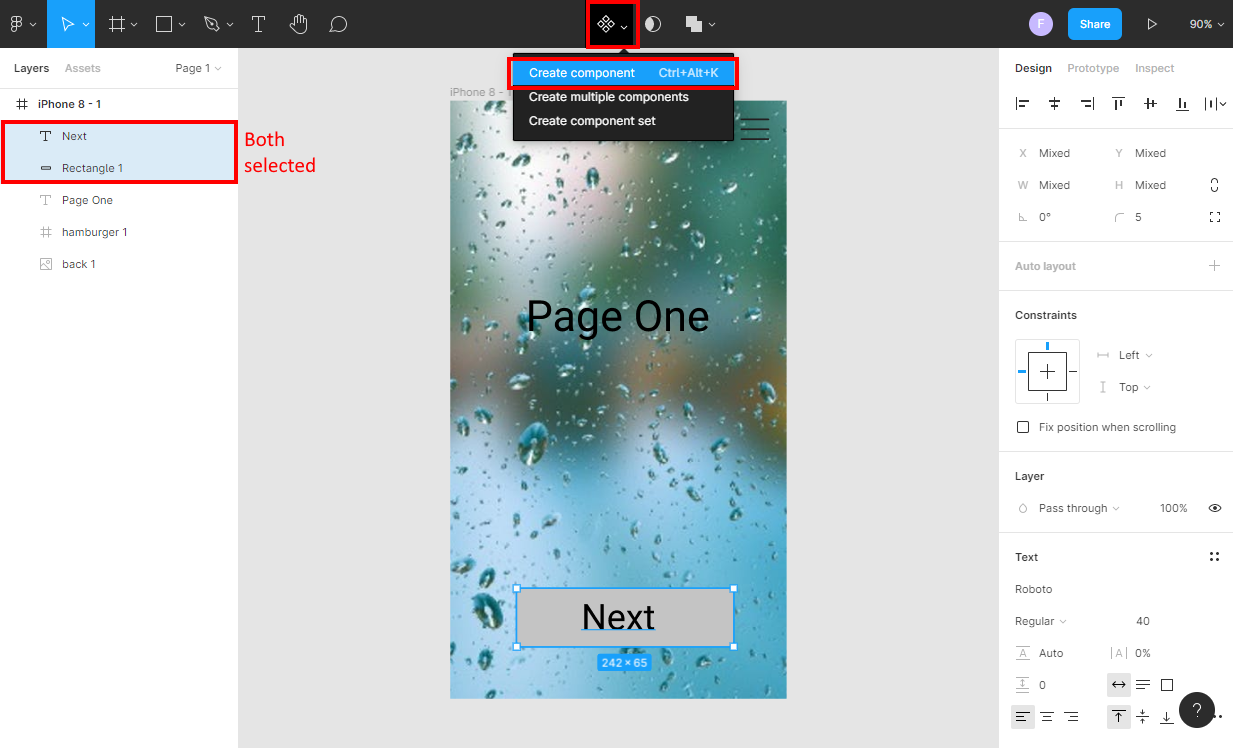
Now, hold down the Shift-key while selecting both the rectangle and the text (under 'Layers' at the left).
Then at the right, where you see '2 selected', click the dots, then select 'Create Component', to turn it into a component:
(alternatively, right-click on the selected items to open a menu)
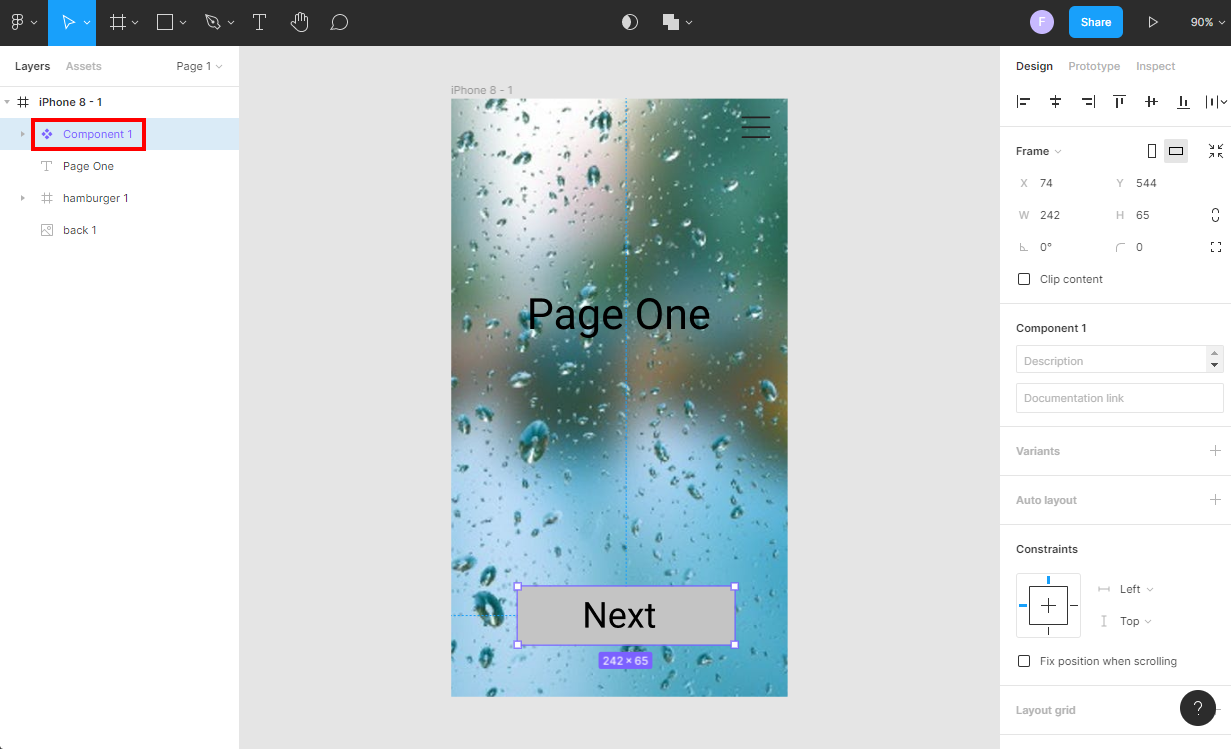
Now it is a component (it turned purple):
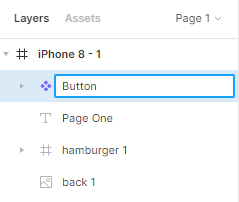
Double-click it to rename it to 'Button':
3. Add another frame
Add another frame (an 'iPhone 13 & 14'). You can do this in two ways: a) copy the entire frame and remove the background, or b) add a new frame, add the title and a copy of the hamburger-icon (select it from the first screen and duplicate it using Ctrl-D, drag the copy to the second screen). This results in:
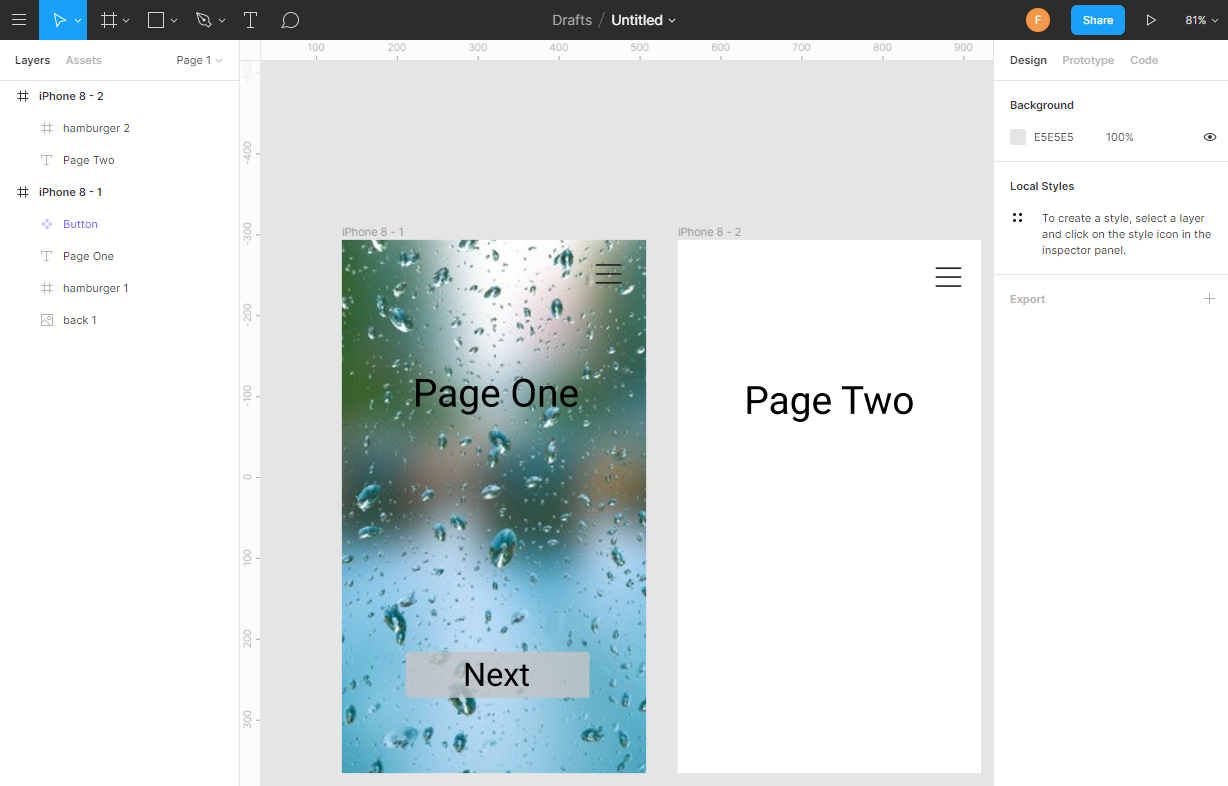
Now select the Button and use Ctrl-D to duplicate it and drag it to the second screen:
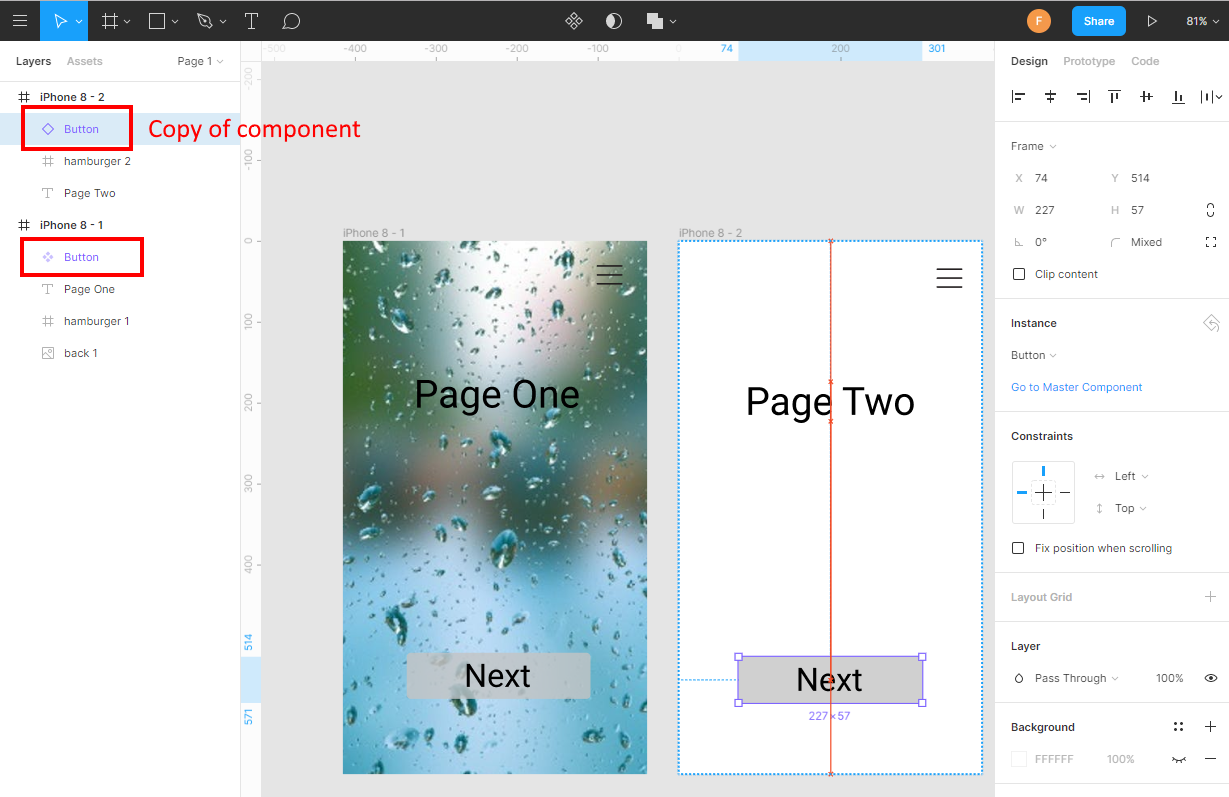
Notice there is now a copy of the component in the second screen.
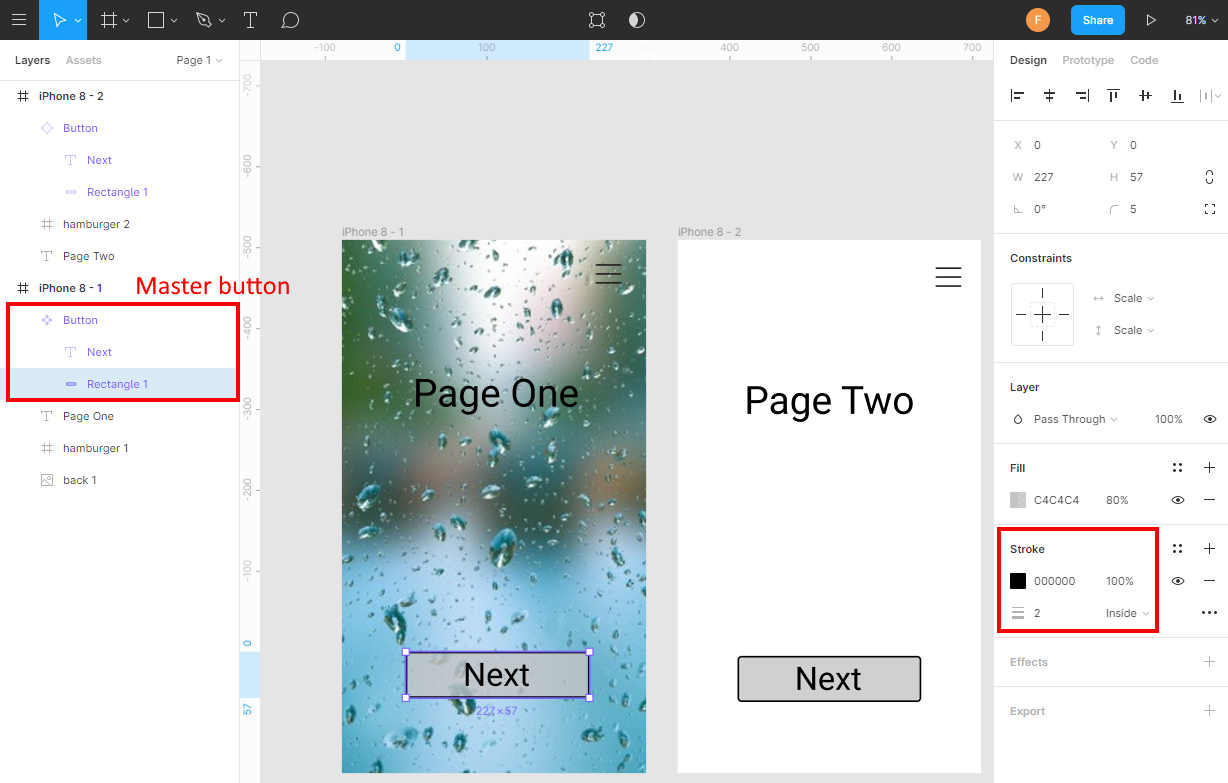
Now select the master of the Button component (indicated by a ![]() ) and give the rectangle inside that a stroke of 2:
) and give the rectangle inside that a stroke of 2:
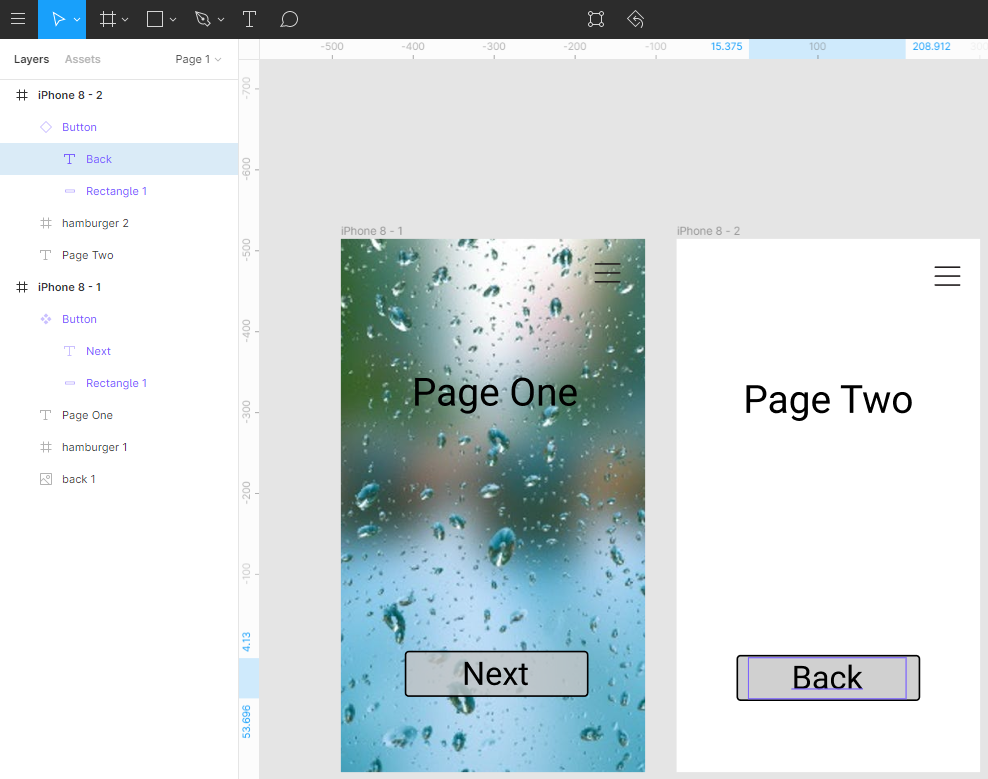
Notice the copy of the component also changes. Double click the button in the second screen twice and change its text to 'Back':
In this way you can make all kinds of re-usable components.
Finalize the design by giving it a proper name, click on 'Untitled':

And enter a name, eg. 'My First App':

4. Do the prototyping
In prototyping mode you can design the interactions of the app mockup.
Switch to prototyping mode and hover over elements. Notice the blue dots that appear.
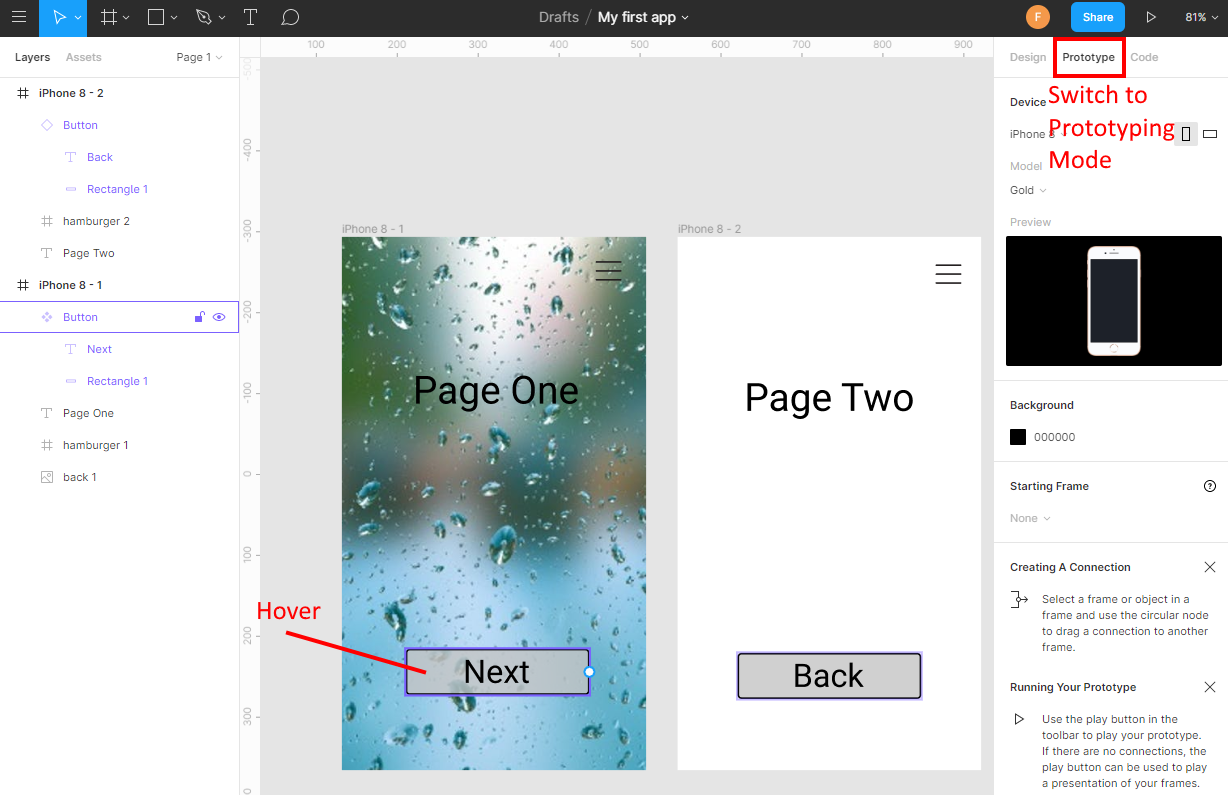
Hover over de Next button, click the blue dot and drag to the second screen while holding down the mouse. Release the mouse when the second frame highlights:
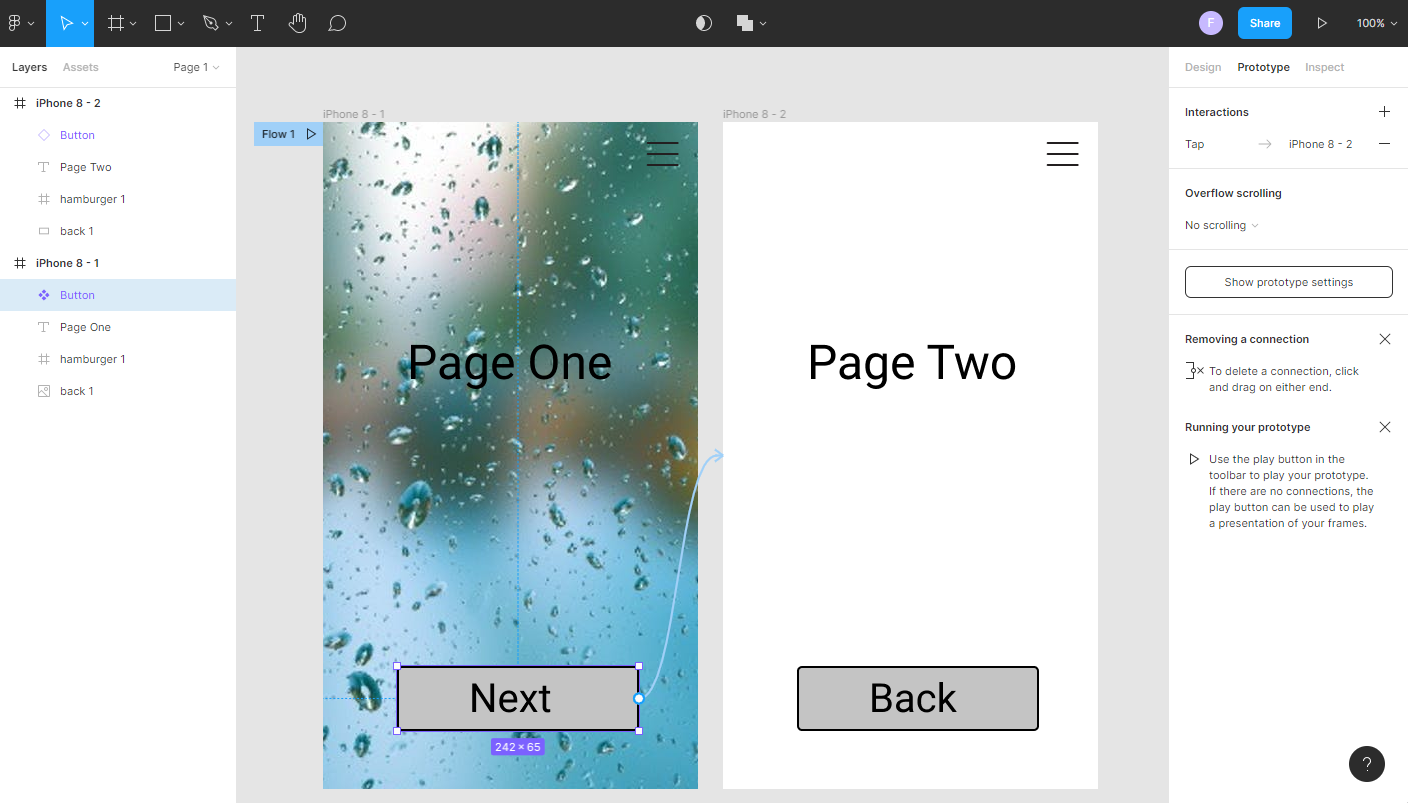
In the Interaction popup you may change the bahaviour of the interaction, but for now leave it as it is. (close it)
In the same way, connect the back button to the first screen. It might have already an interaction, so, from the interactions on the right, click the destination and set that to the first screen:

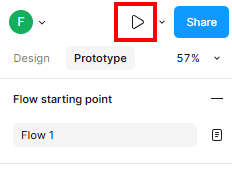
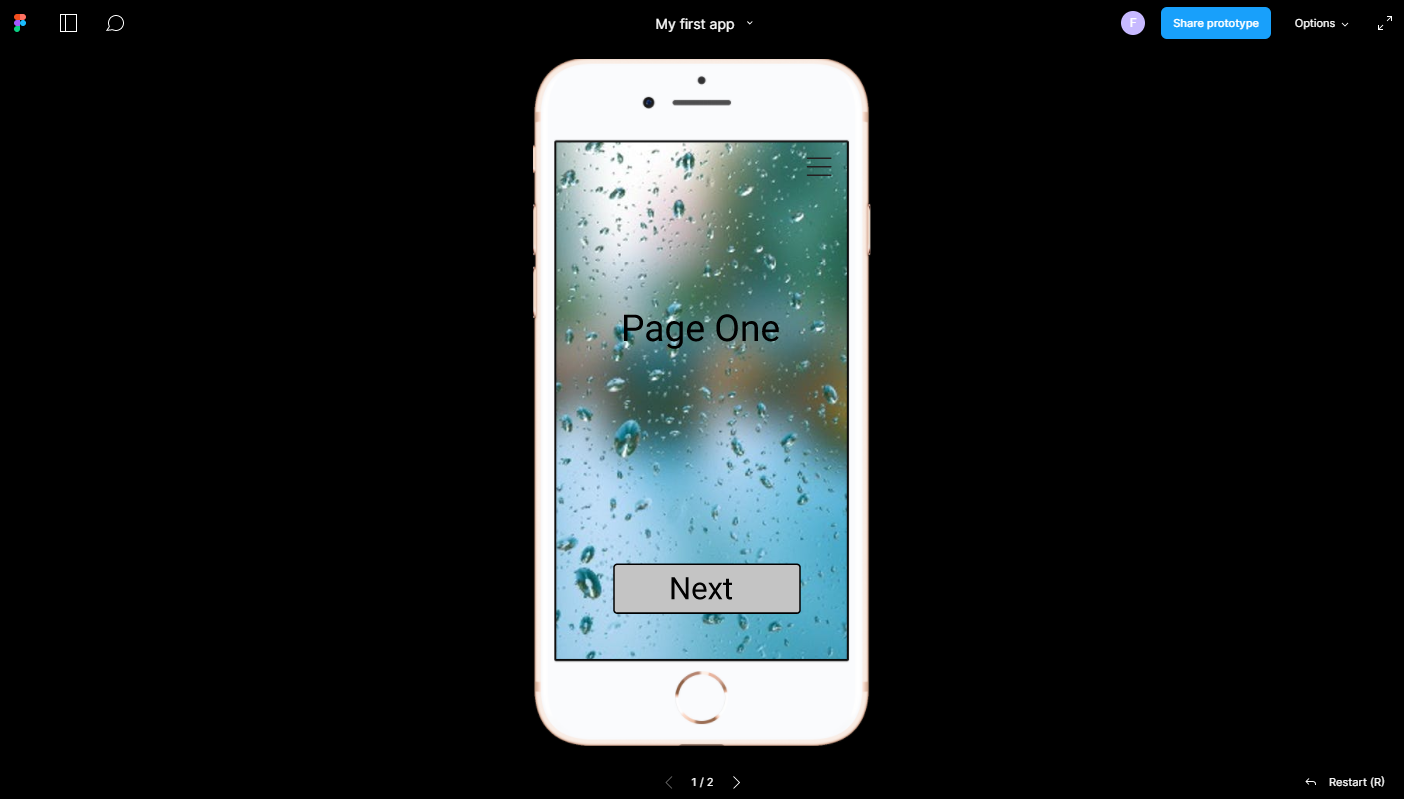
Now hit the play button to test the prototype:
It will open in a new tab. The buttons should work and you should be able to change pages with them.
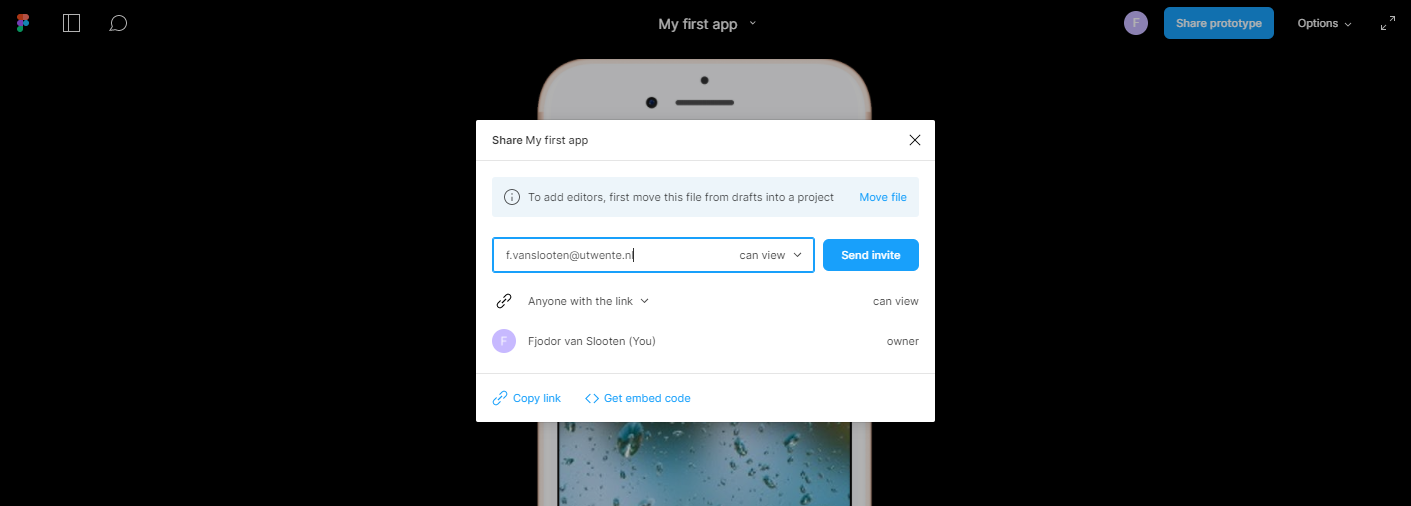
5. Share
In Design or Prototyping mode, click the 'Share' button to share it with others. Eg. Copy the link and email that to a fellow student:
6. Popup menu as overlay
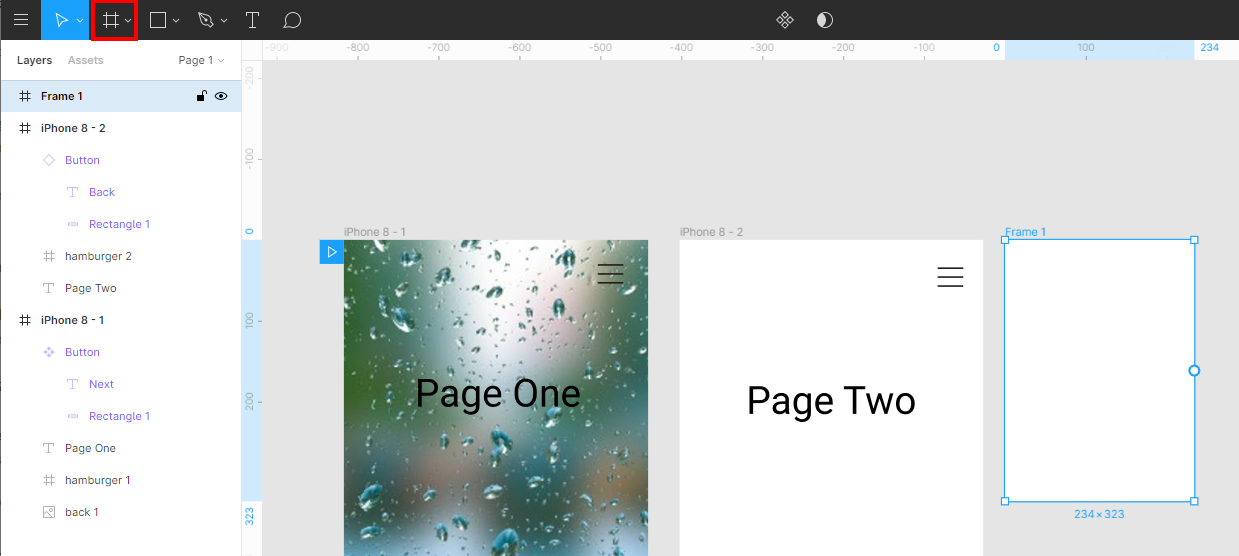
Select the frame tool (click it once). Instead of selecting a default frame from the sidebar, draw the frame:
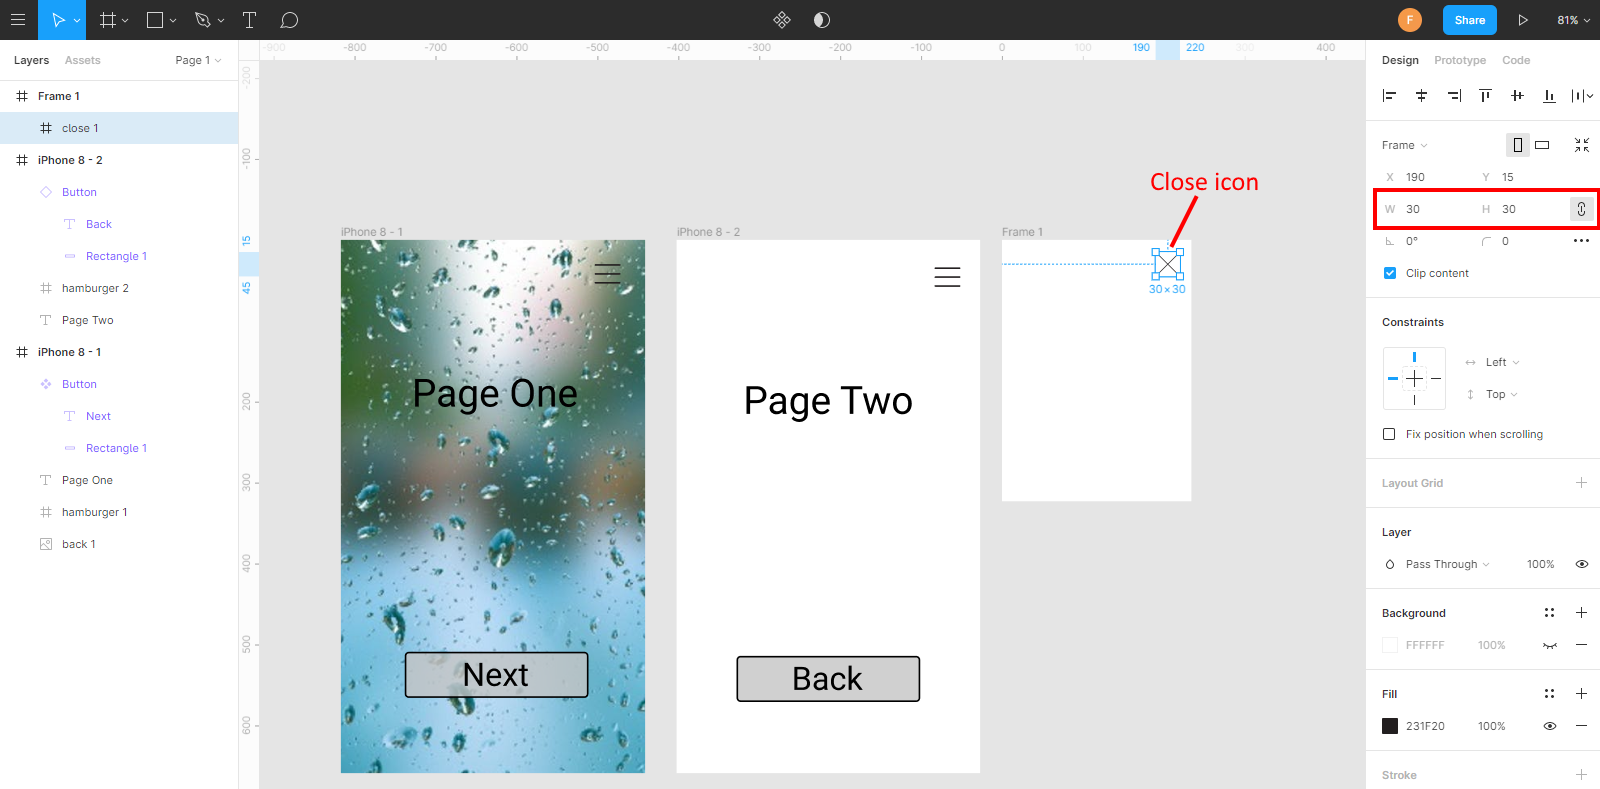
From the folder of .svg icons drag & drop the close.svg icon to Figma and add it to the frame. Set its size to 30x30:
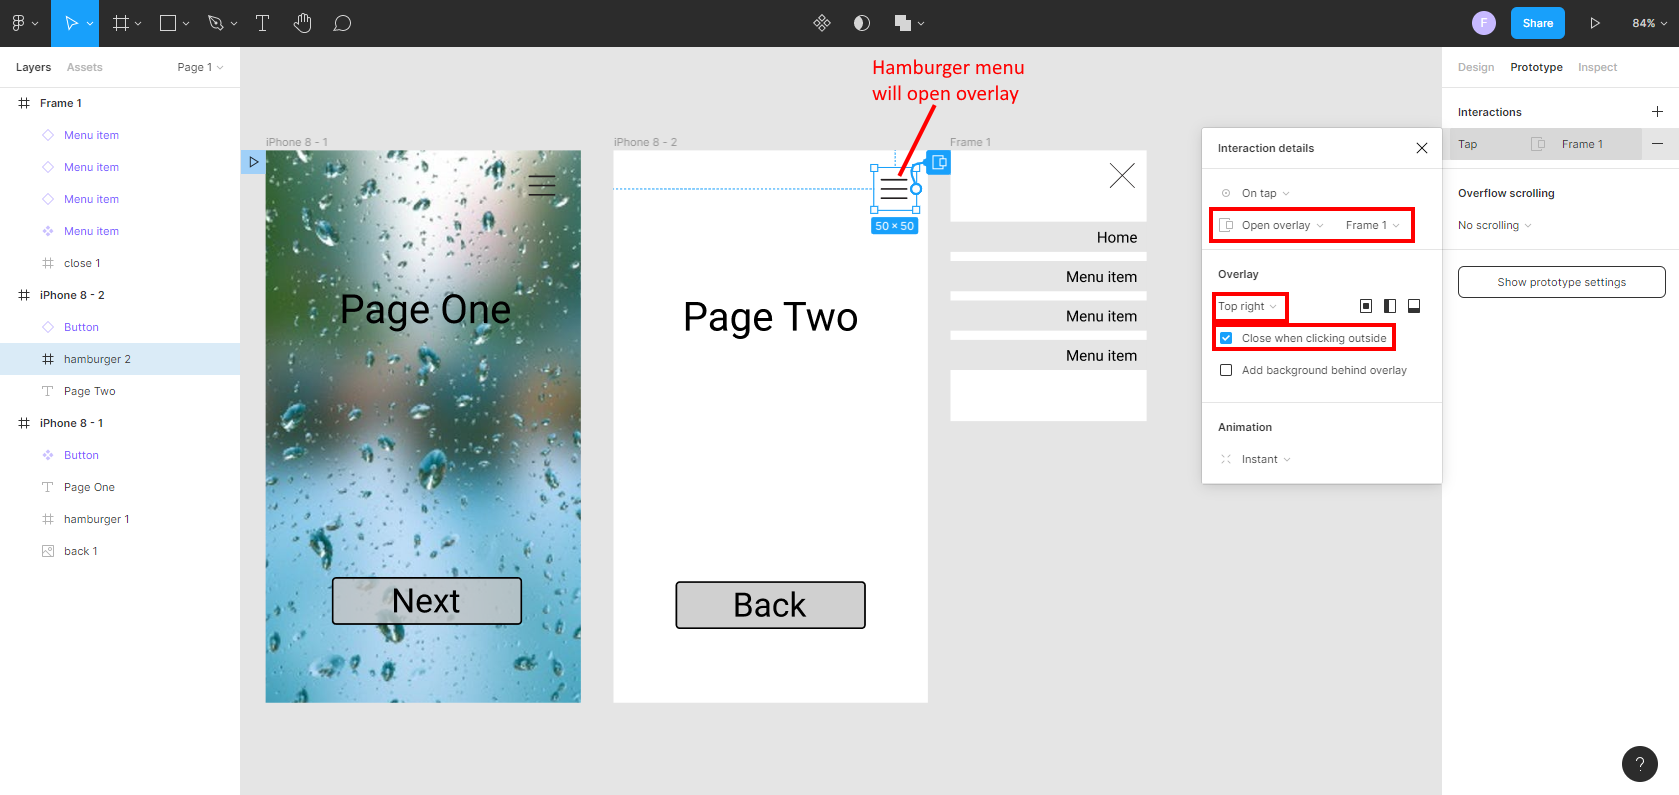
You can now add some menu items to that menu. After that, switch to prototyping mode, and add connections. Connect the hamburger menu icon to the Frame. Make sure to set the action of the interaction to 'Open overlay' and the Overlay position is set to 'Top Right':
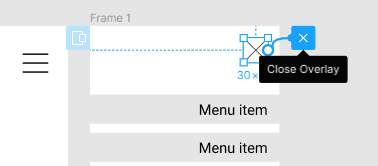
To make it possible to close the popup menu, drag the blue dot of the close-icon onto the close symbol which will appear next to it when you start dragging:
Click the play button to test the mockup interaction. If all went well, you should be able to use the menu (from the second page).
Downloads & more info
The result, the app mockup created by this tutorial, is available here to try (click to open it):
More info
- help.figma.com
- Tutorials on Figma's Youtube channel
- Hackr.io Figma Tutorials
- SVG icons @ freeicons.io
License
The free edition is limited to 2 editors. Need more?:
Sign-up with your student-email address, then go to figma.com/education/apply to apply for the educational version.
After that, once you received confirmation that you received the education plan, you can form a team at figma.com/files/create-team.