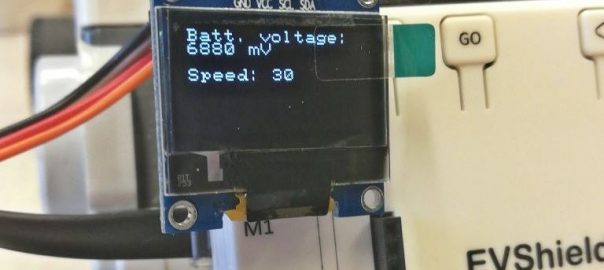
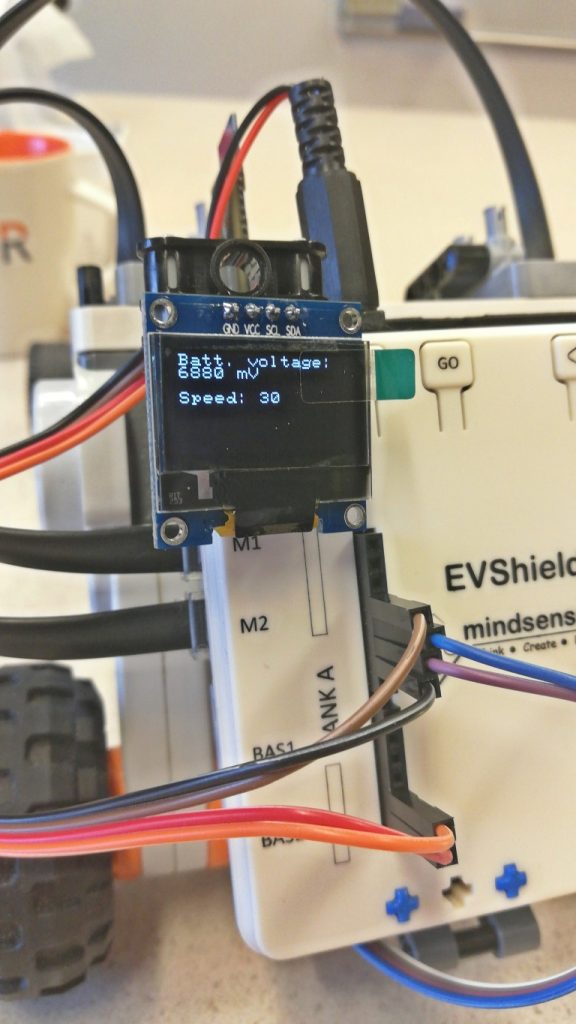
Information on how to use displays in combination with the EVShield. Small (oled) displays can be a great addition to a robot powered by an EVShield, like the Rover. It can be used to display all kinds of information about the status of the robot, like the battery voltage, speed etc. The Lego display is very easy to use, because it is plug-and-play.
This article discusses these displays:
The Color TFT Touch screen is discussed on a separate page.
0.96 inch OLED Display 128*64 pixels
As a first example an 0.96 inch OLED Display with 128*64 pixels as sold here. This is an i2c module, which makes it easy to connect as it has only 4 wires.
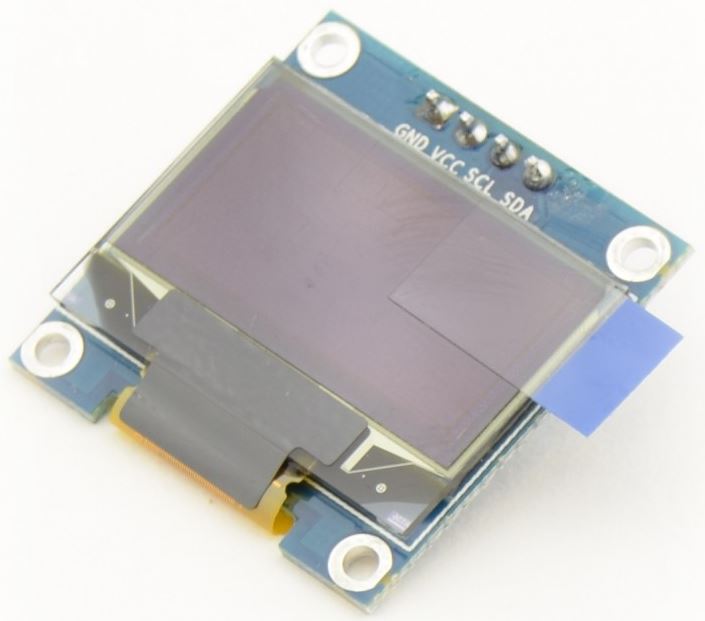

To use this display, you can connect it to power (GND and VCC, it can be either 3.3 or 5V) and connect the SDA and SCL pins to the SDA and SCL pins of the Arduino/EVShield (eg. pins A4 and A5). These are hardware i2c pins, which are also used by the EVShield. As long as the display connected does not use the same i2c address as the EVShield (0x34,0x36), this is not a problem (in my case, the display has address 0x3C).
You can mount this display directly onto a breadboard (see example further below), or connect it with jumper cables and mount it to the EVShield.
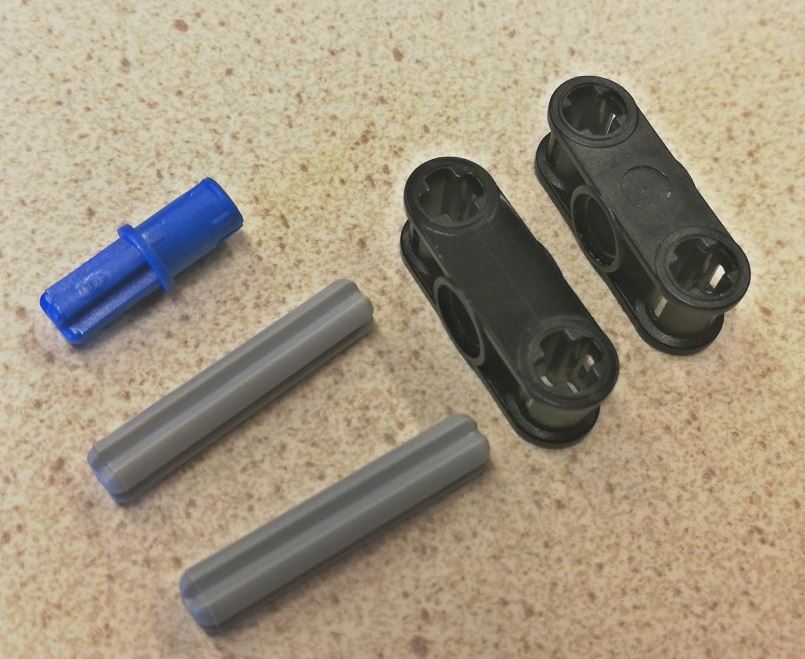
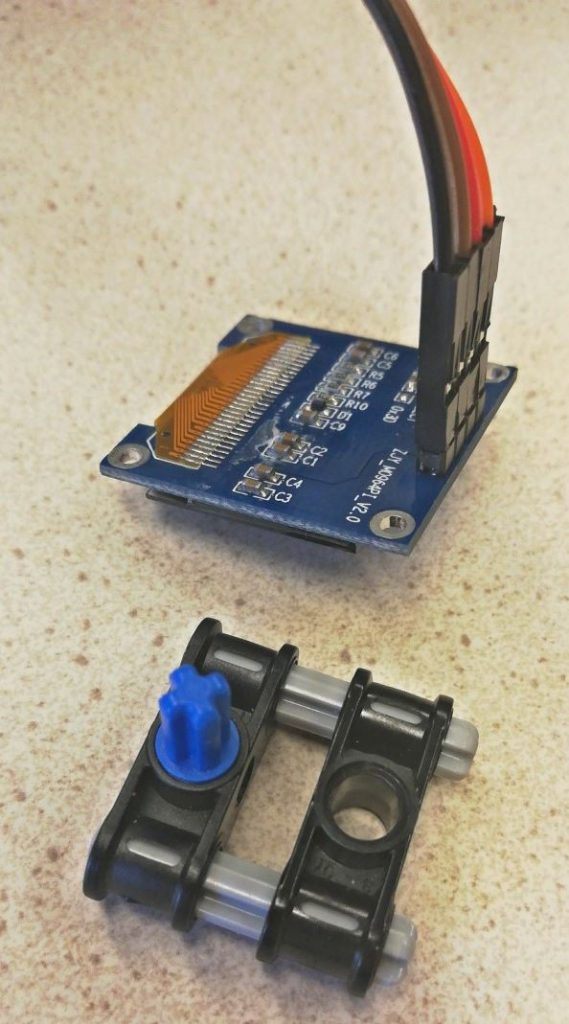
To attach the display to for instance the EVShield, you can make a small holder which
clamps around the connectors of the display:
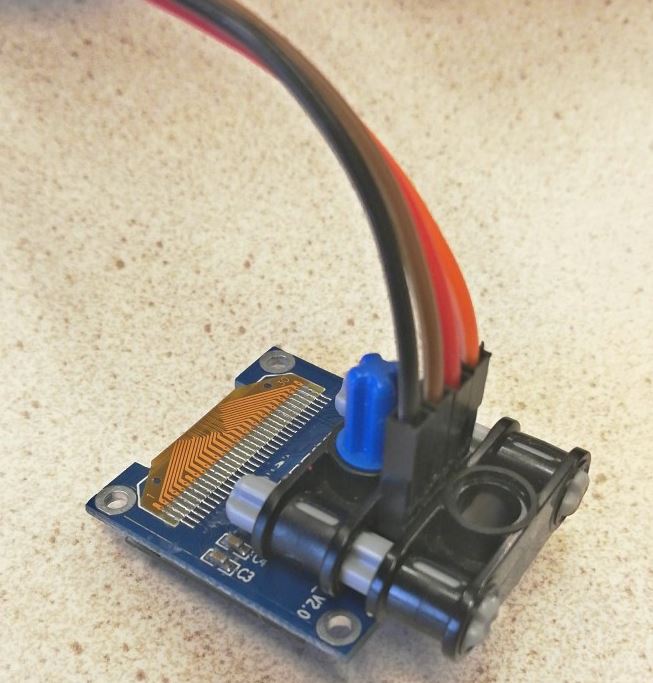
An example to mount it directly onto a breadboard:
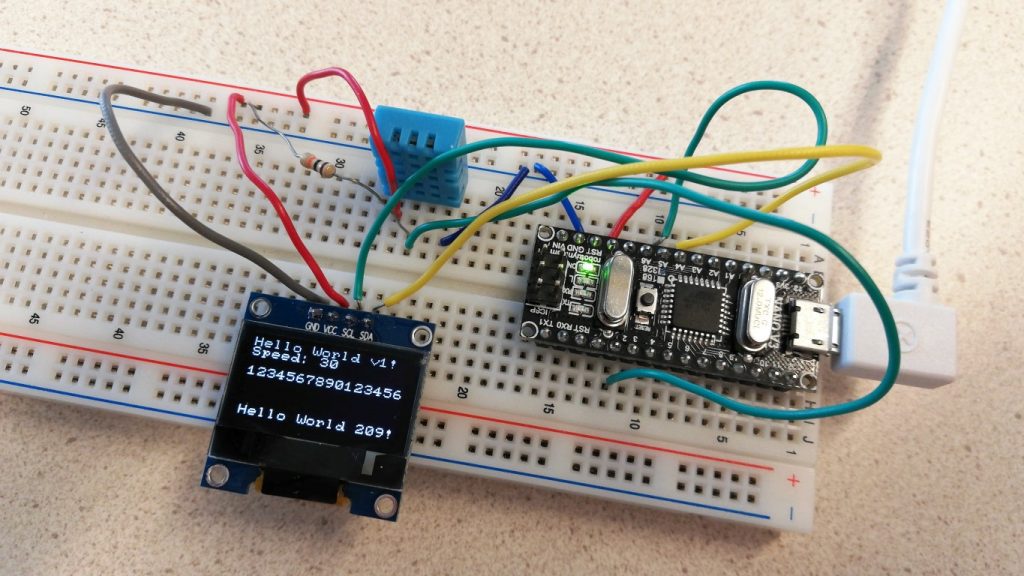
To use this display, you can use these two example sketches: a basic “hello world” example oled_display_i2c_u8g2.ino, which does not need the EVShield (just an Arduino). And an addition to the sketch of the Rover car: rover_bt_dabble_display.ino.
To display values of variables with this display, you might need code like this:
display.drawString(0,3,"Speed: ");
display.setCursor(7, 3);
display.print(speed);
This shows the message “Speed:” on the first part of line 3, then displays the value of variable speed starting at the 7th character position on line 3, to make it appear after the “Speed:” message. This is also used in the Rover example.
More info
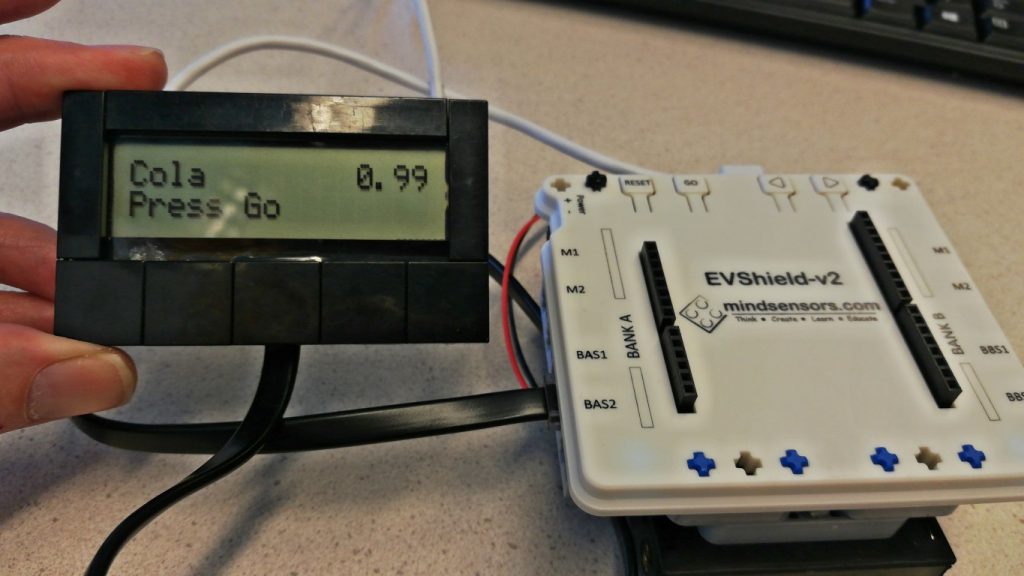
LCD display in Lego casing
We have put a standard LCD display in a Lego casing. This can be connected directly to a port of the EVShield (BAS1, BAS2, BBS1 or BBS2) and works with an additional class EVs_Display that is part of the EVShield library as distributed to our students. You can also download it here.
Download this example sketch evshield_lego_display.ino here.
I2C LCD display
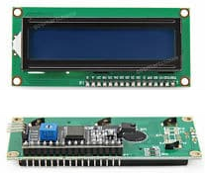
This is a HD44780 LCD display with an I2C backback.
It is recommended to use the New LiquidCrystal library with it. To use it, you must set its address in the code, which can be 0x27, 0x3F or 0x38. Since you cannot see the address from the outside, you will just have to try the sketch, and if it does not work, try an other address.
You can connect it like this:
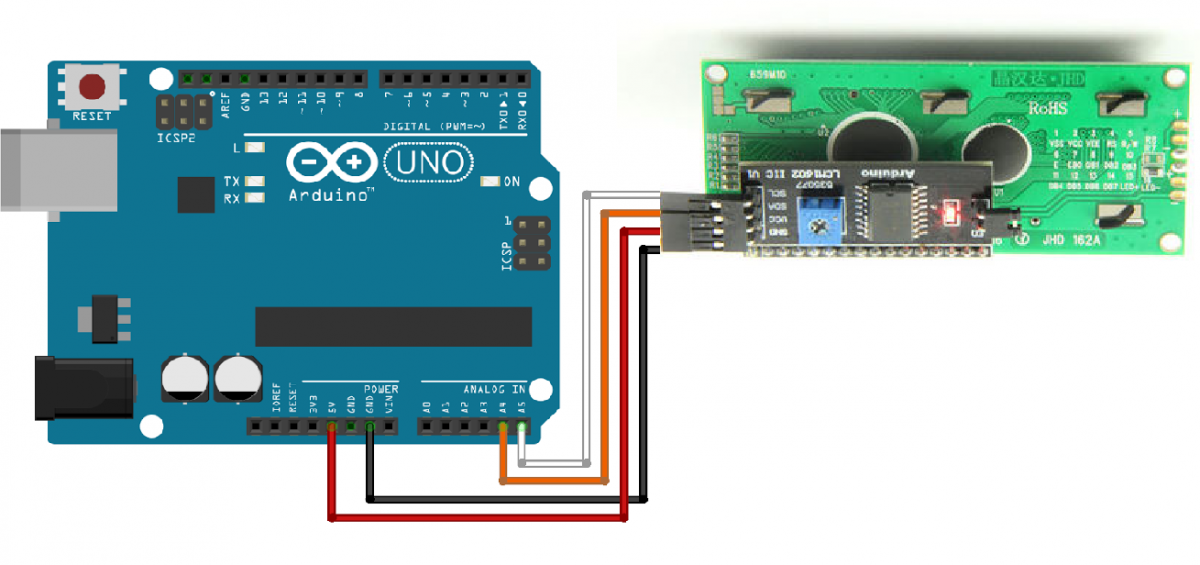
To connect it, use the SDA and SCL pins like this:
Display: Arduino:
GND	GND
VCC	5V
SDA	A4
SCL	A5
You can use this example sketch LCD_HD44780_i2c_hello_world_example.ino to test it.